January 6, 2023
Budget Luxury Upcycled Frames
I recently had one of my proudest achievements framed: a magazine spread featuring my interior design work. It turned out to be quite the splurge — custom framing is NO joke when it comes to price!!! I balled out on a double matting and three panes with a gold bamboo frame, but that was the first – and last – time (at least in the near future) that I will pay hundreds of dollars for framing.
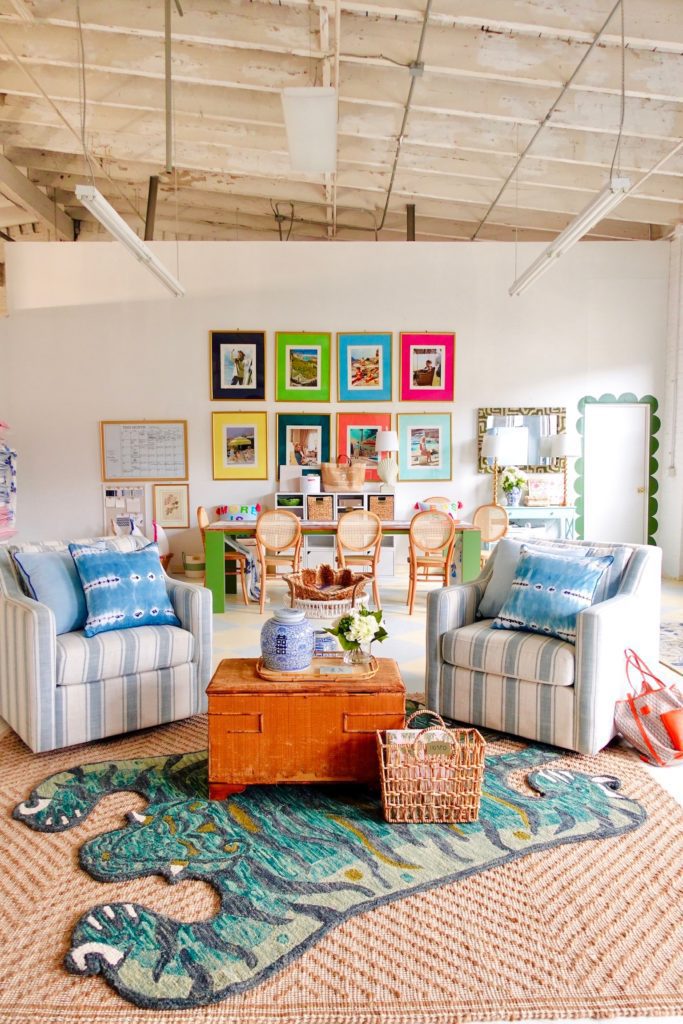
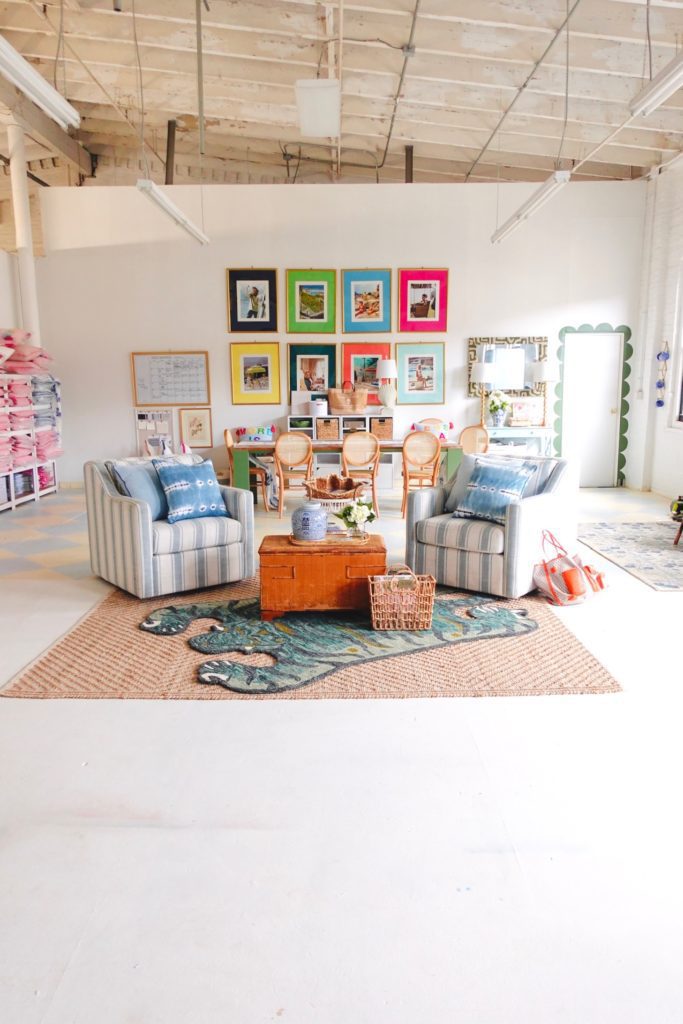
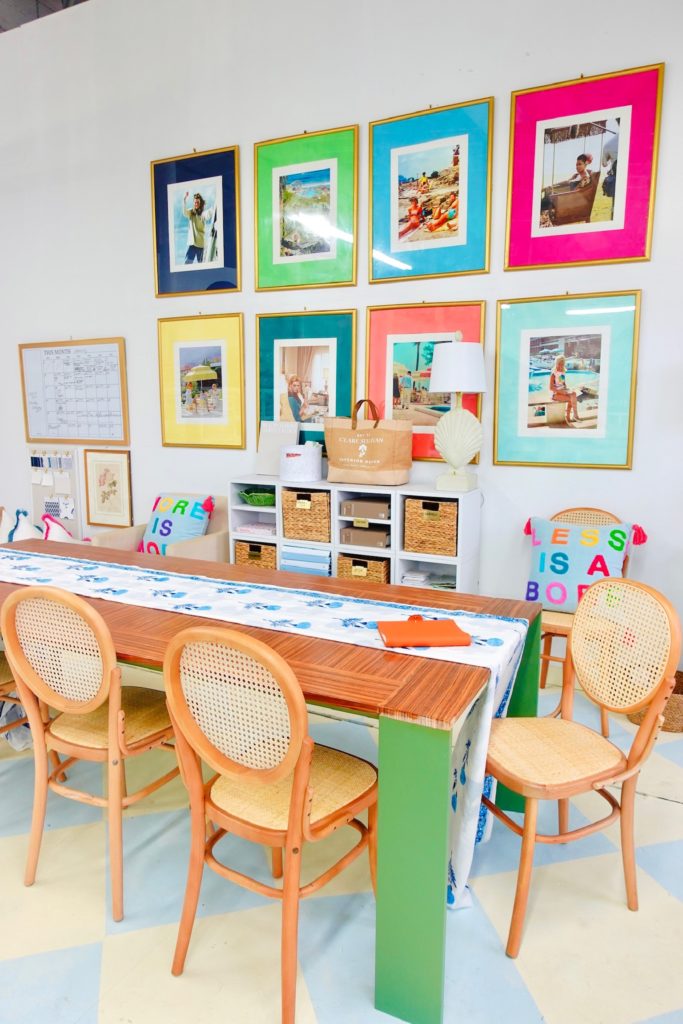
When I was home in Maine for the holidays, I found a set of 10 outdated and honestly..: *crusty* wooden frames for free at a habitat for humanity store. They were previously hung in a motel in the 80s and were so huge that Brian almost didn’t let me haul them back to NYC (32 inches by 26 inches to be exact!). But I had a vision. With some metallic gold paint to cover the plain wood, spray paint for the white (and stained) matting, and some iconic photos found online for free and printed at FedEx for $25 a pop (I splurged on oversized glossy paper but this would be cheaper if I printed a smaller size!), I created a gallery wall for my office that I am in love with!
Here are all the details and everything you will need to create this #BudgetLuxury project on your own. I hope this inspires you to thrift some frames and customize them exactly to your liking, instead of spending hundreds on something custom – or ordering something online that doesn’t feel like you.
STEP ONE
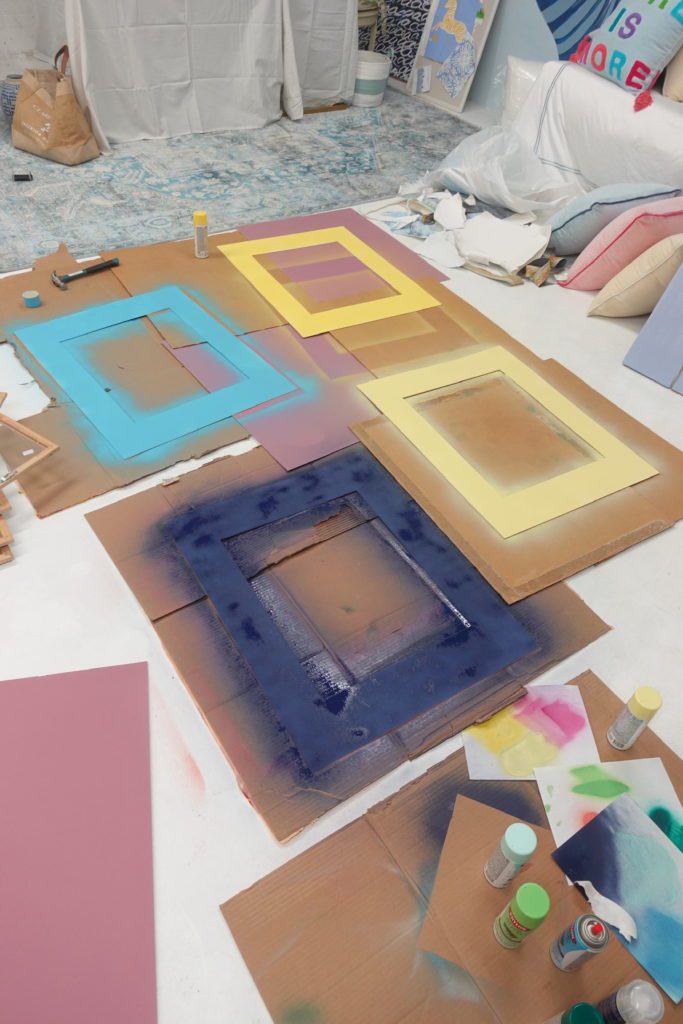
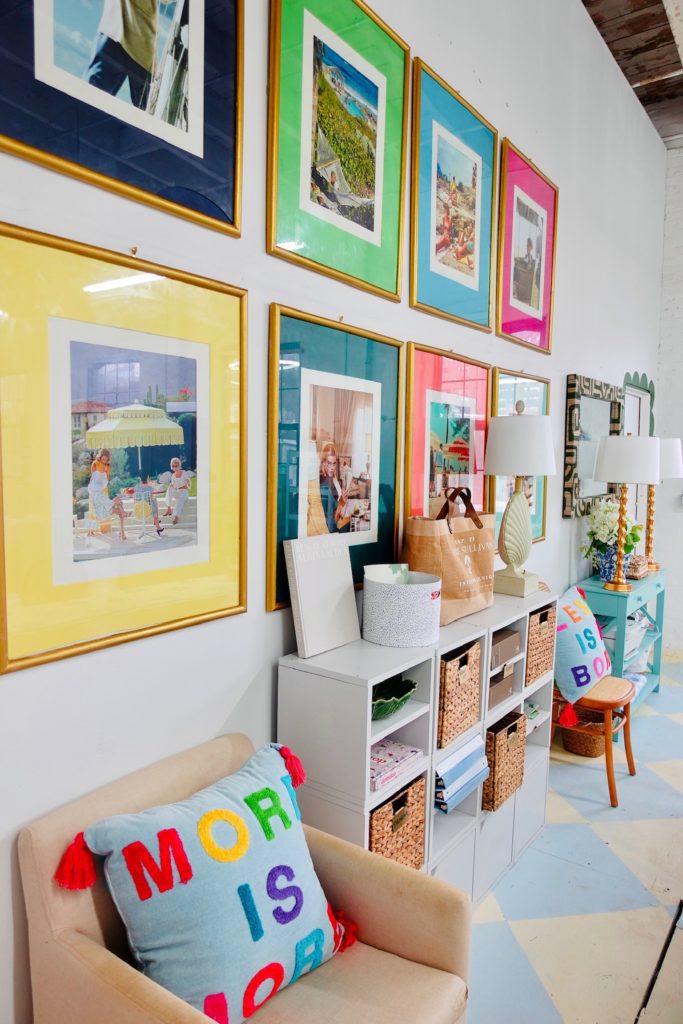
First step was removing the original matting from inside the frames and spray painting them fun and vibrant colors. I chose somewhat of a rainbow color palette. Once the spray paint was dry it really looked like solid colored paper – if I had used regular paint I think the strokes would show a bit and I wanted a more cohesive look.
STEP ONE (continued)
I do not recommend spray painting inside! But, if you must (like me), open ALL windows and set up fans in your space to circulate air flow, and always wear a mask!

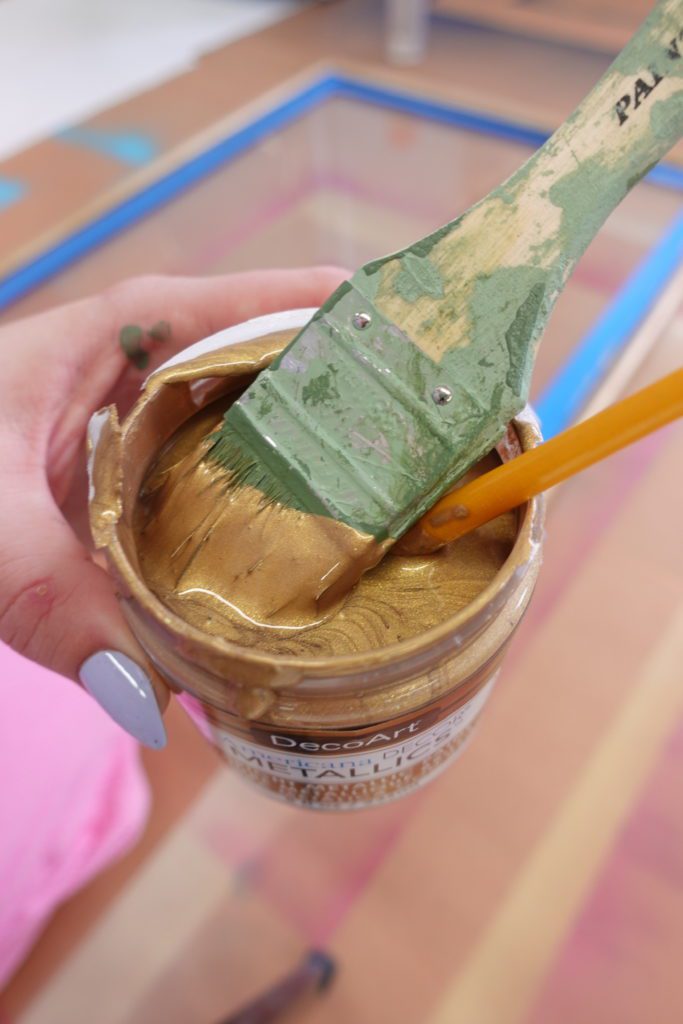
STEP TWO
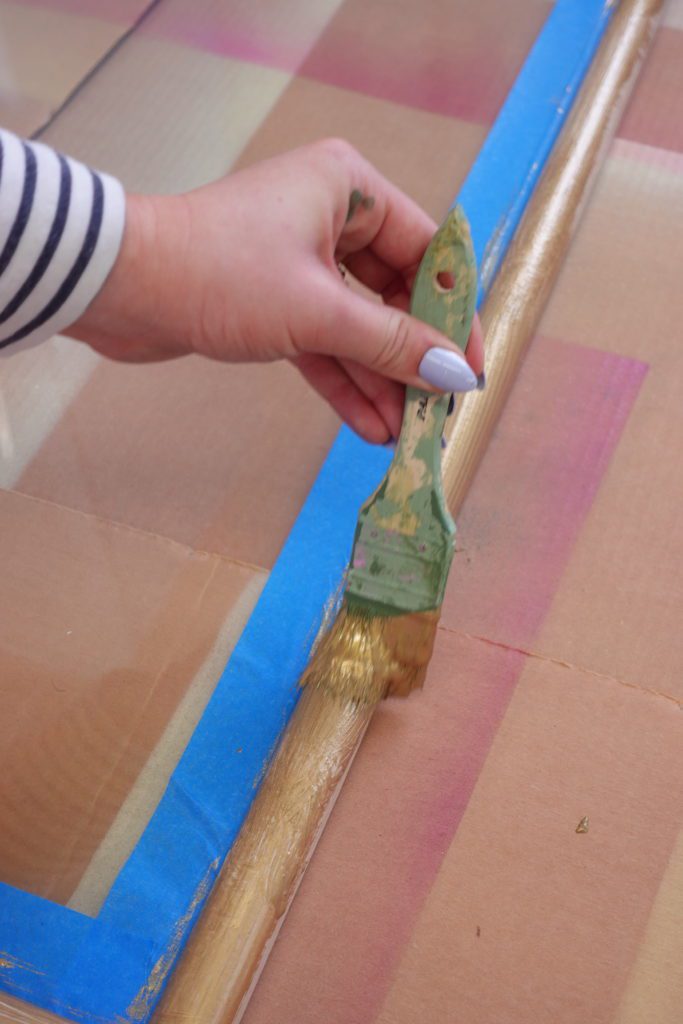
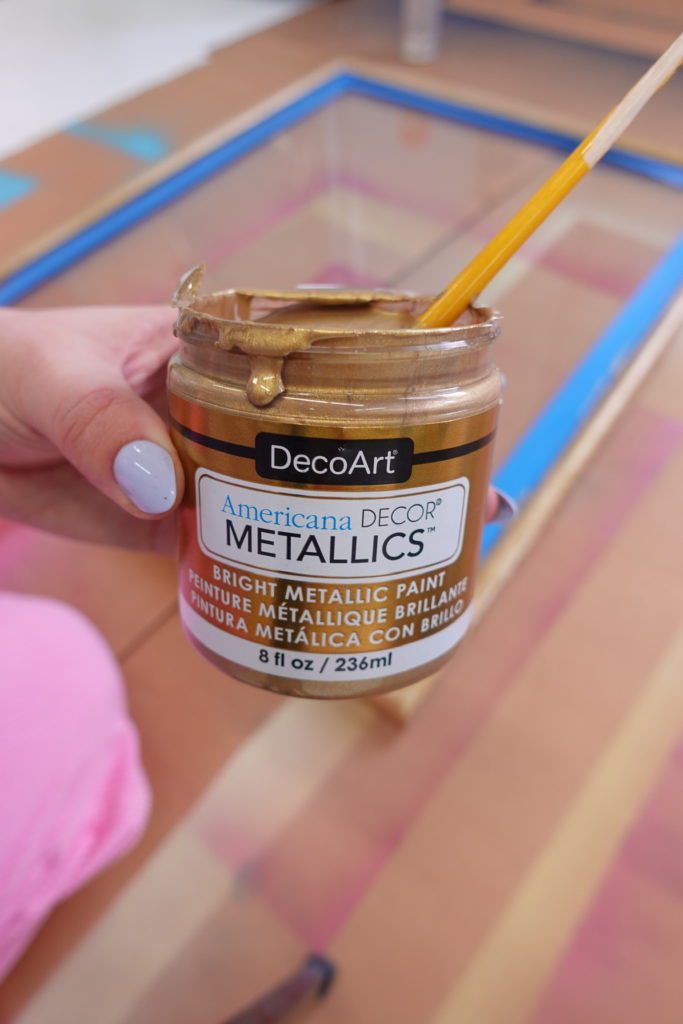
Next step was painting the plain wood frames with metallic gold paint I bought at Michael’s. I used painter’s tape to protect the glass from the gold paint but if you’re careful, you could also remove the glass all together to avoid any paint drips!
STEP THREE
As an extra layer of luxury, I opted to double mat each portrait. Creating my own mats was a bit tricky, since I needed to perfectly measure each one to be 1.5 inches around and use a box cutter to create each one, using the thick poster board that was already inside the frame. Once the white mats were cut and ready, inside each frame I layered first the glass then the colored mat then the white mat and then finally the photo. Behind the photo I placed a piece of recycled cardboard and closed up each frame!
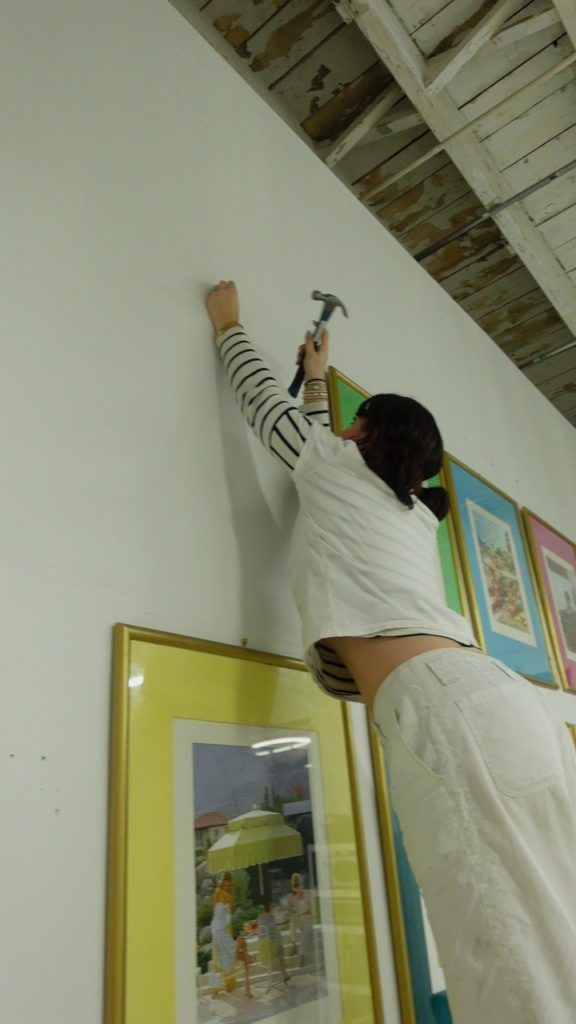
STEP FOUR
Once all eight frames were packaged up and ready to go, I decided to arrange them in two rows of four frames each. A buddy, measuring tape, and a level will be your best friend here.
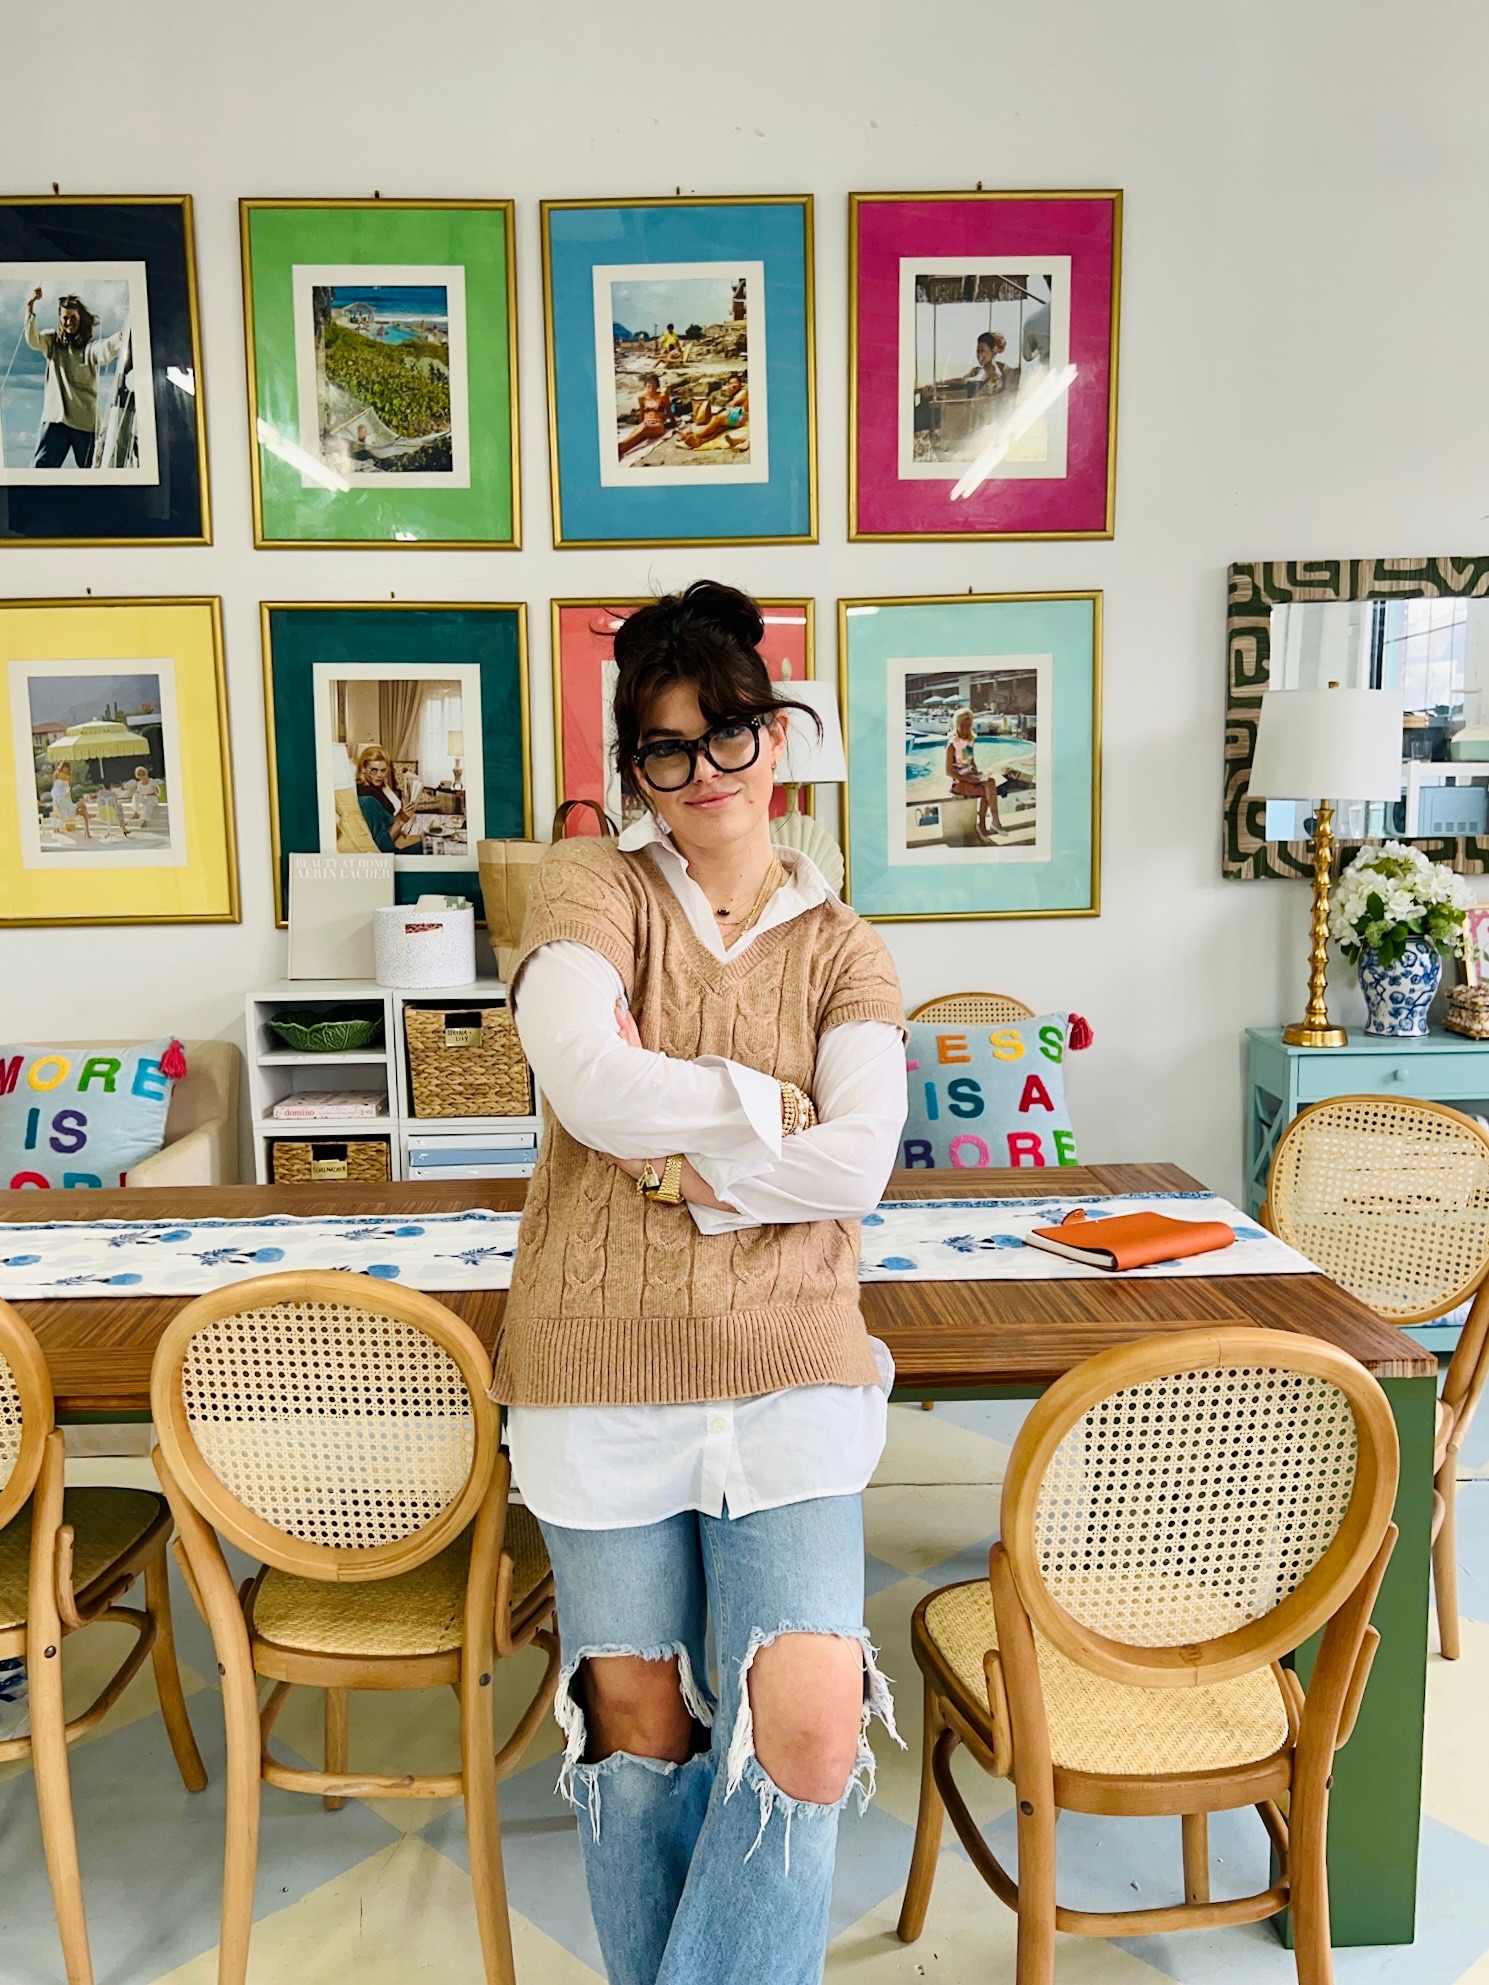
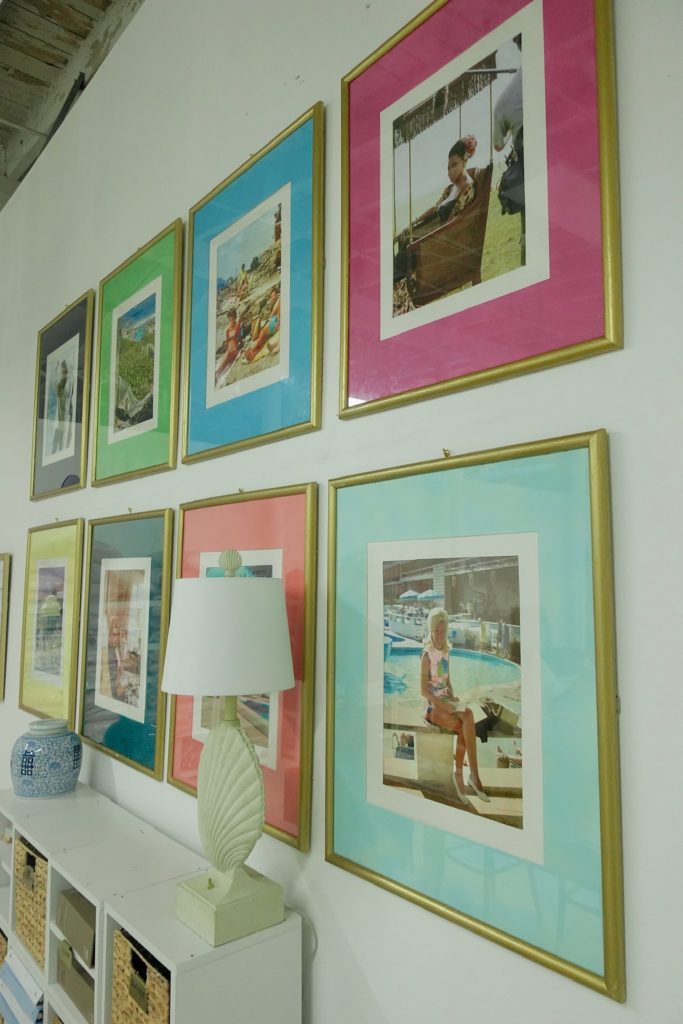
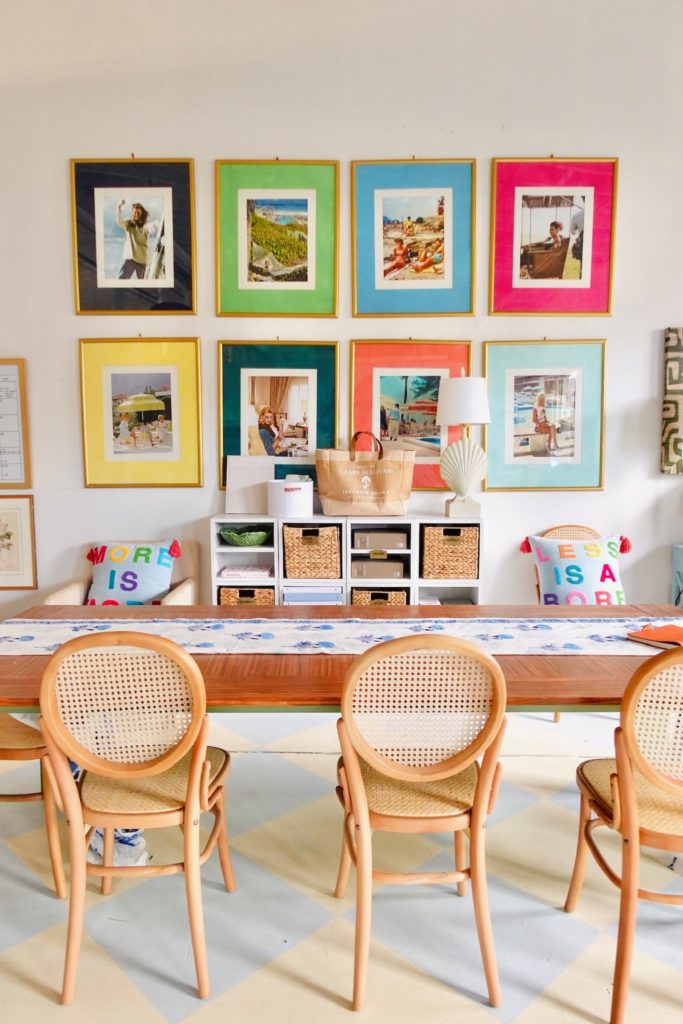
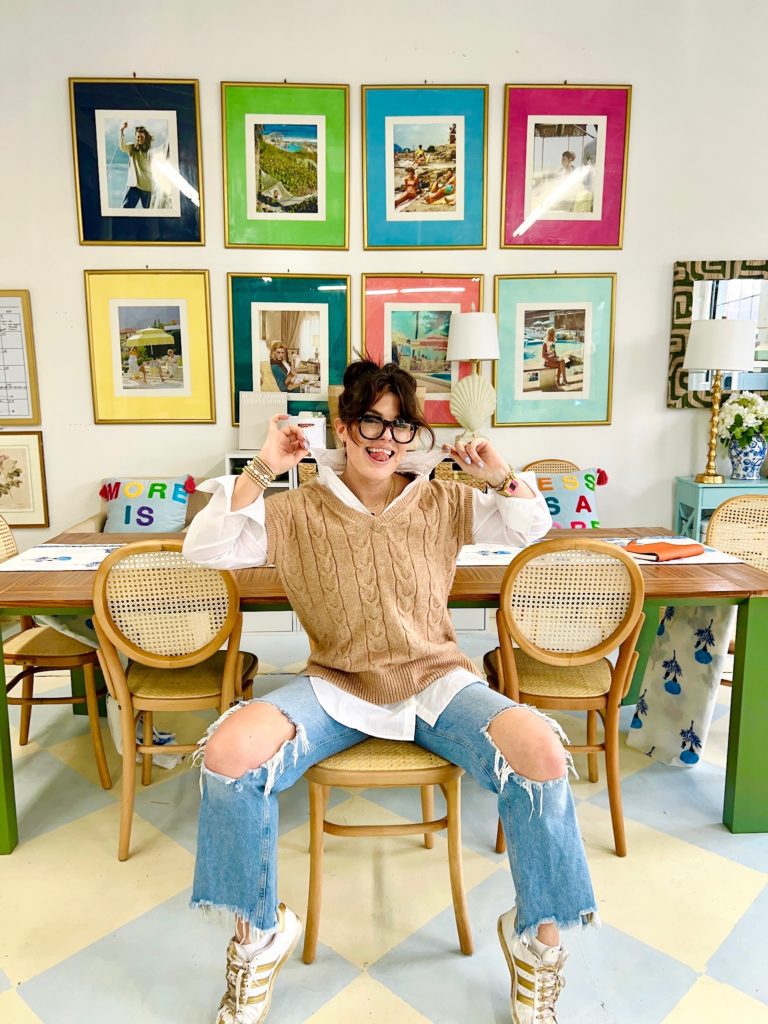
Voila! A gallery wall was born compromised of custom frames and some hard work!
The final reveal:

The supply list:
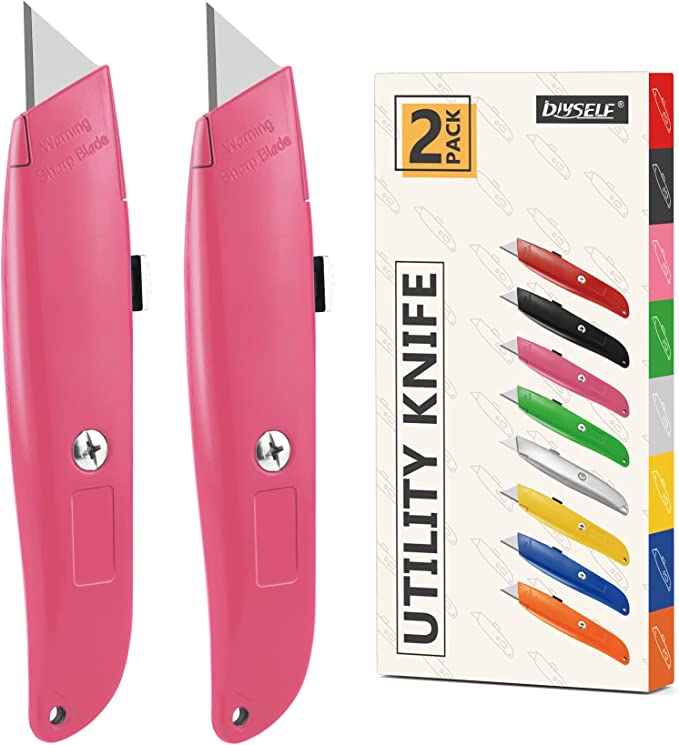
I used the existing mats from the frames for the colored matting, so those didn’t need any resizing. But, I used a box cutter to create the white mats myself out of a plain poster board.
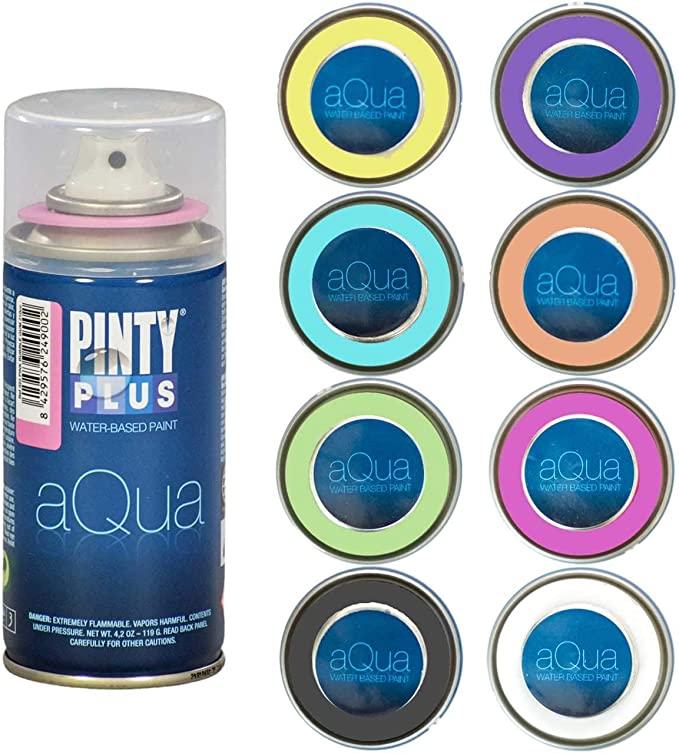
I bought my spray paint at the craft store Michael’s and handpicked each color individually. But, any spray paint in any colors will do, I found this set on Amazon that’s full of beautiful colors seen on the right.
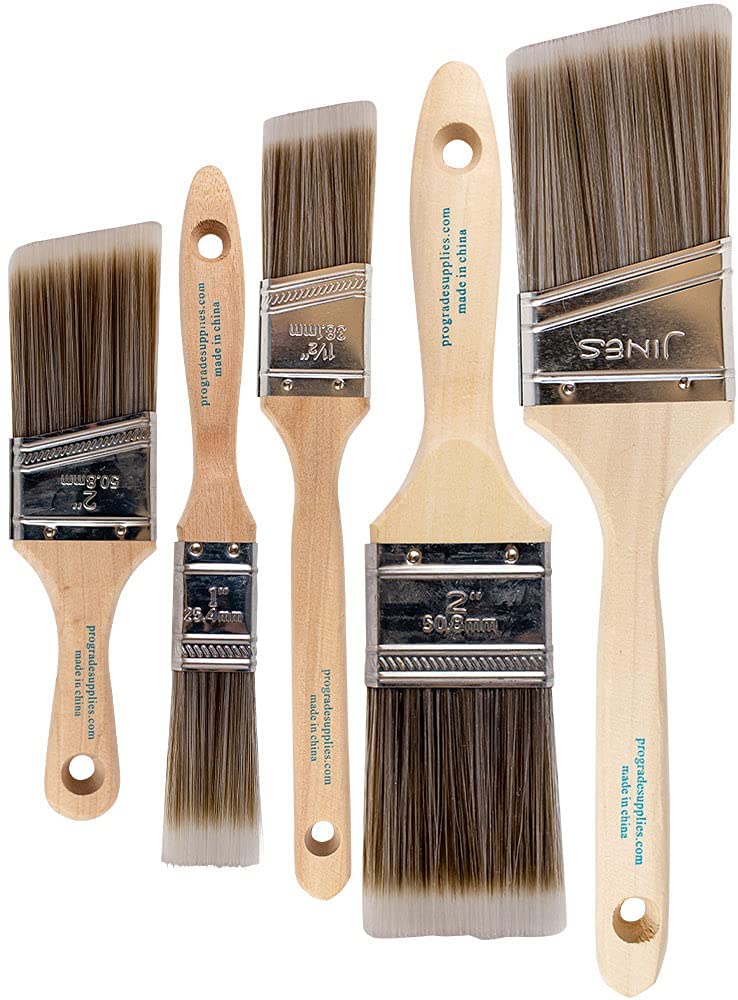
I used regular painter’s brushes I already had from previous projects to paint the wood frames gold. Any paint brushes will do!
The frames I thrifted came with mats inside (the thick paper boarder between the frame and the photo or art) but if your frames don’t, you can purchase them online or make your own by measuring and cutting a thick piece of poster board.
A moment of appreciation for the final product:


CATEGORY
POSTED
1/06/2023


