July 13, 2022
Ben’s Apartment Redesign
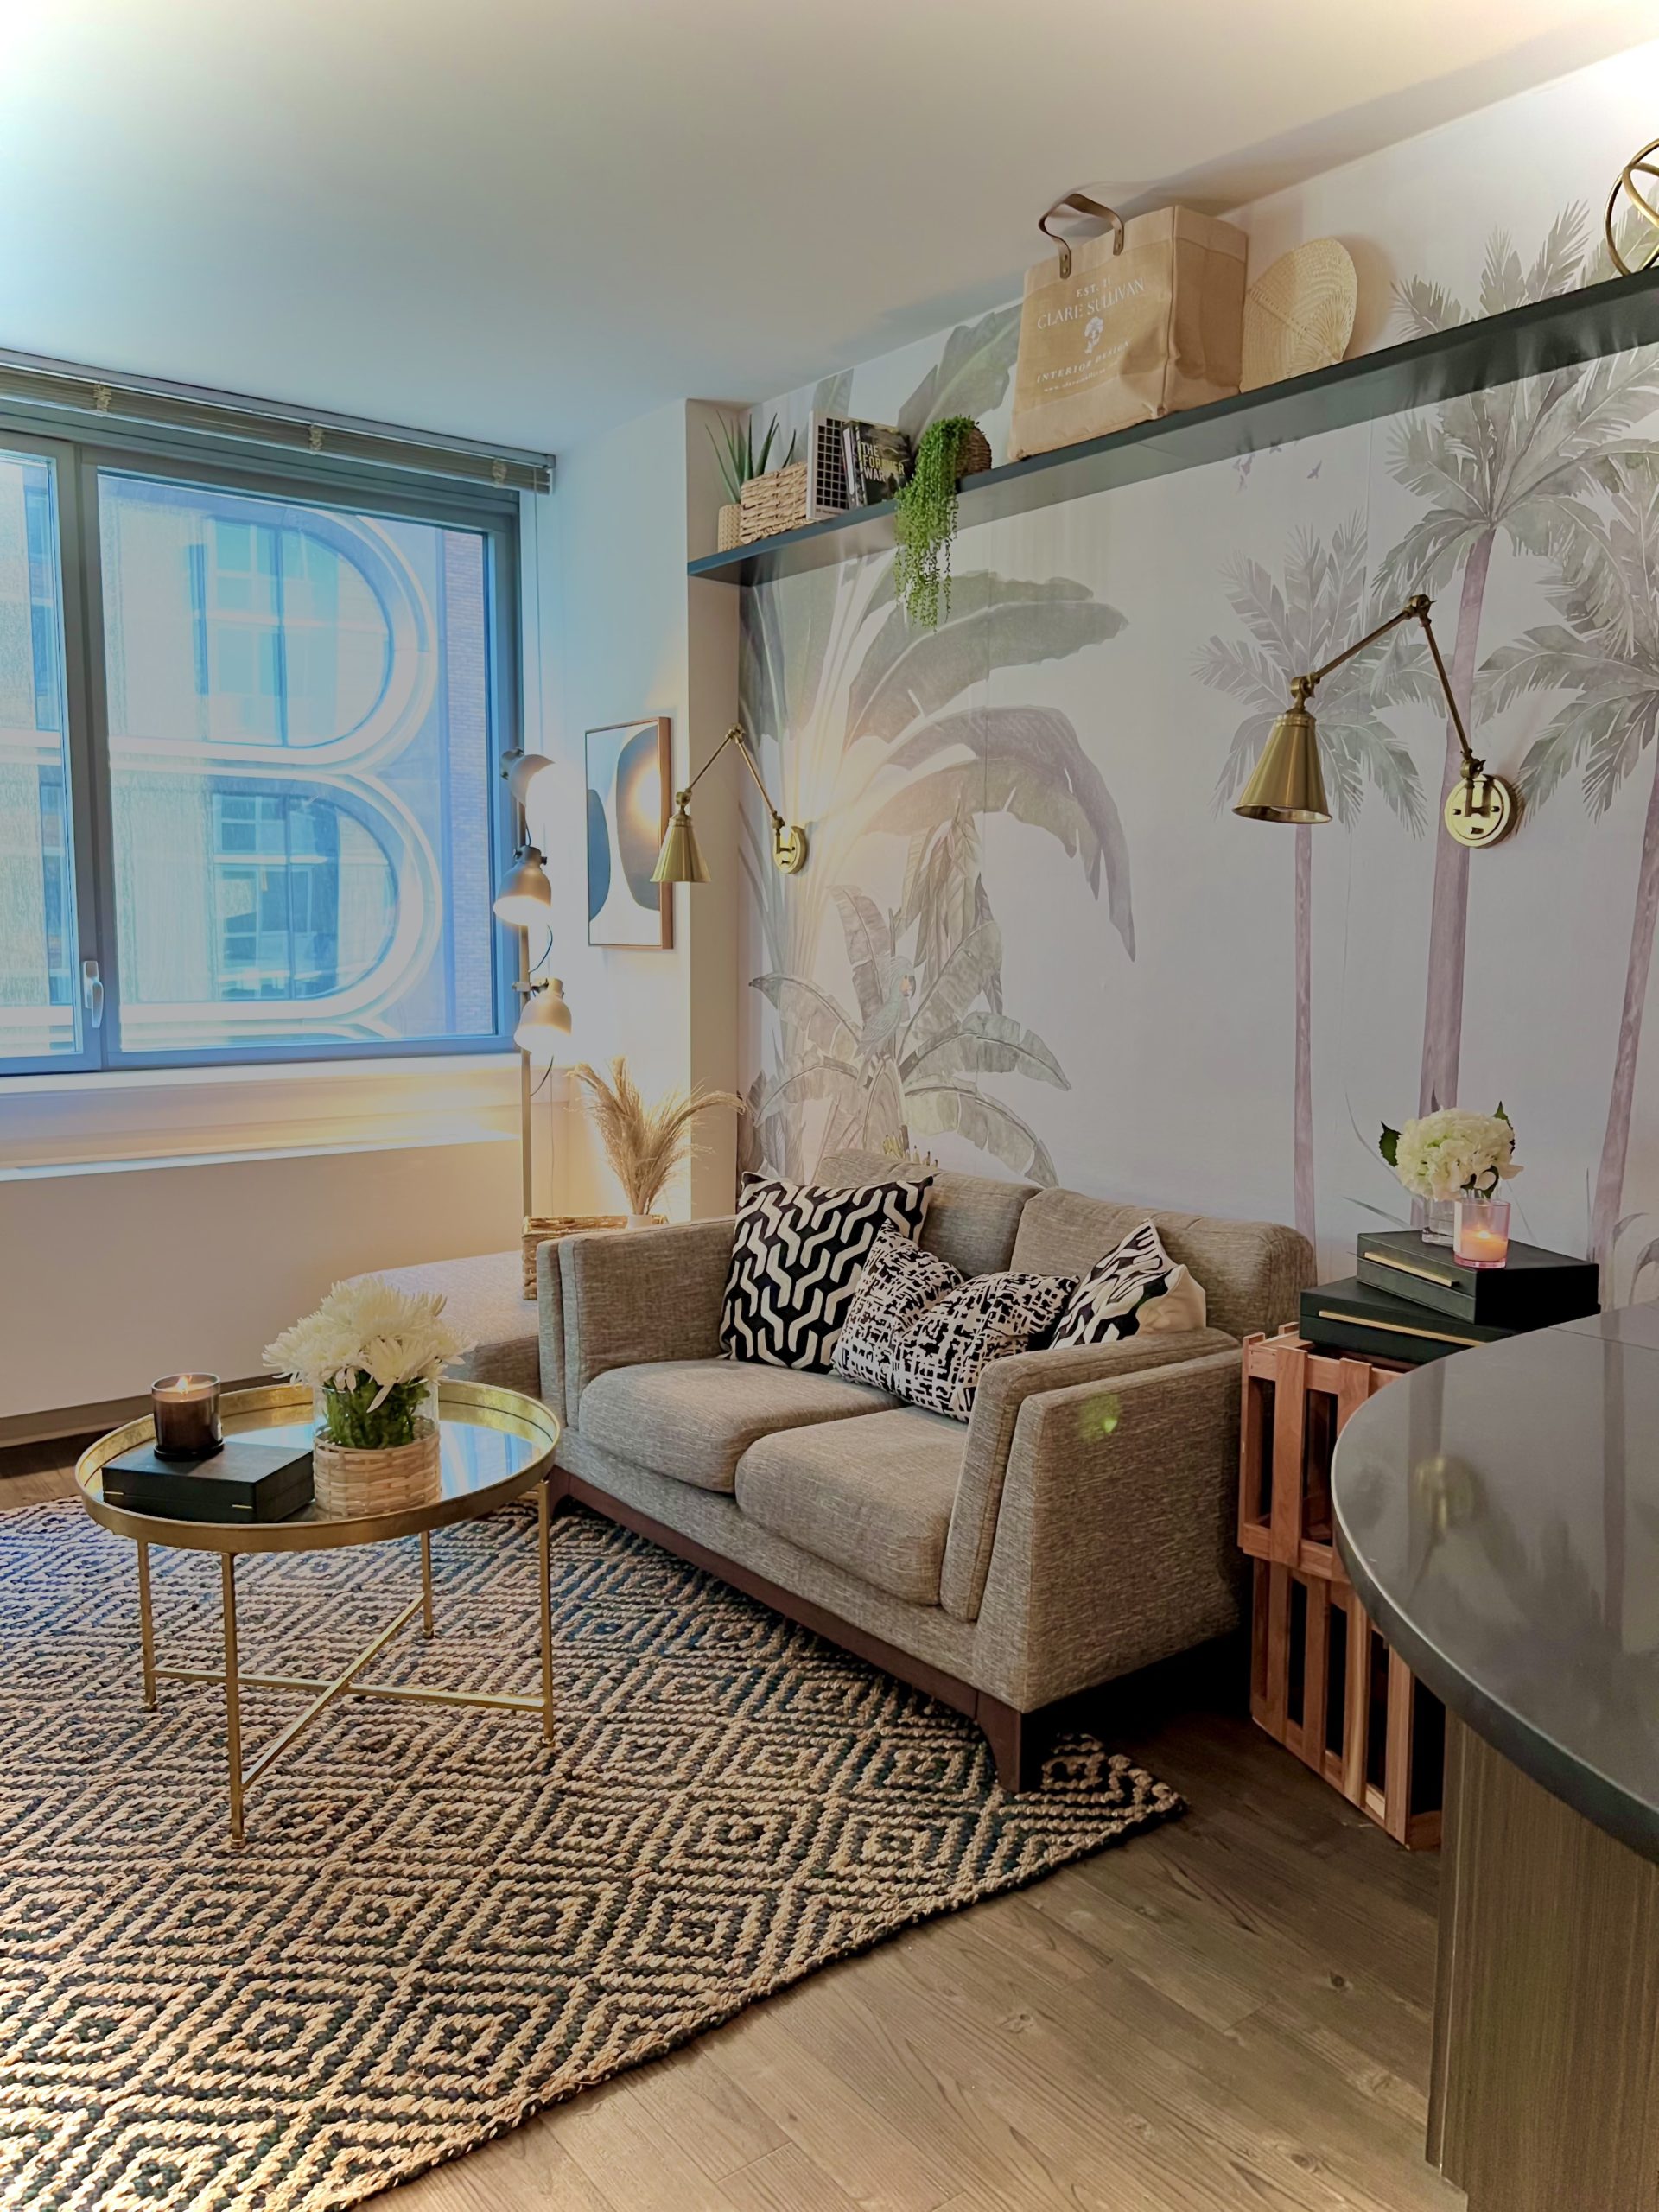
You know how runners describe a “runner’s high?” Well I definitely don’t run- like at all- but I imagine the feeling is akin to the one I get when I finish a design job – sweet relief and a massive endorphin rush after putting my literal blood, sweat and tears into it.
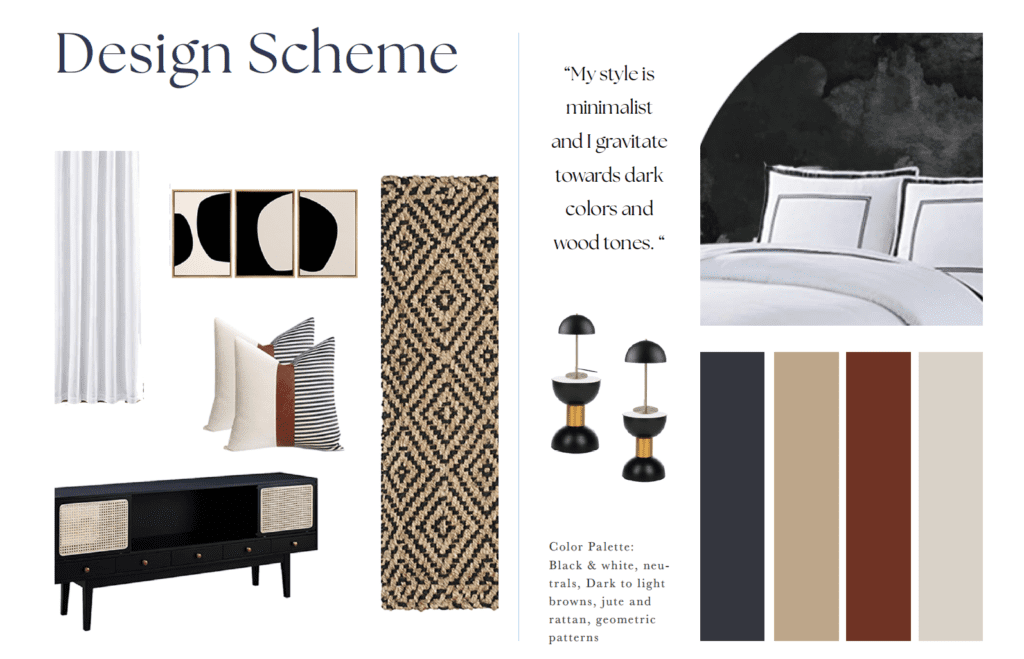
This project was a challenge for me for a few reasons: first up, I don’t usually choose the color black and I tend to shy away from muted tones in my designs. But my dear friend Ben, the client in this situation, is color-blind! And he’s also a bit of a minimalist – *another* challenge, since my literal life motto is “more is more.” Also, it’s a challenge in and of itself to redesign an entire studio apartment for under $2,000 — but this is budget luxury and THAT is what we set out to accomplish.
In order to get this project off the ground, I turned to SketchUp, the most intuitive and simple design software (learned it in grad school), to reimagine his space. I took a trip to his apartment ahead of time and measured it out from top to bottom with my trusty assistant, Hannah. Then I set out to source all the pieces that would make my mockups really come to life. I turned to Amazon for help here, and you can view everything we purchased on this curated Amazon list: https://amzn.to/3yVmoRR
Here are what my mockups looked like:
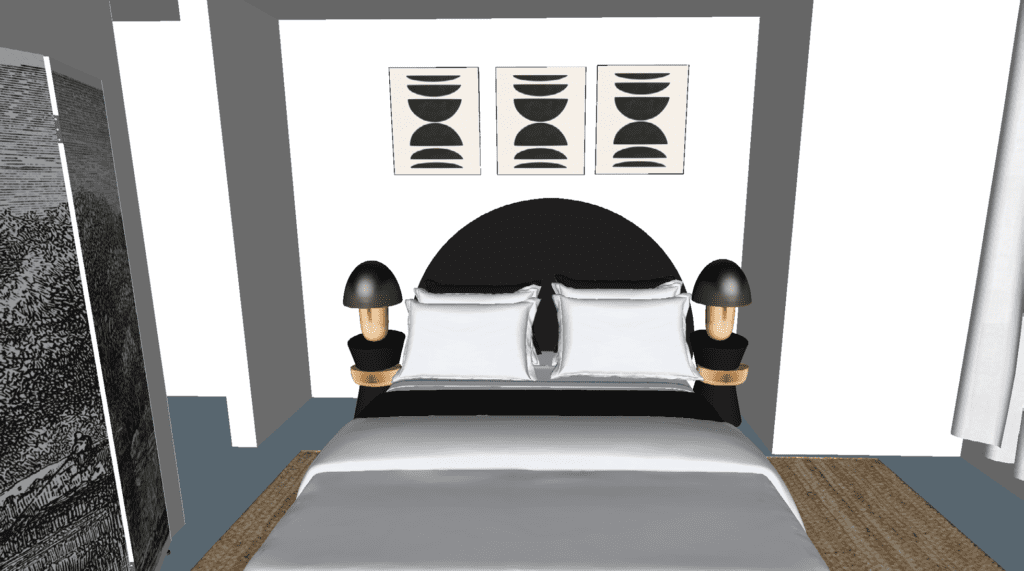
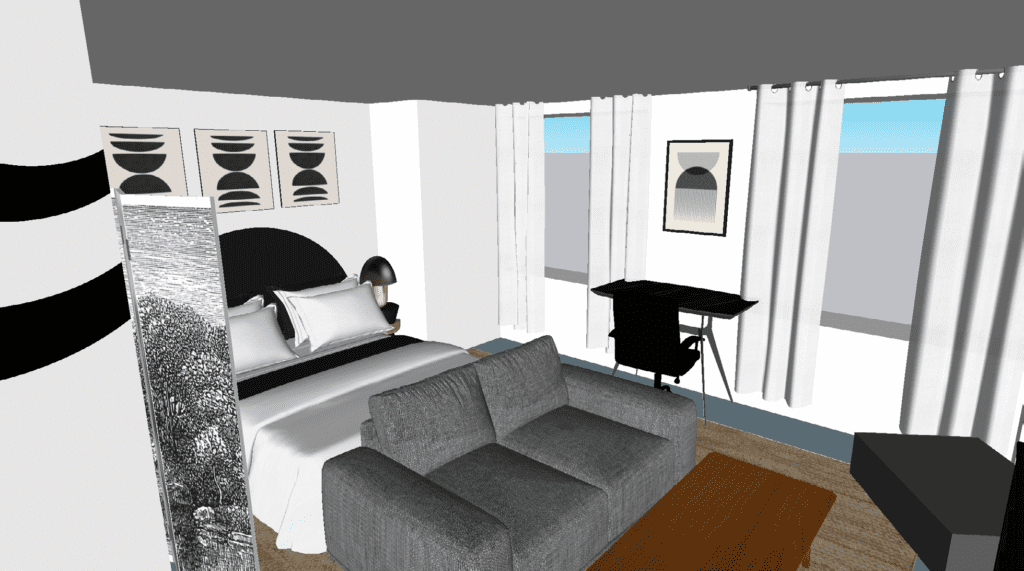
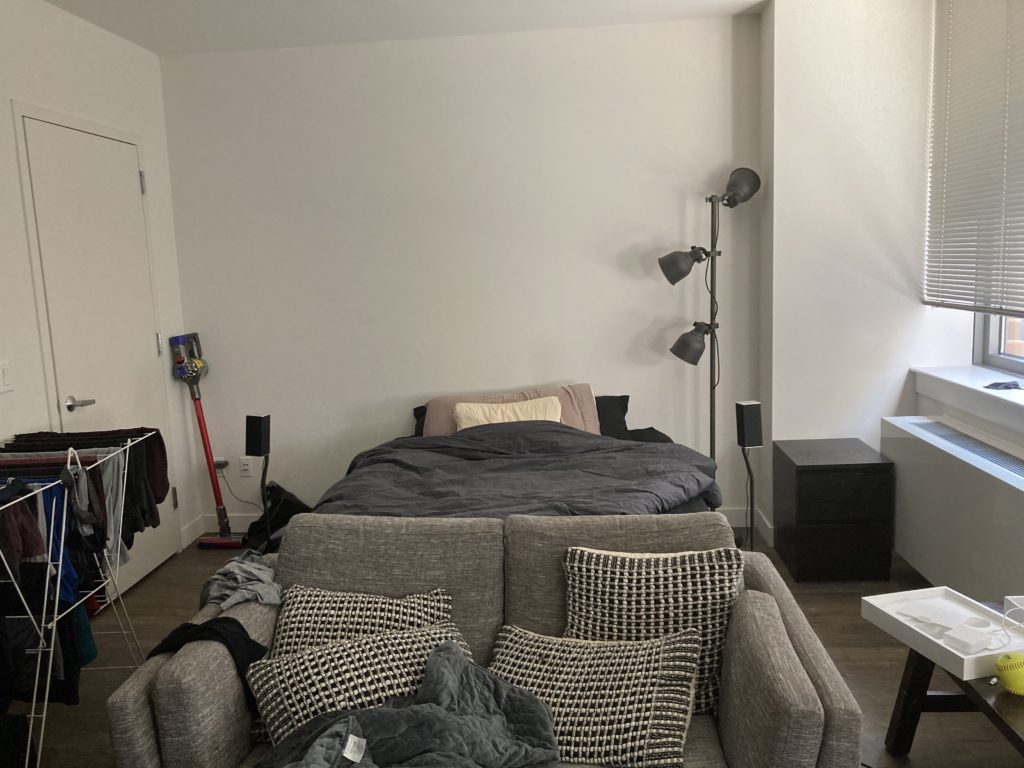
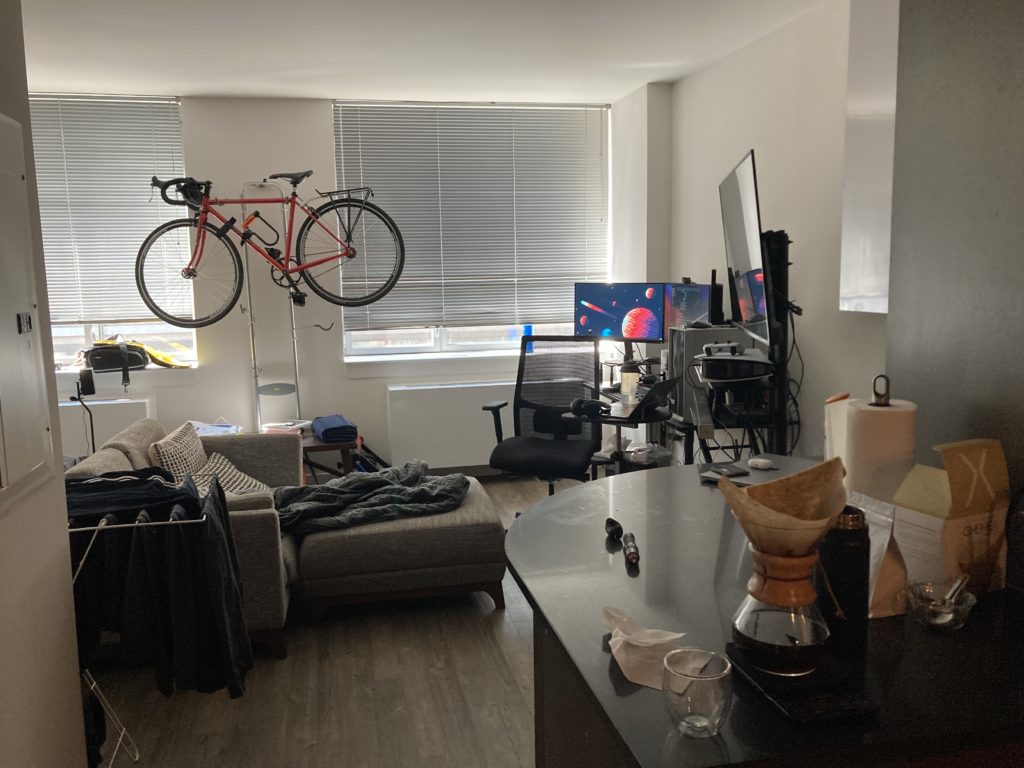
For reference, here is the before:
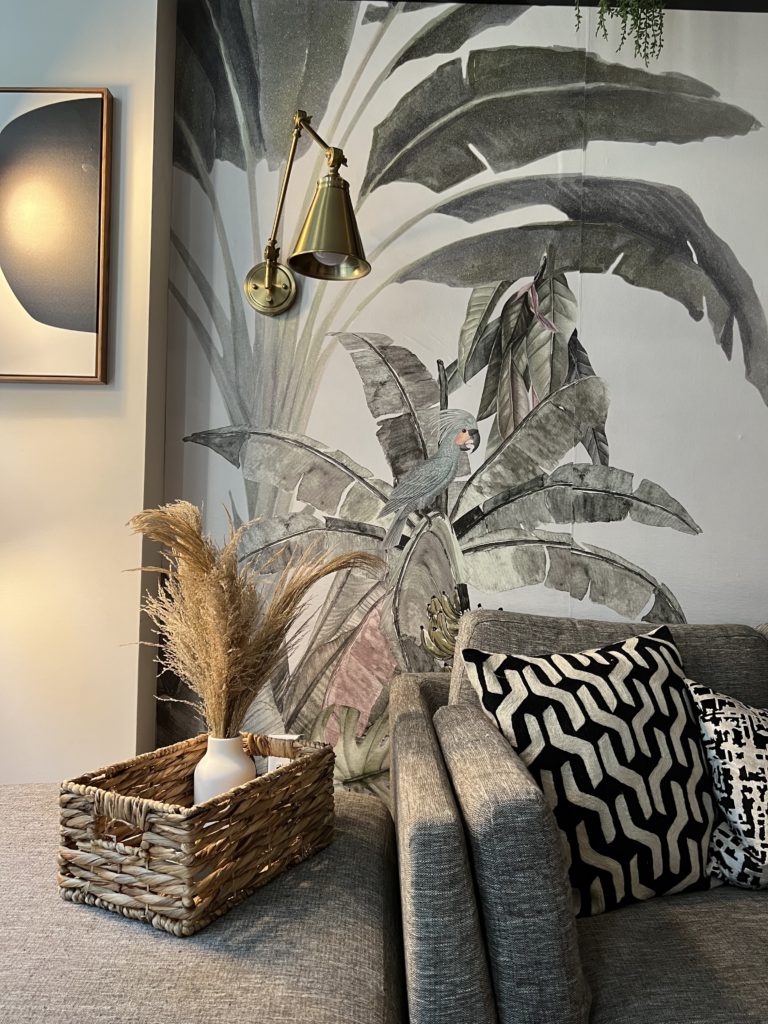
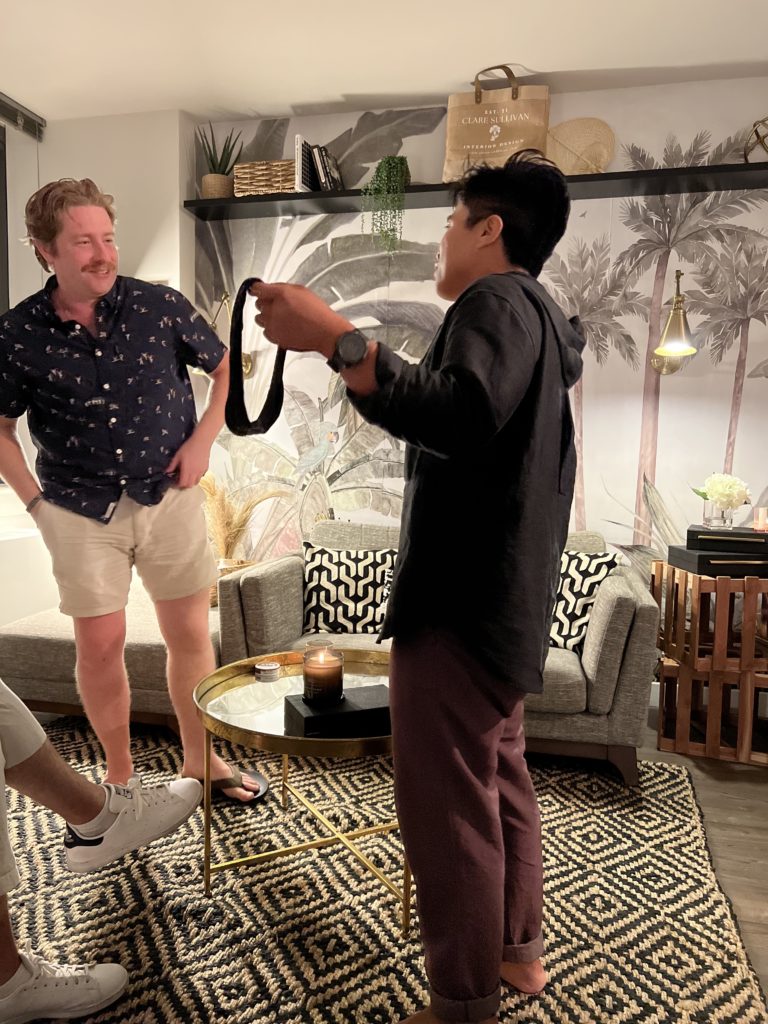
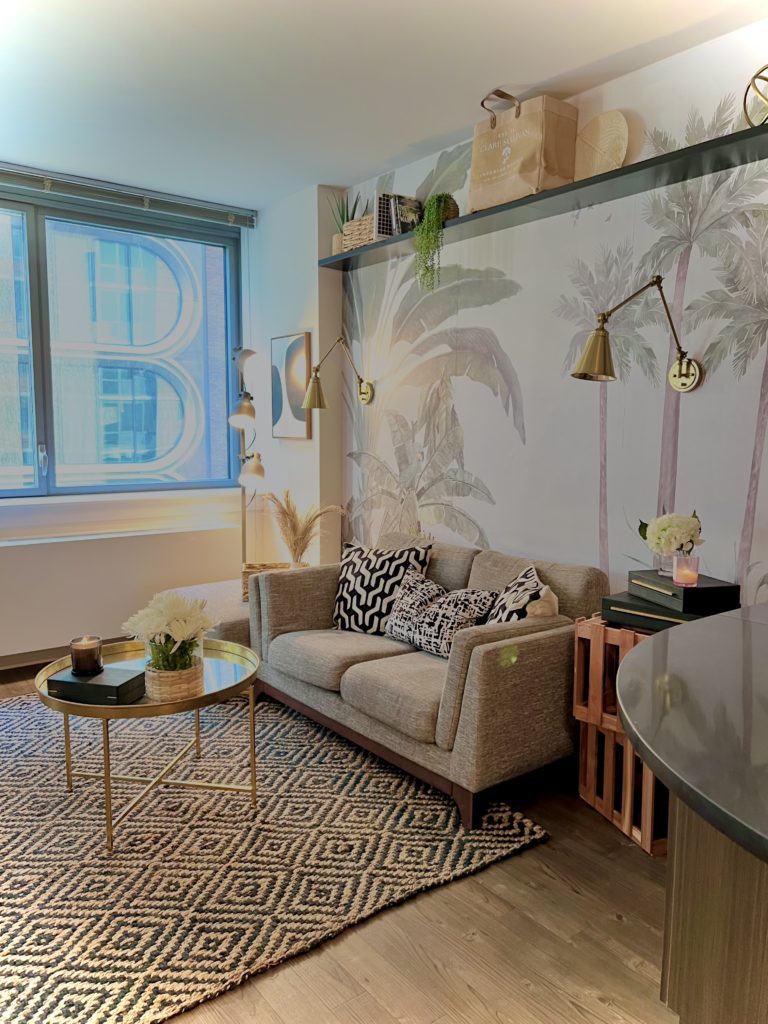
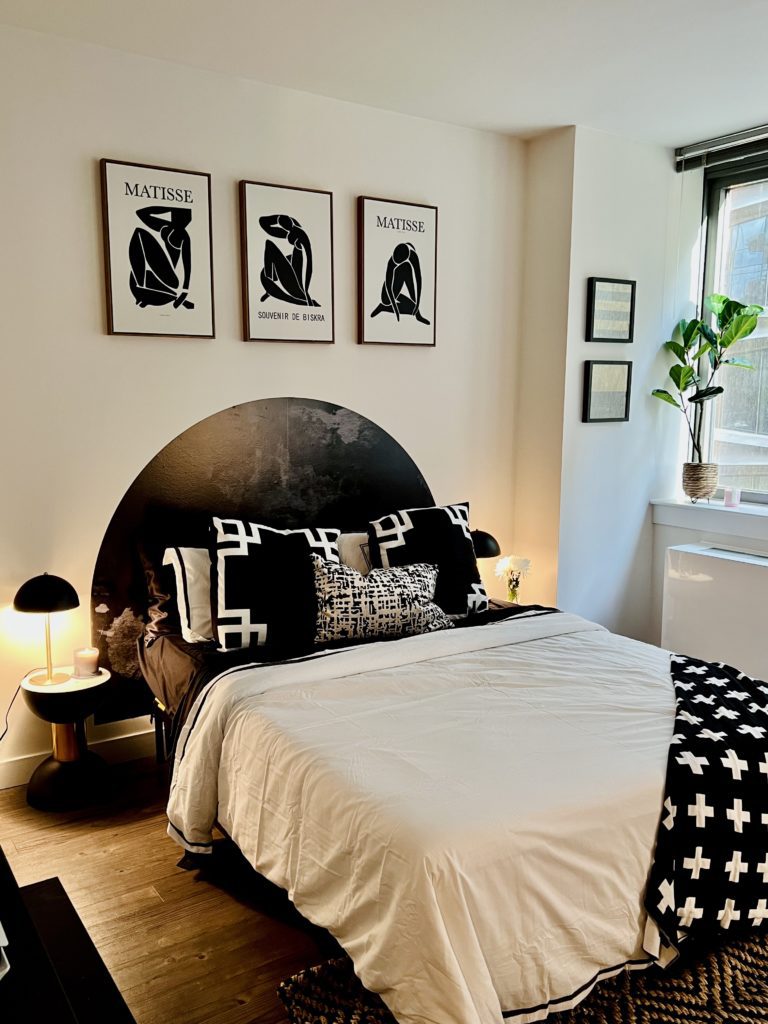
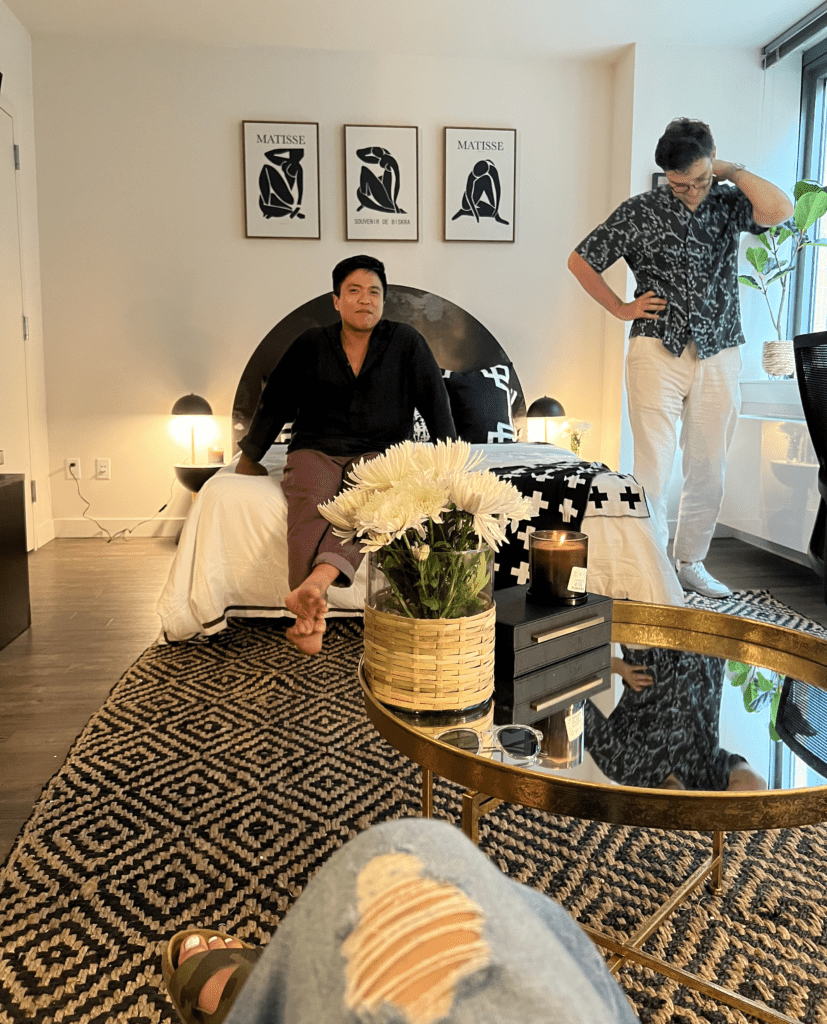
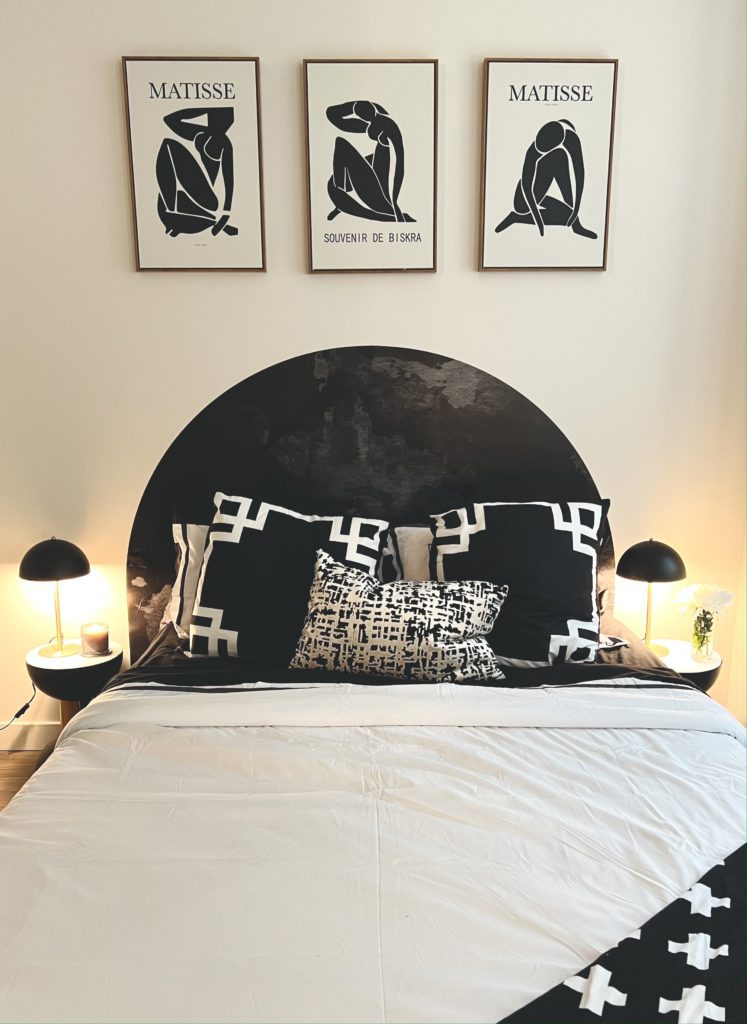
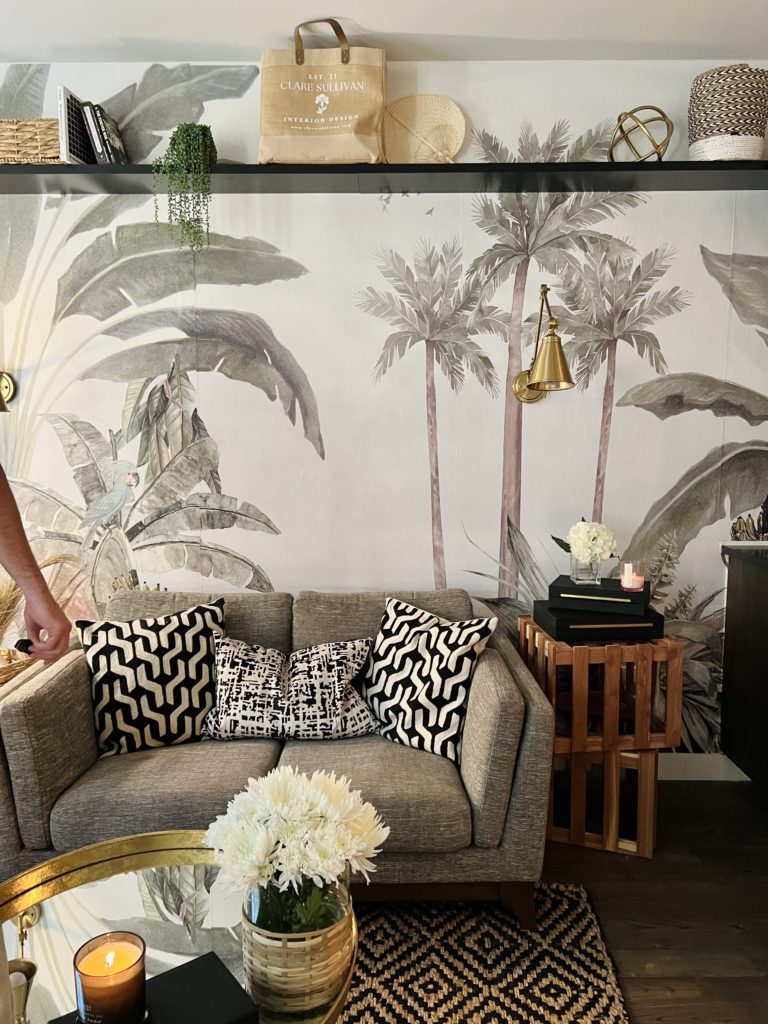
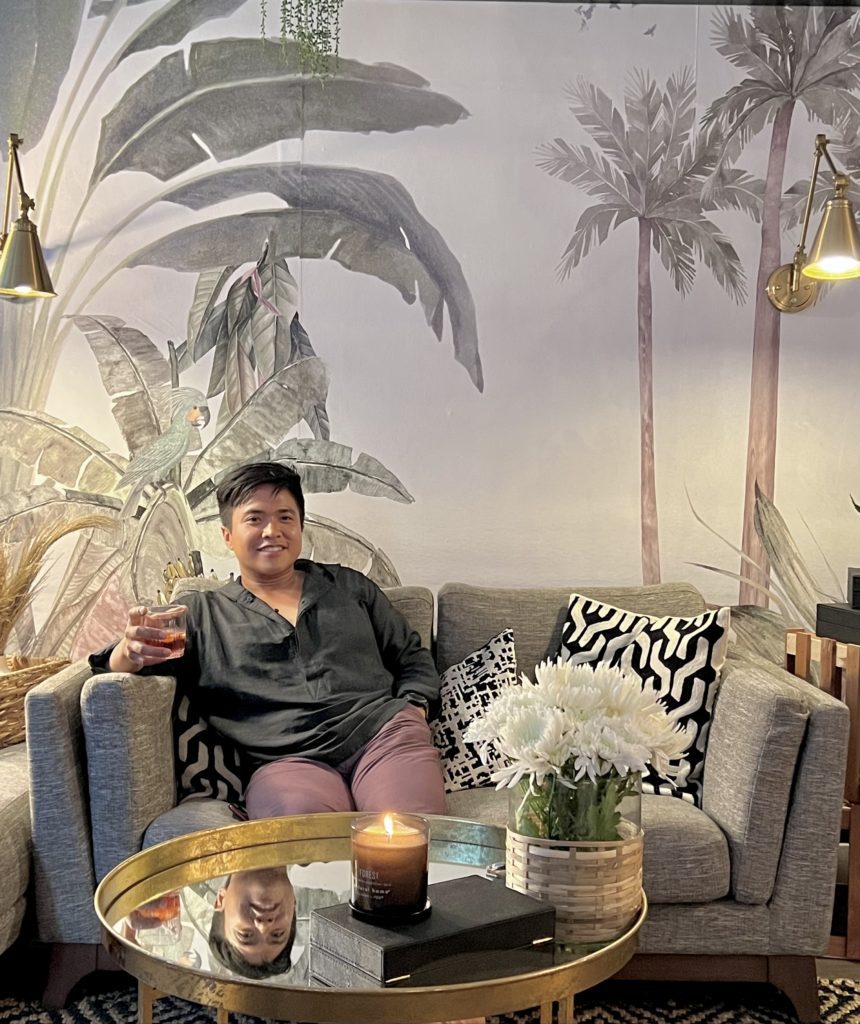
And *spoiler alert* after 10 hours of physically exhausting work, HERE IS THE AFTER! Look at how cute Ben is!!
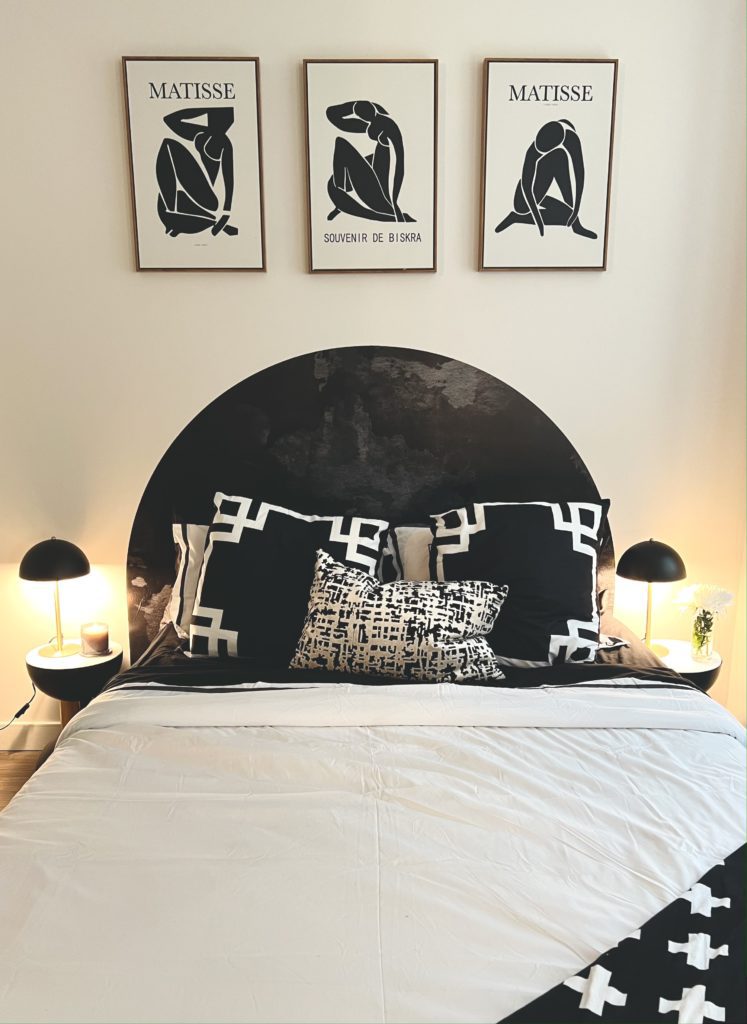
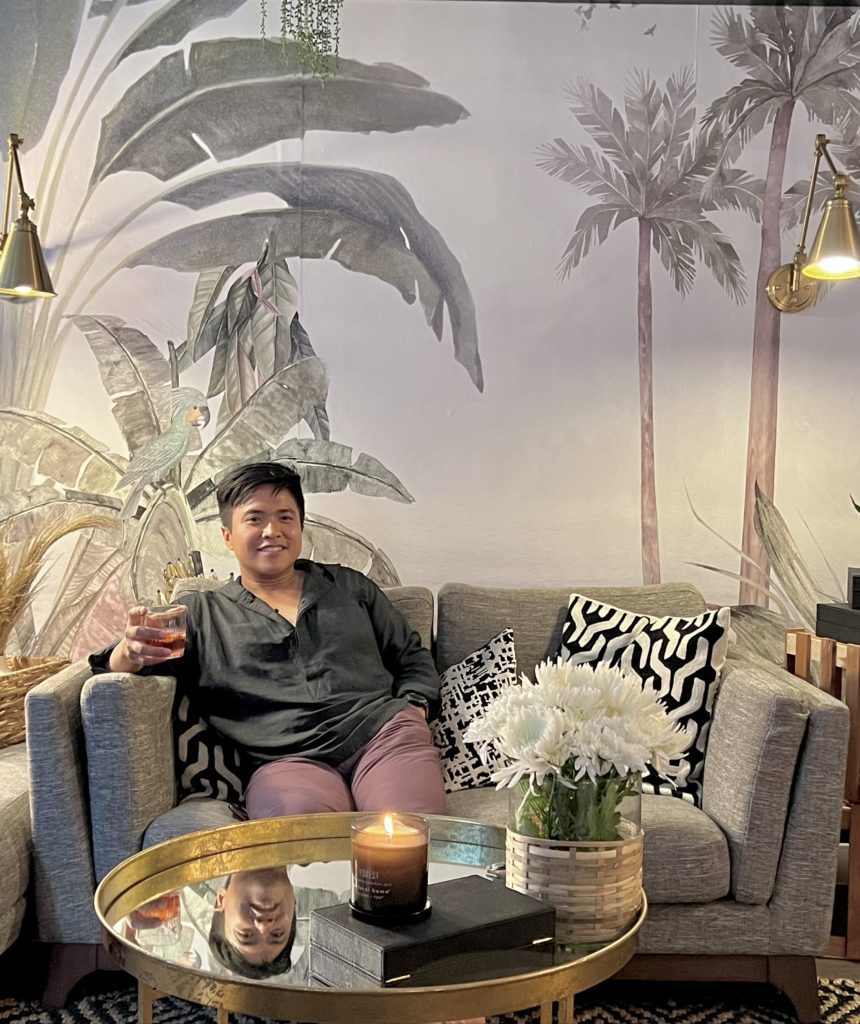
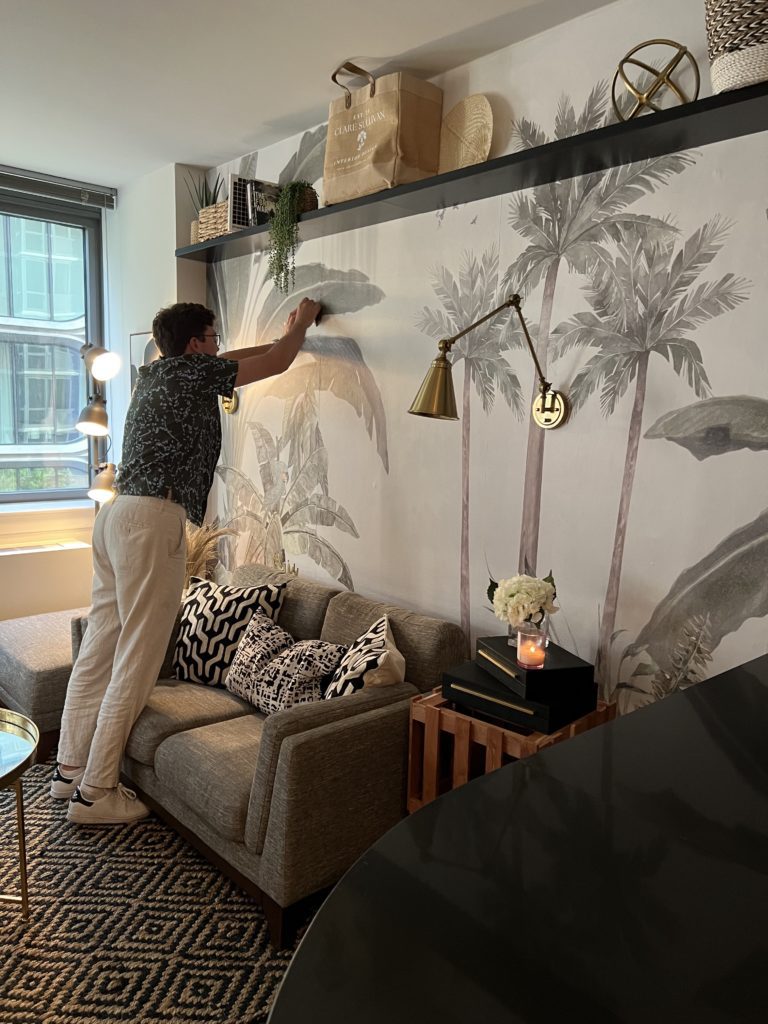
I surprised Ben with the fabulous (yet apparently controversial, according to my TikTok comments) wallpaper mural seen behind him in the right pic above. I made the sorry mistake of thinking it was peel and stick when, in reality, it came with (renter friendly) GLUE that we had to MIX OURSELVES. Poor little Hannah and I stirred powdered glue and water and spread it with our bare hands on the backs of each wallpaper panel. Did I mention I was absolutely determined to get the installation of this project done in just one day? Yep. After ordering everything we needed, we got to work at 8 AM and hit the ground running – unboxing item after item, building furniture, adhering wallpaper and even drilling in shelves and a TV mount. I filmed the entire day, of course, and uploaded it as a 10 part series on my TikTok which you can view by clicking below! Hope this post inspires & helps you with your own #BudgetLuxurywithClare Project!
PART 1 – INSTALL INTRO
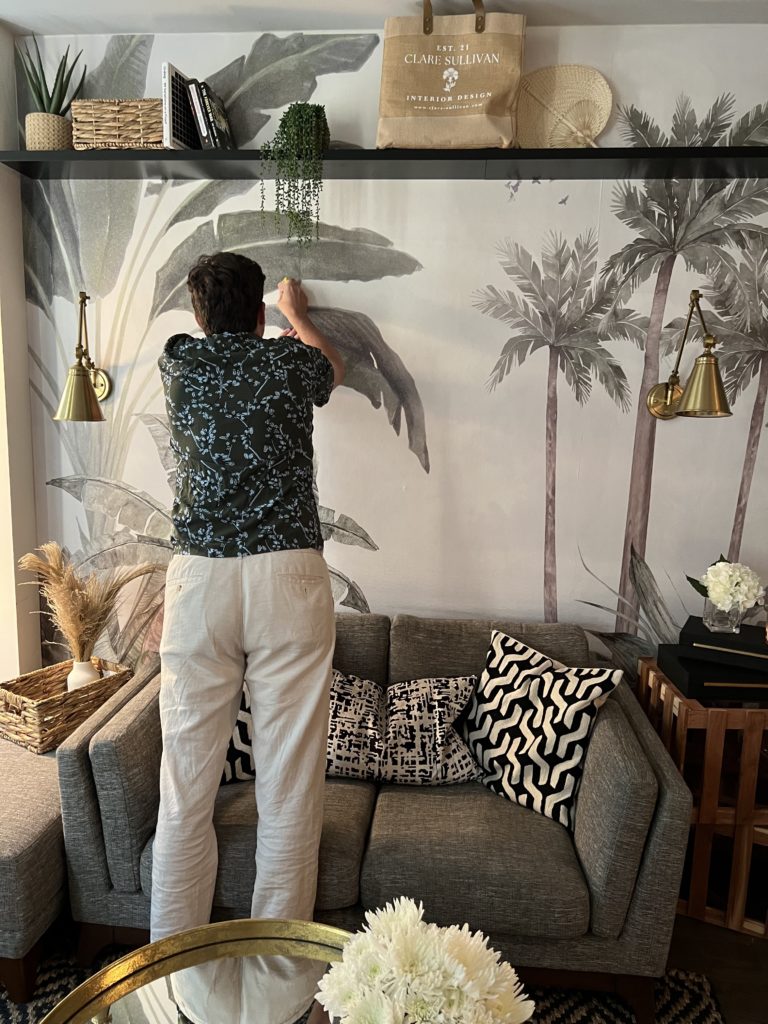
PART 2 – WALLPAPER MURAL
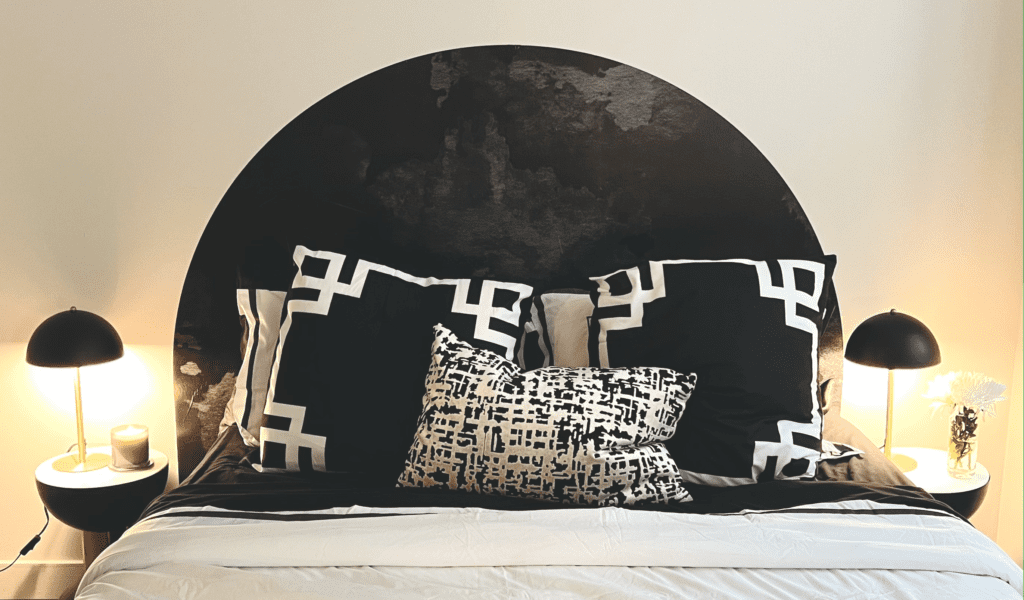
PART 3 – BUDGET LUXURY STICK ON “HEADBOARD”
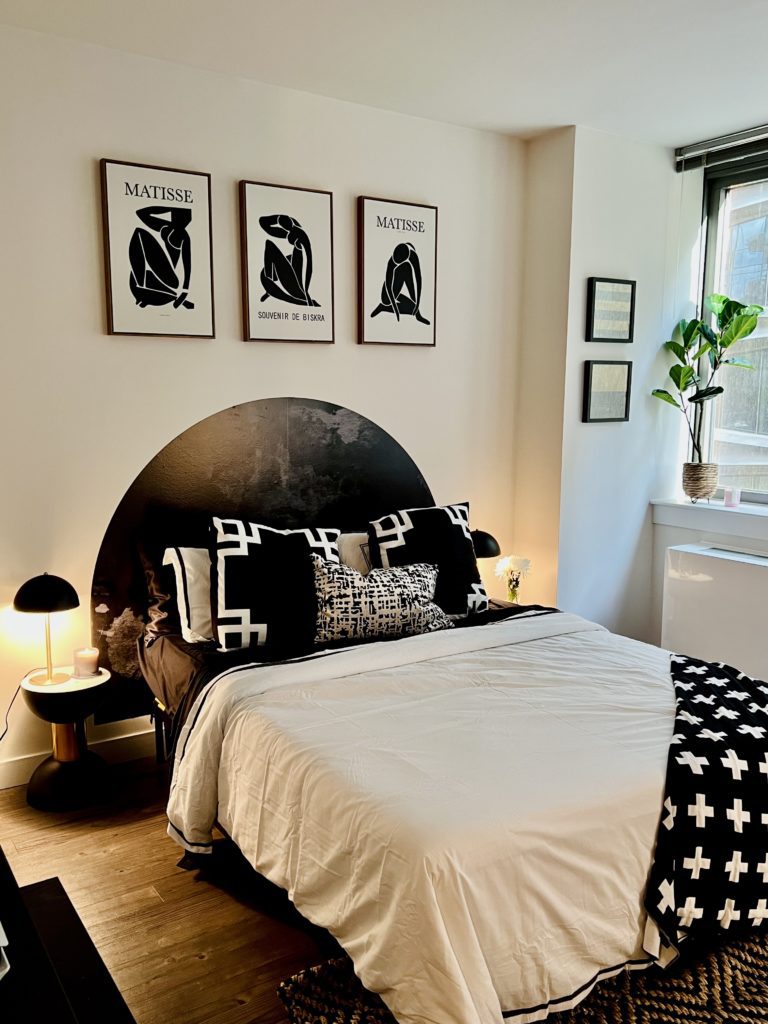
PART 4 – MAKING THE BED
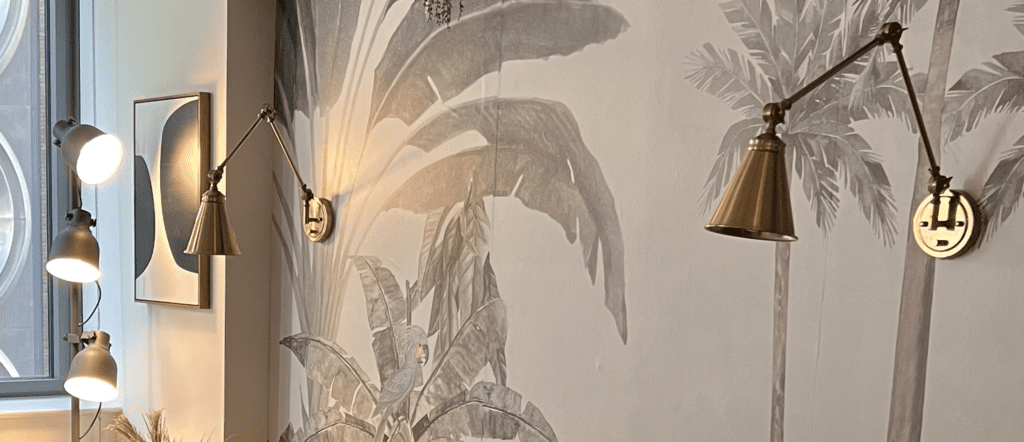
PART 5 – INSTALLING WIRE-FREE SCONCES
PART 6 – EXTRA TOUCHES
PART 7 – TV MOUNT WITH TASK RABBIT HELP
PART 8 – MINI BAR SET UP
PART 9 – THE REVEAL
PART 10 – BONUS FOOTAGE
CATEGORY
POSTED
7/13/2022