April 25, 2023
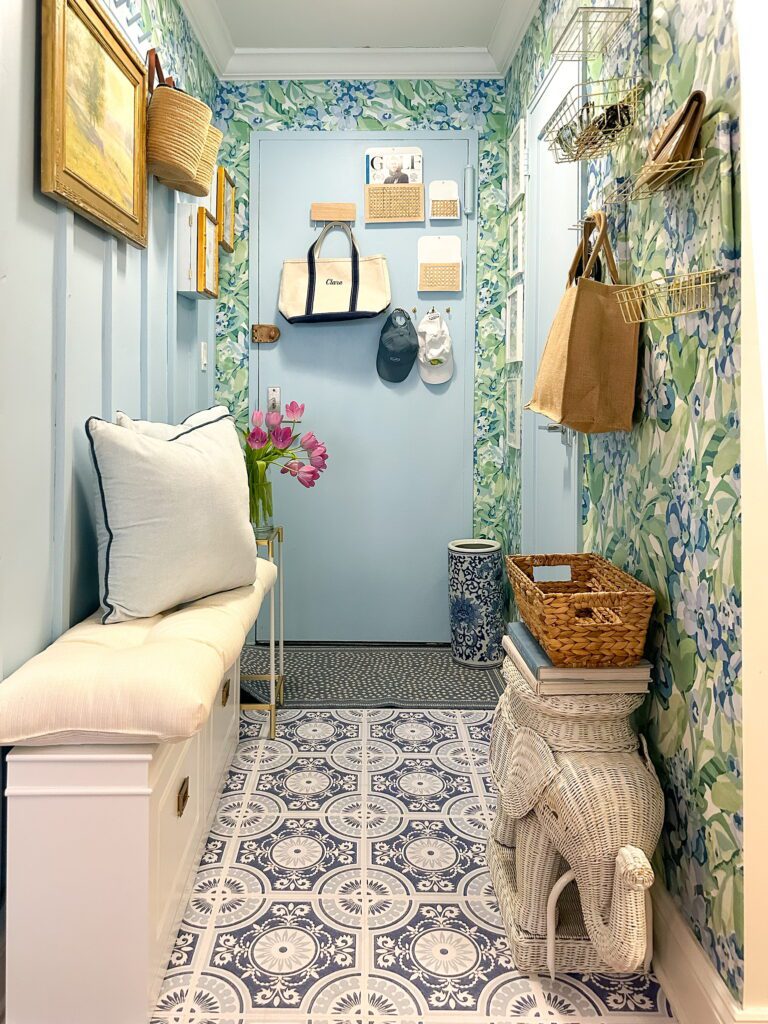
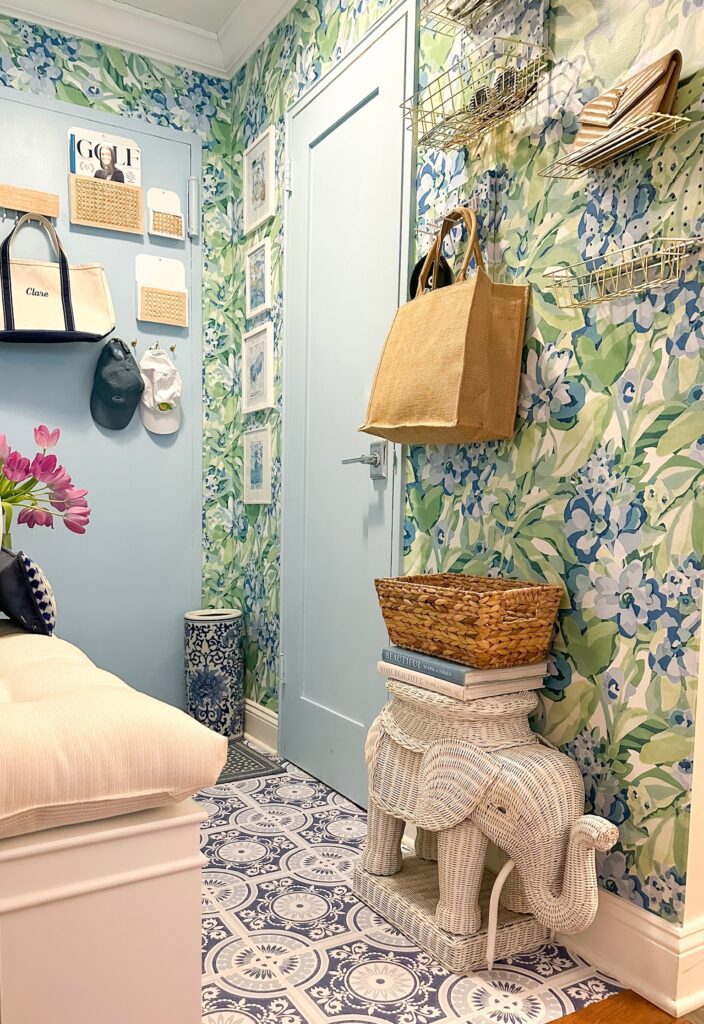
Welcome to my fresh new entryway
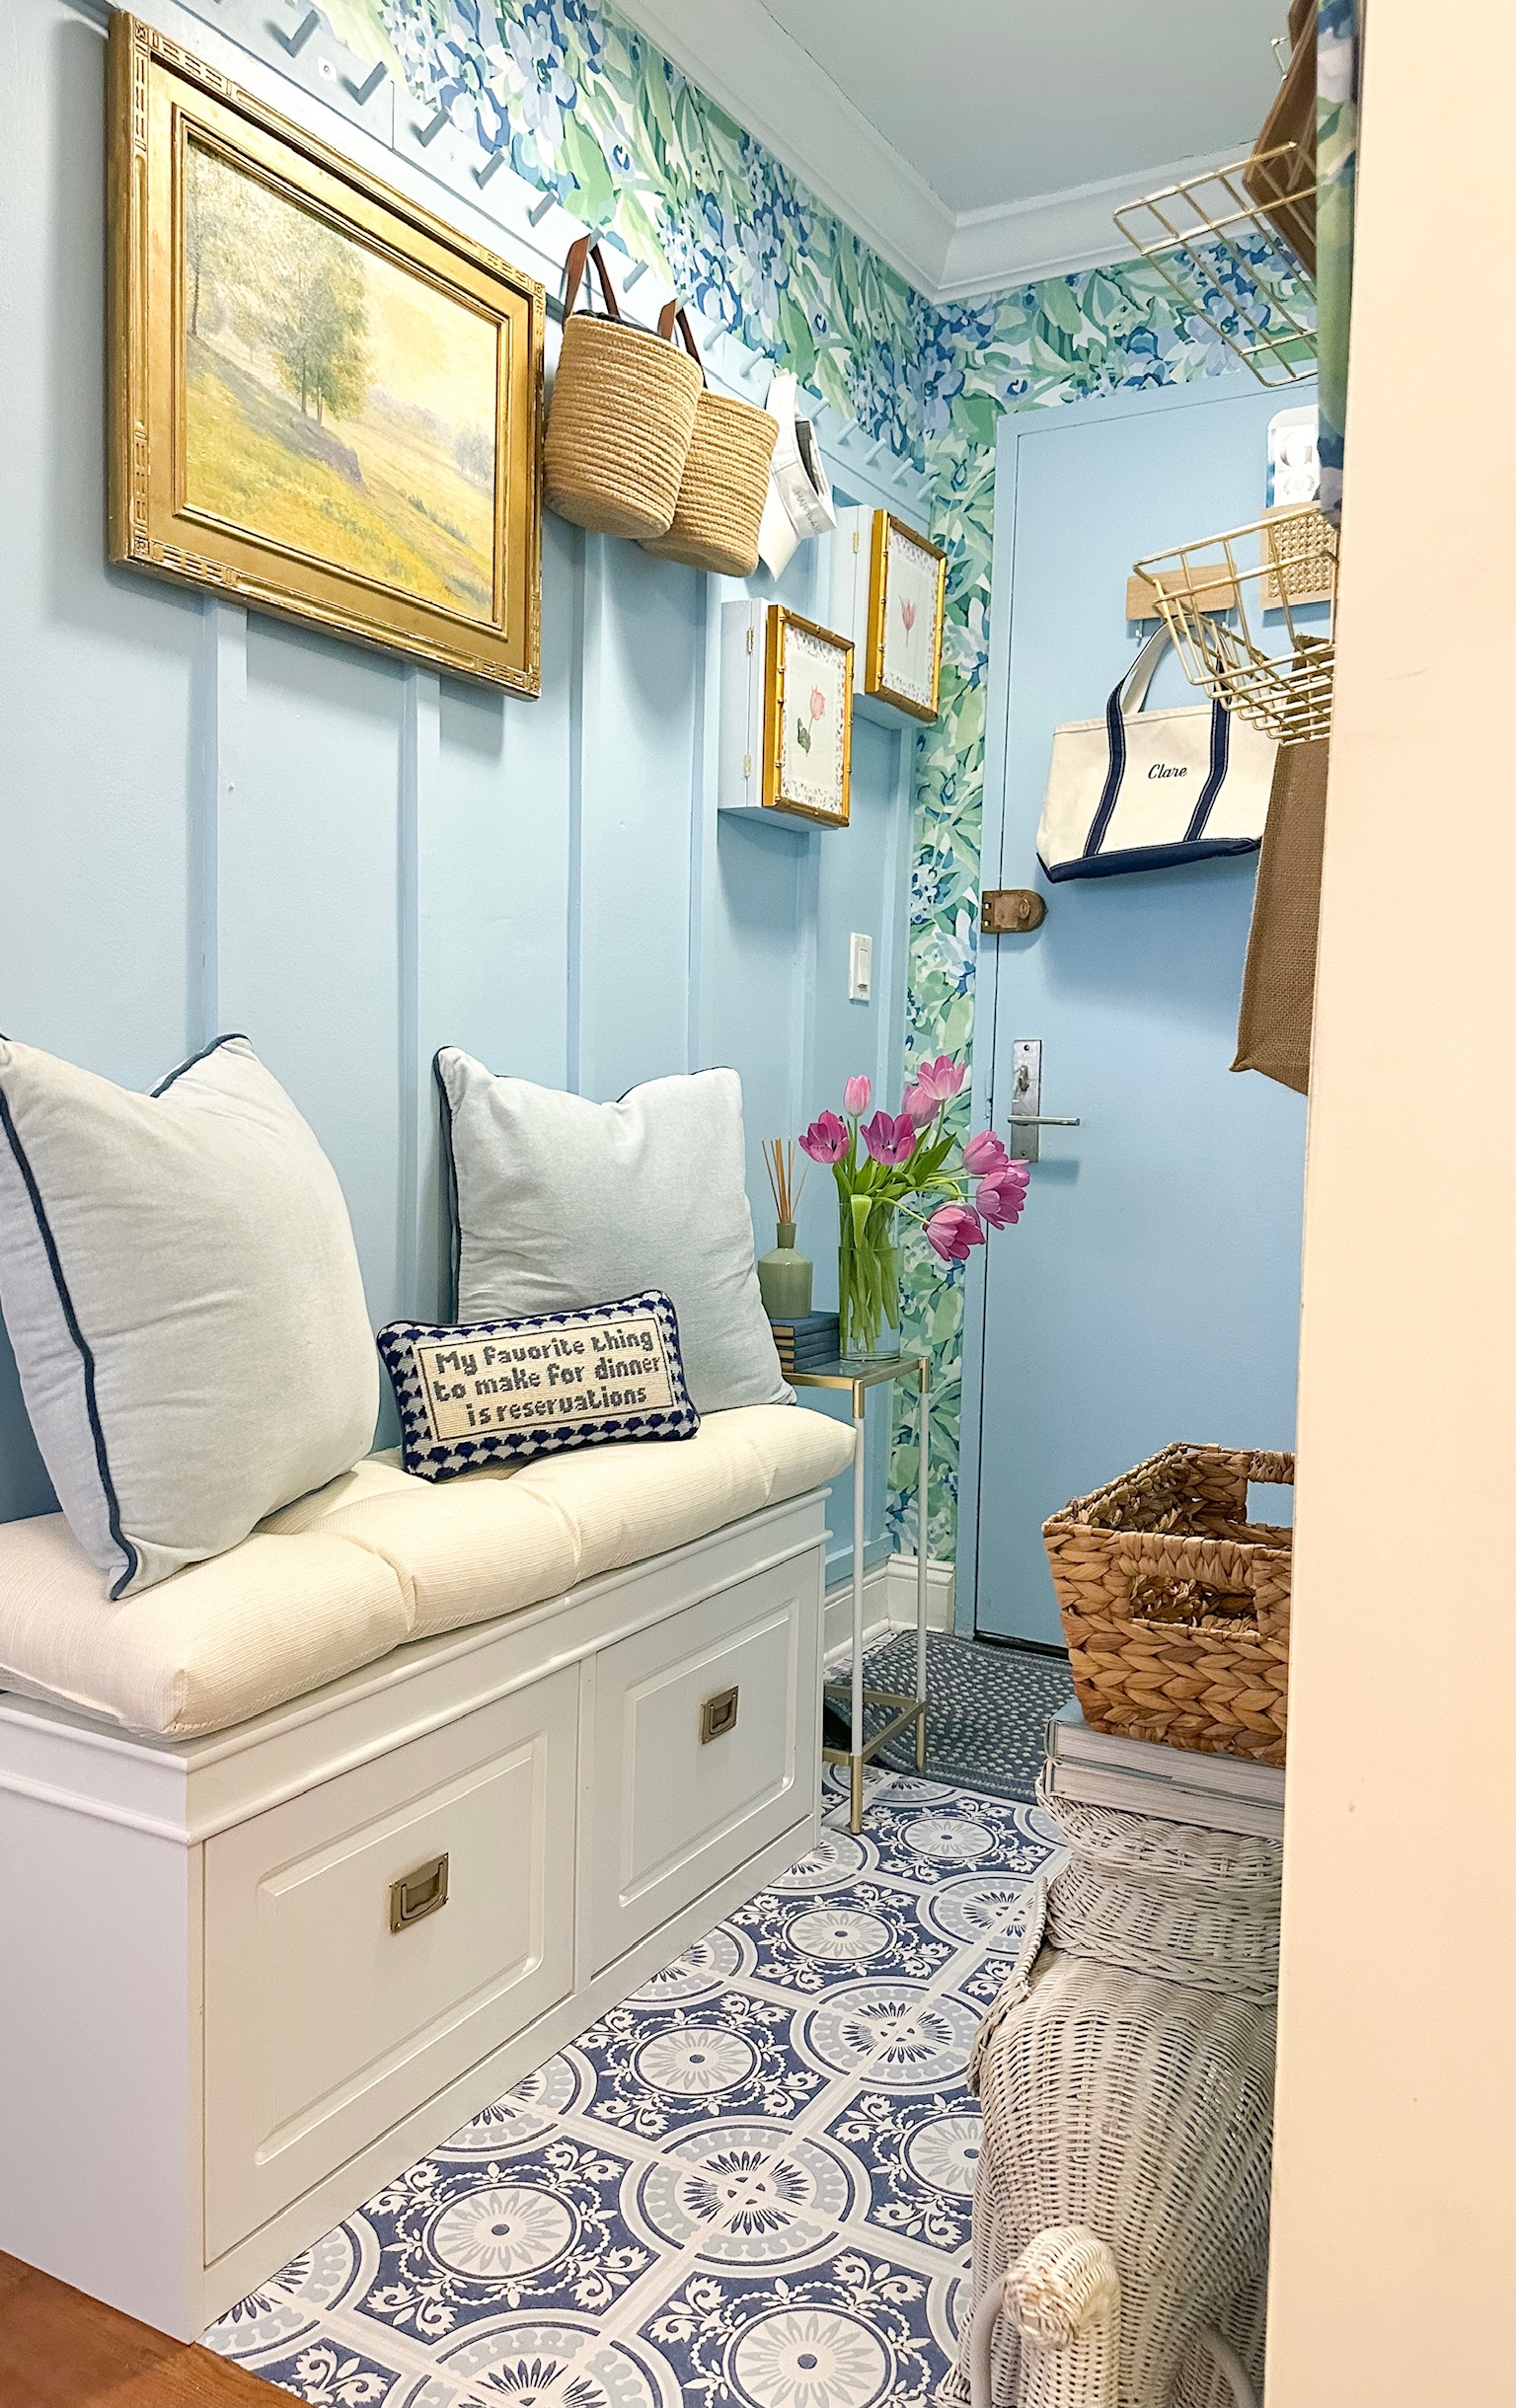
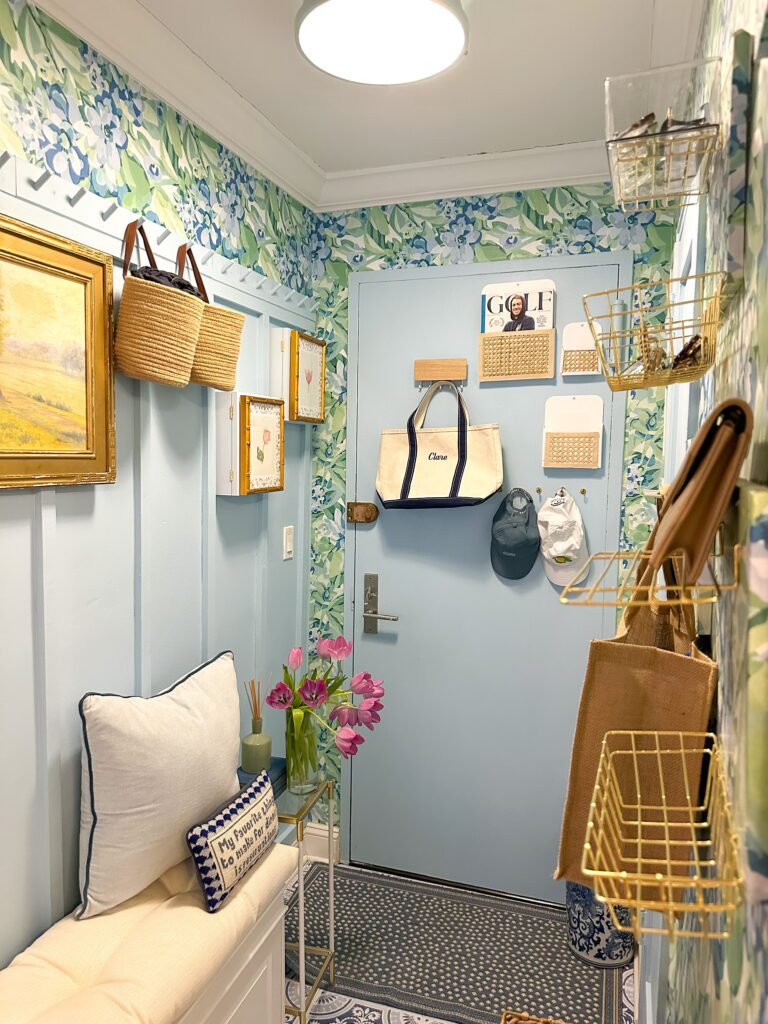
I finally finished my entryway project and it is the perfect balance of organized, functional and beautiful! This project had many different phases and I did something I don’t normally do — I took days long breaks in between the different steps in this project instead of rushing to complete it all in a day. The first things I did was add DIY wood paneling, fresh paint (who remembers the neon green that came before this calming blue?!), and press-on tiles and peel and stick wallpaper. I will call this all phase 1. Phase 2 came quickly after and was prompted by a very timely brand deal with Benjamin Moore. I instantly hated the vibrant green I chose for the wall paint, and was able to pick out the perfect shade of blue to redo it (blue hydrangea in their durable and washable regal select formula!). After that I took on phase three. This final phase consisted of beautiful yet functional storage and organization solutions for my small space.
PHASE 1: Stick on tiles wallpaper and wood paneling.
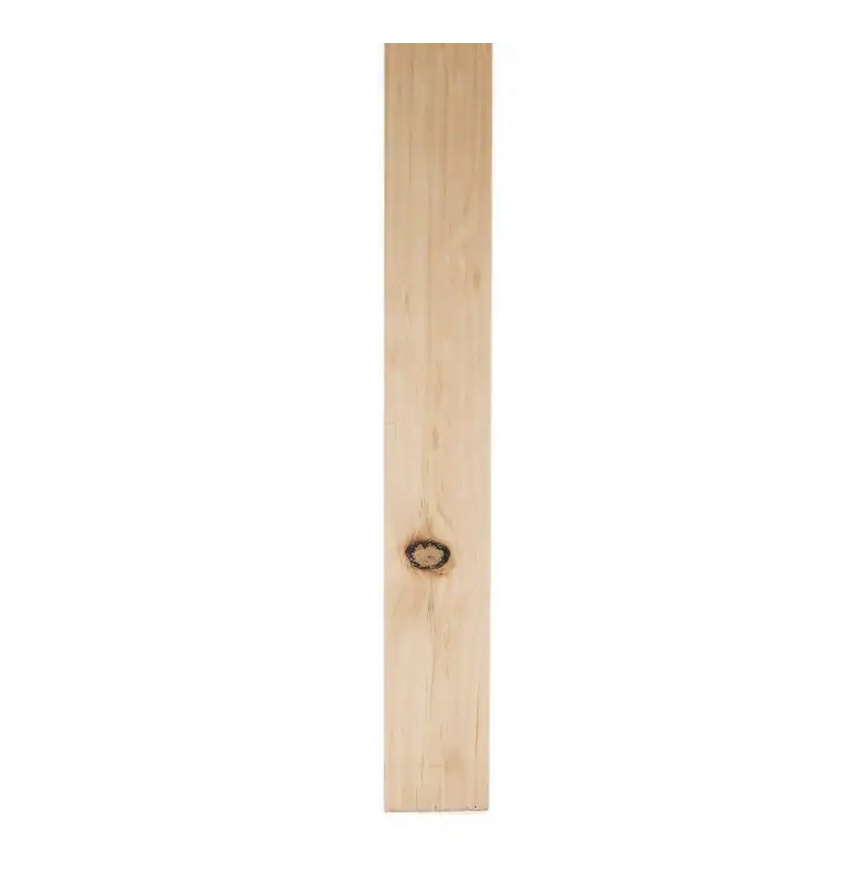
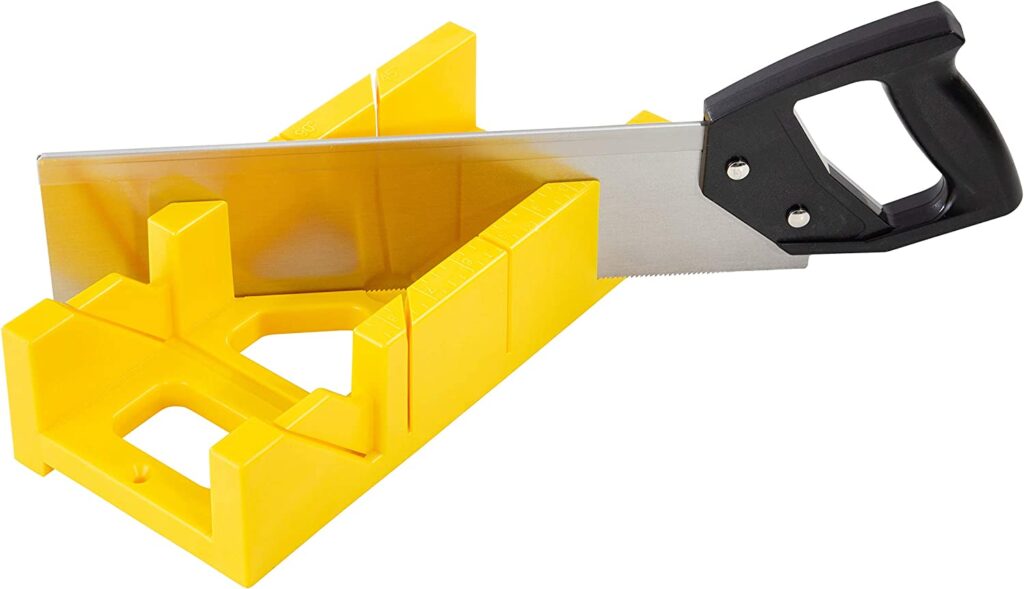
I purchased these thin wood boards from Home Depot and spaced them 10 inches apart on one wall of my entryway. I nailed them vertically halfway up the wall. I cut the boards using a mitre box and nailed one board horizontally across the top of all the boards to give it a finished look. After sanding down the imperfections in the wood, I filled in any cracks with spackling paste and painted! Pretty simple, honestly!
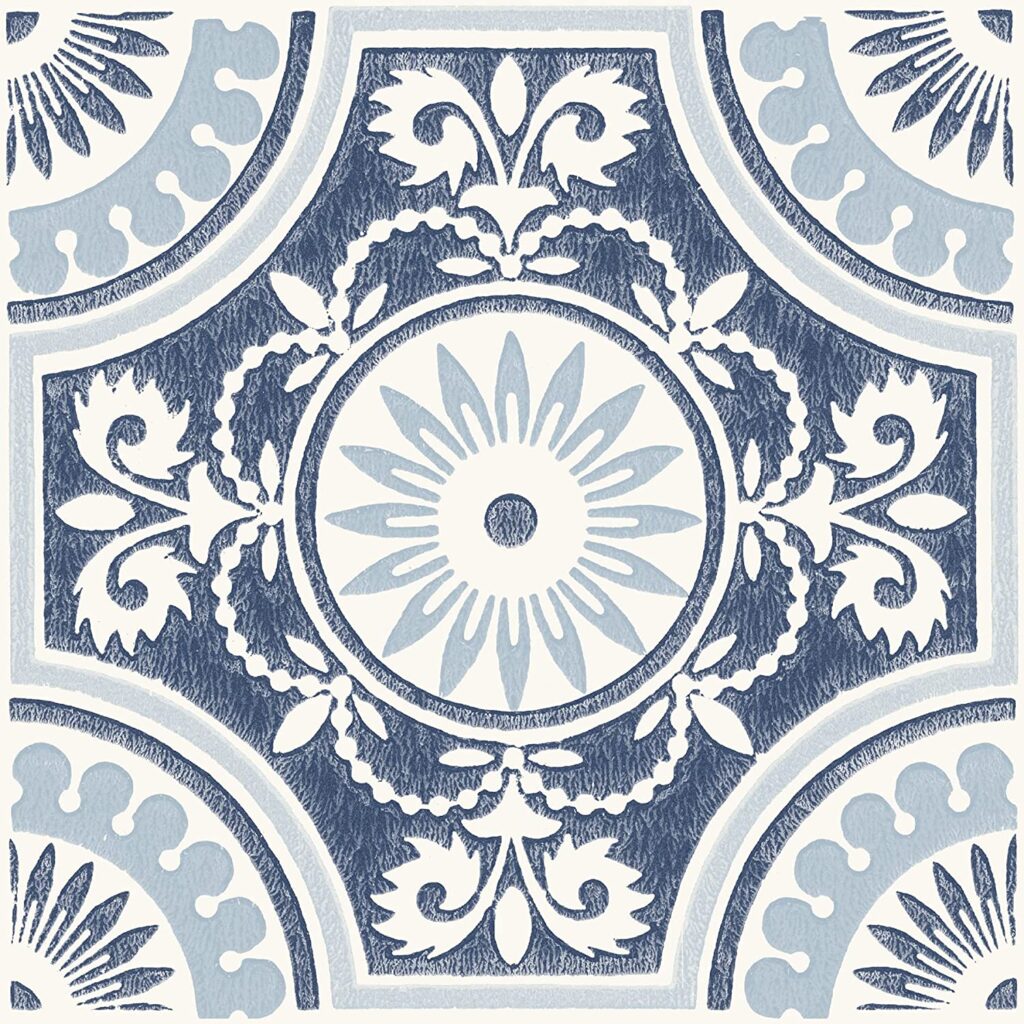
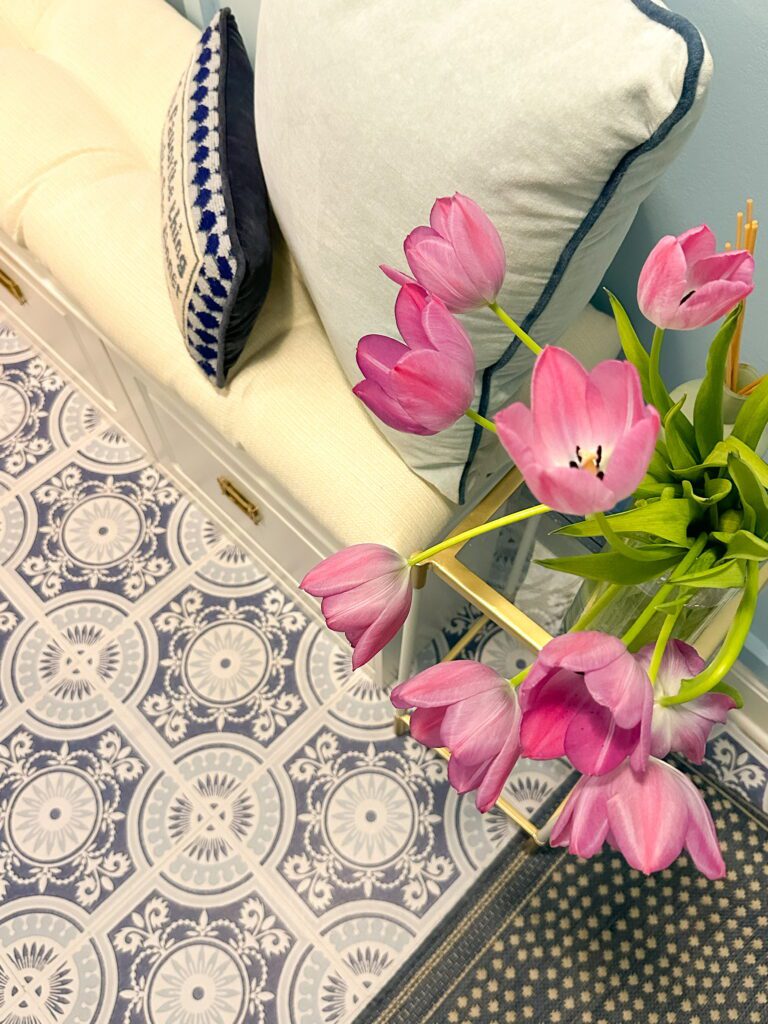
I also used these floor tiles and this peel and stick wallpaper to make it fun and inviting.
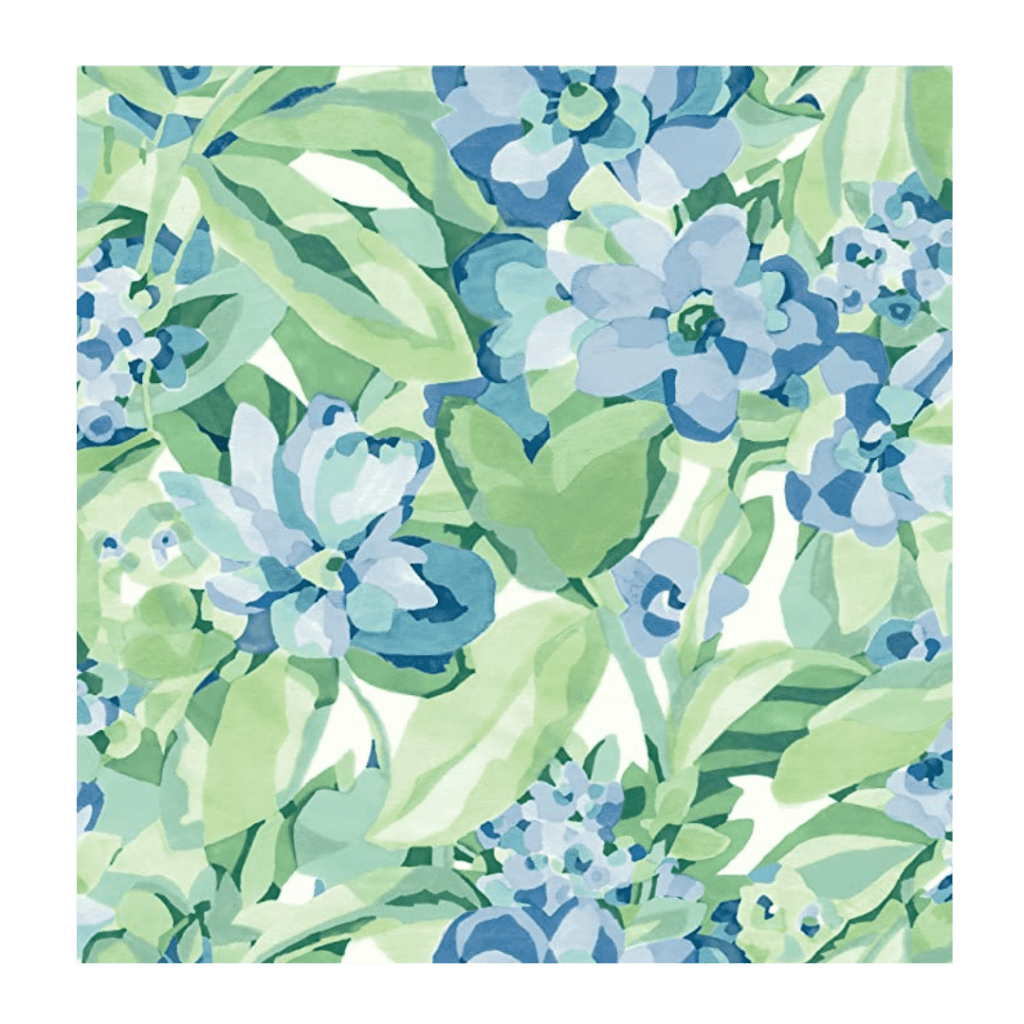
THE WALLPAPER
I knew I wanted something fun and beautiful yet somewhat easy to match with the rest of my apartment. I was so excited when I found this one.
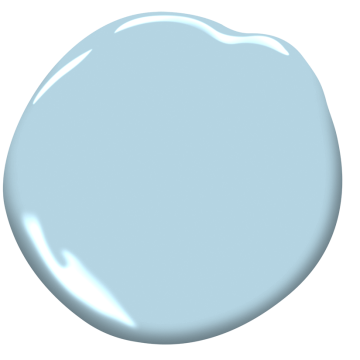
PHASE 2: Painting with Benjamin Moore.
After regretting my bright green paint choice, I repainted with this fabulous blue tone from Benny M. I love how calming this color is and how well it matches both the wallpaper and the floor tiles.
PHASE 3: Storage and organizing with beauty.
I wanted to have a place for everything and for everything to be in its place, but there really wasn’t a whole lot of storage solutions that weren’t boring or ugly, so I DIY’d my own.
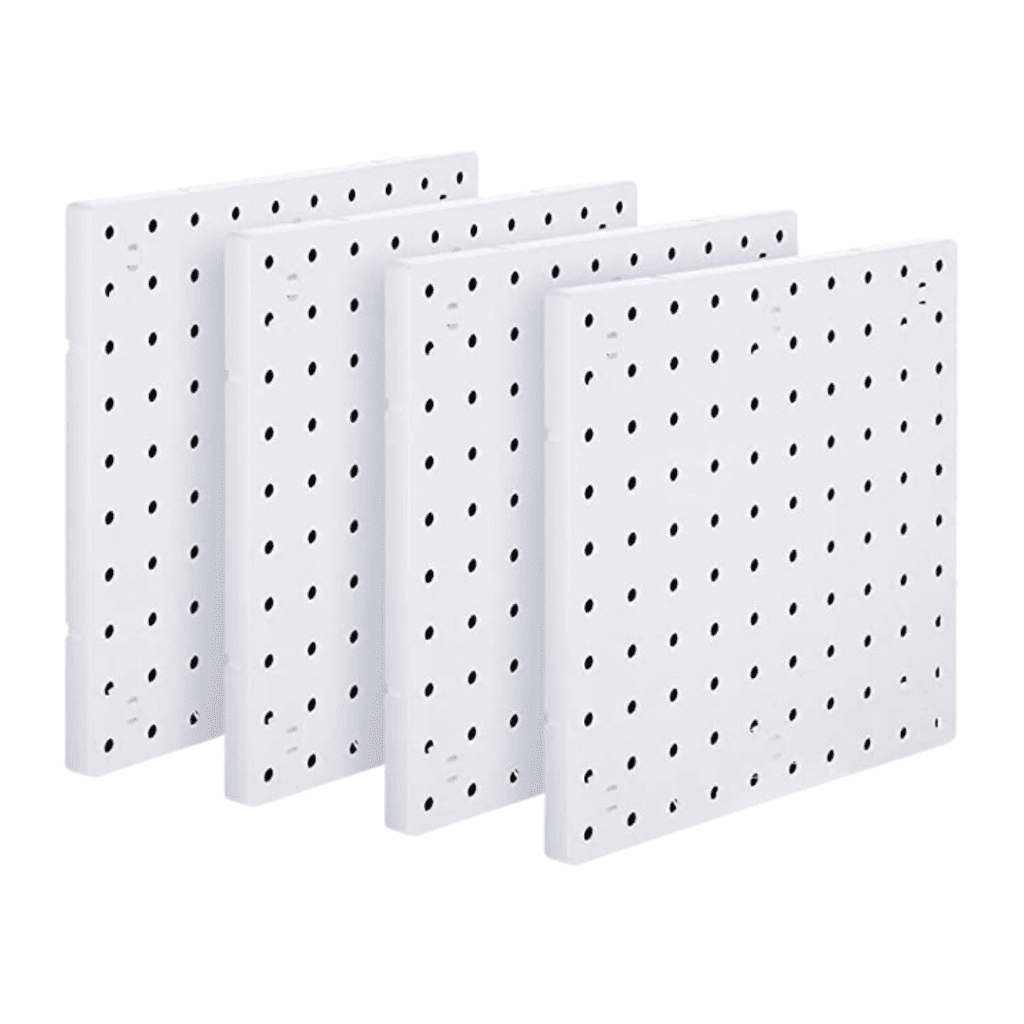
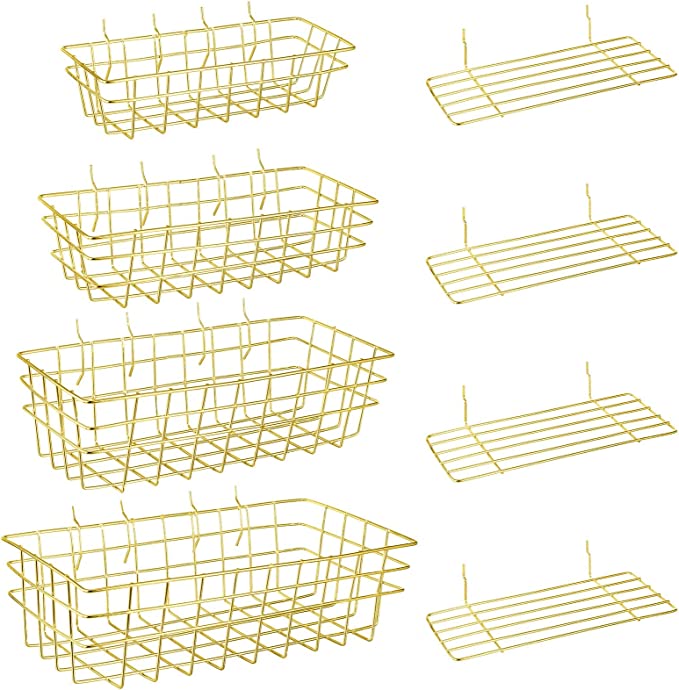
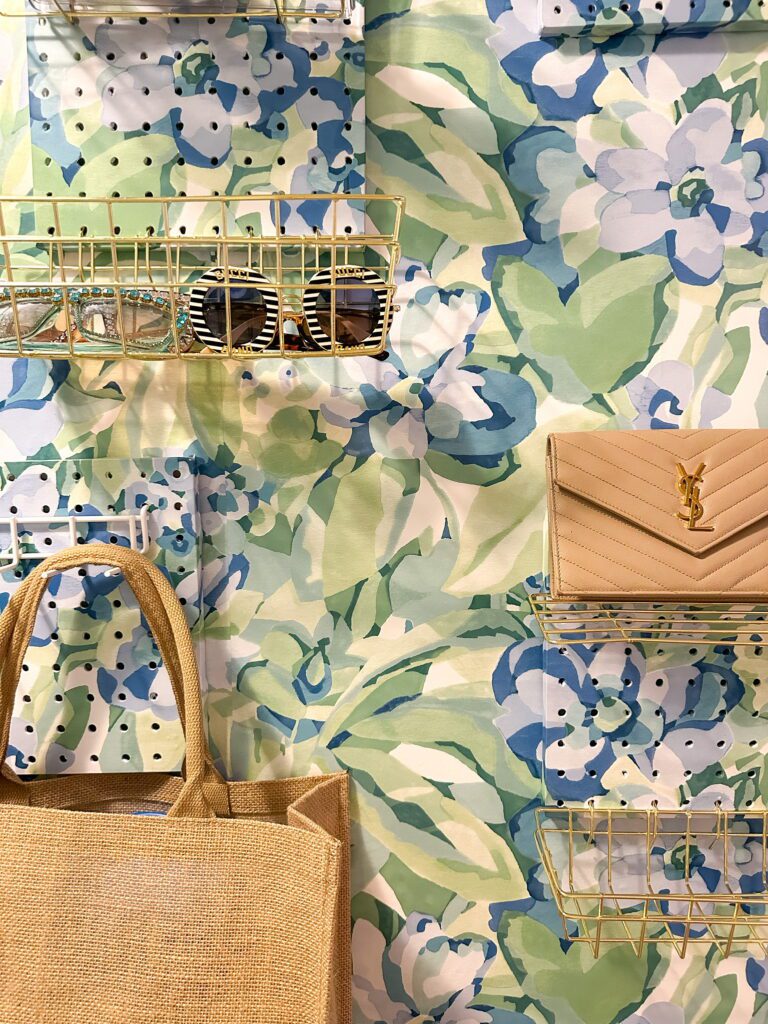
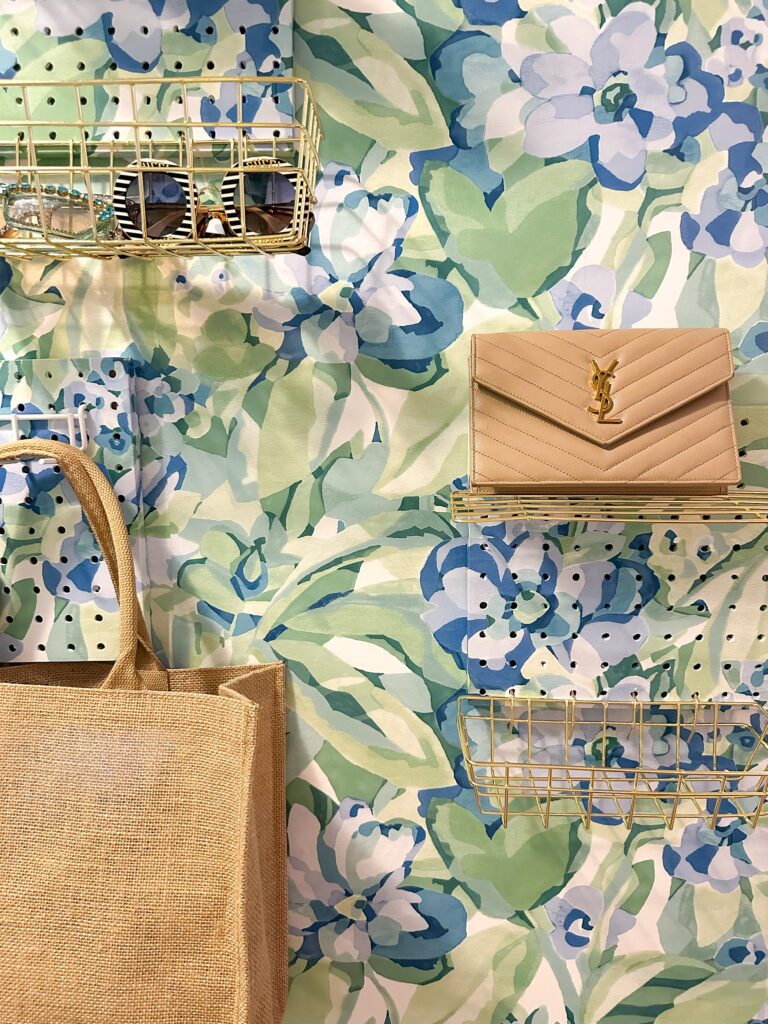
Starting off my DIYs I made with these wallpapered pegboards, which you can watch here on my tiktok. I took plain white peg boards from amazon and wrapped them like presents with leftover stick on wallpaper and made sure to punch holes out so they’re functional. I hung them up and added these gold wire baskets to them for storage. You can shop the whole project by clicking the links below or going here.
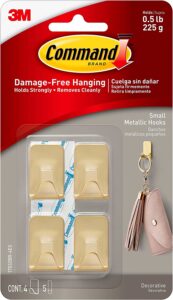
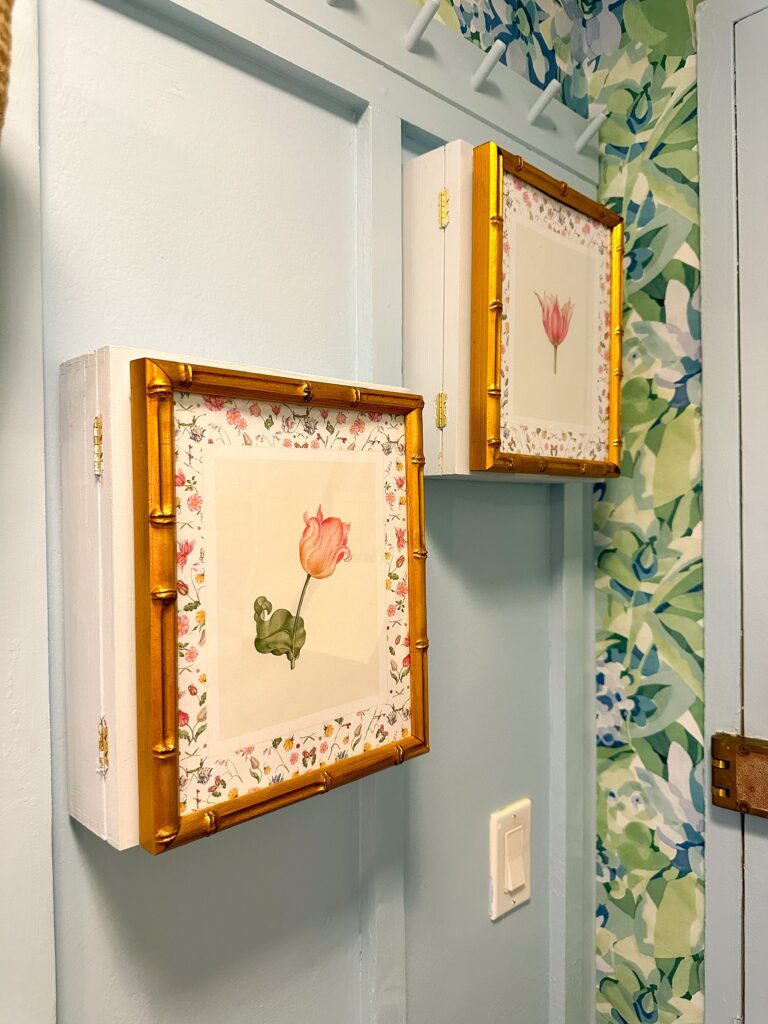
After that I also created some hand painted boxes to hang my keys by adding a stick-on mirror, hooks and felt letters to the inside of the box after painting it blue. As a final touch, I used command strips to adhere bamboo frames full of our own art (which you can shop here!) to make them look like wall art. You can watch a step by step here on my tiktok and shop the project here.
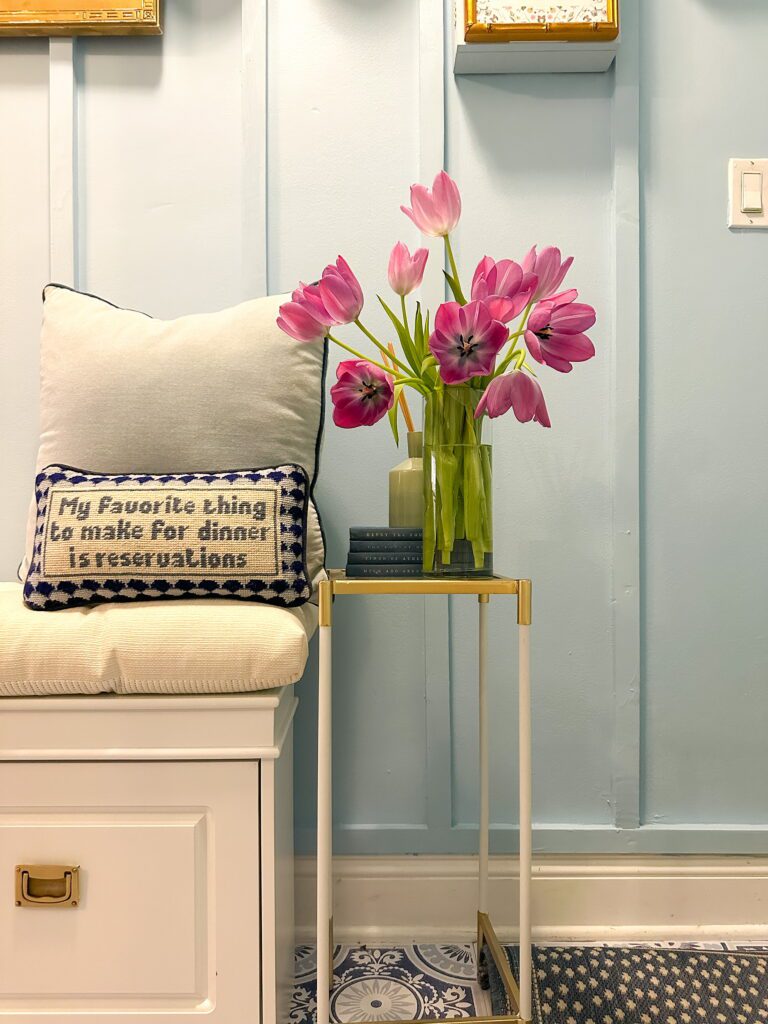
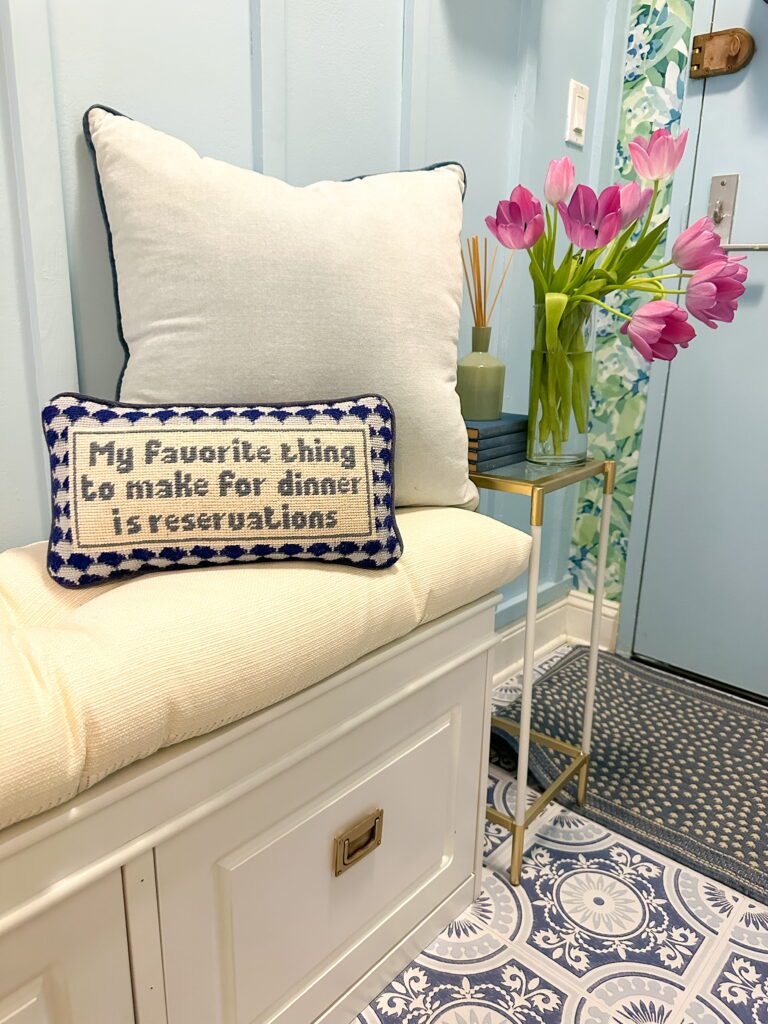
Next up, I added a small narrow bench with my own gold hardware and a creamy linen cushion instead of the one it came with. The bench doubles as shoe storage and a seat for putting on your shoes before heading out the door, and is linked here. I added my indigo velvet pillows to add a special touch, which you can shop here and recorded a step by step on tiktok.
Finally, I used magnetic folders (after finding out my door is one giant magnet, so handy) and added caning with washi tape around the edges for some extra pizzazz.
THE BASKETS
I hung these shelves and baskets on the pegboards as catch all spots for little things.
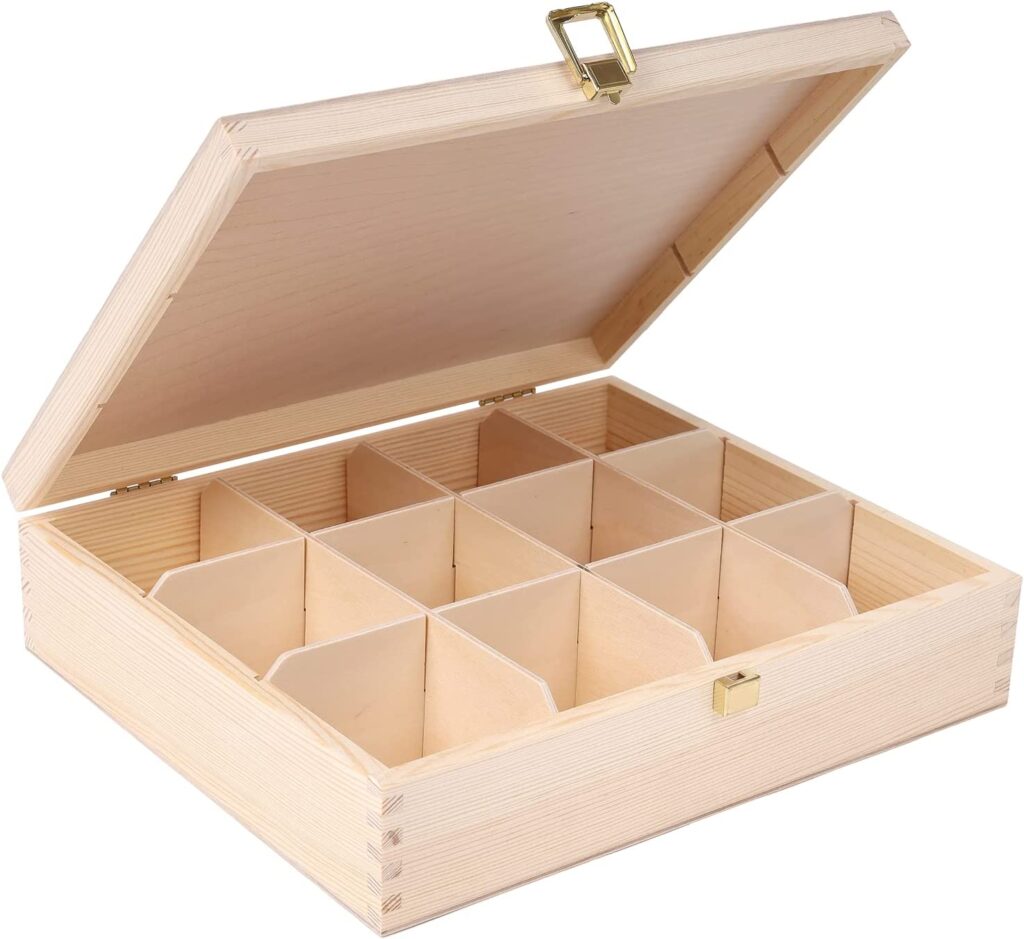
THE DIY CABINETS
I used plain wood boxes that I painted with the leftover blue wall paint as storage boxes by hanging them on the wall.
THE KEY HOOKS
I used these command hooks inside the DIY cabinets to hang my keys.
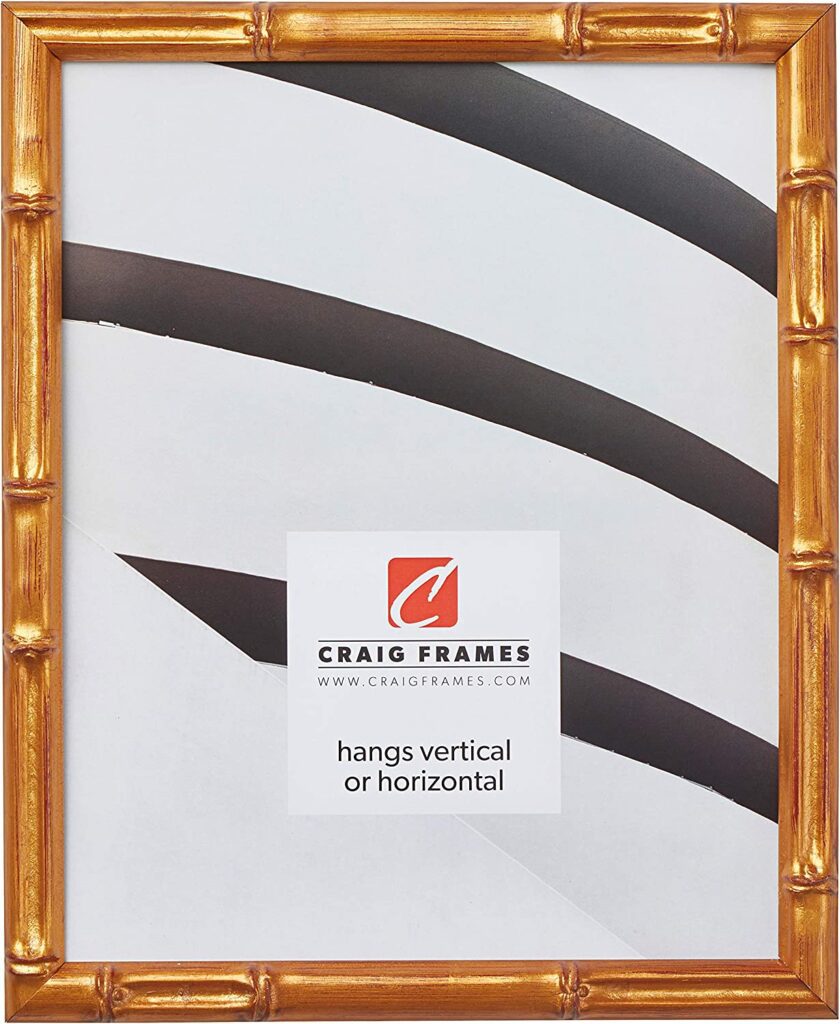
THE FRAMES
I wanted to make the DIY cabinets look intentional. By adding my own digital, downloadable art to the inside of these bamboo frames, I created not only storage but also wall art!
THE BENCH
This is perfect for small spaces because at just 10 inches in depth it is the perfect solution for a skinny entryway — plus the drawers are made for shoe storage
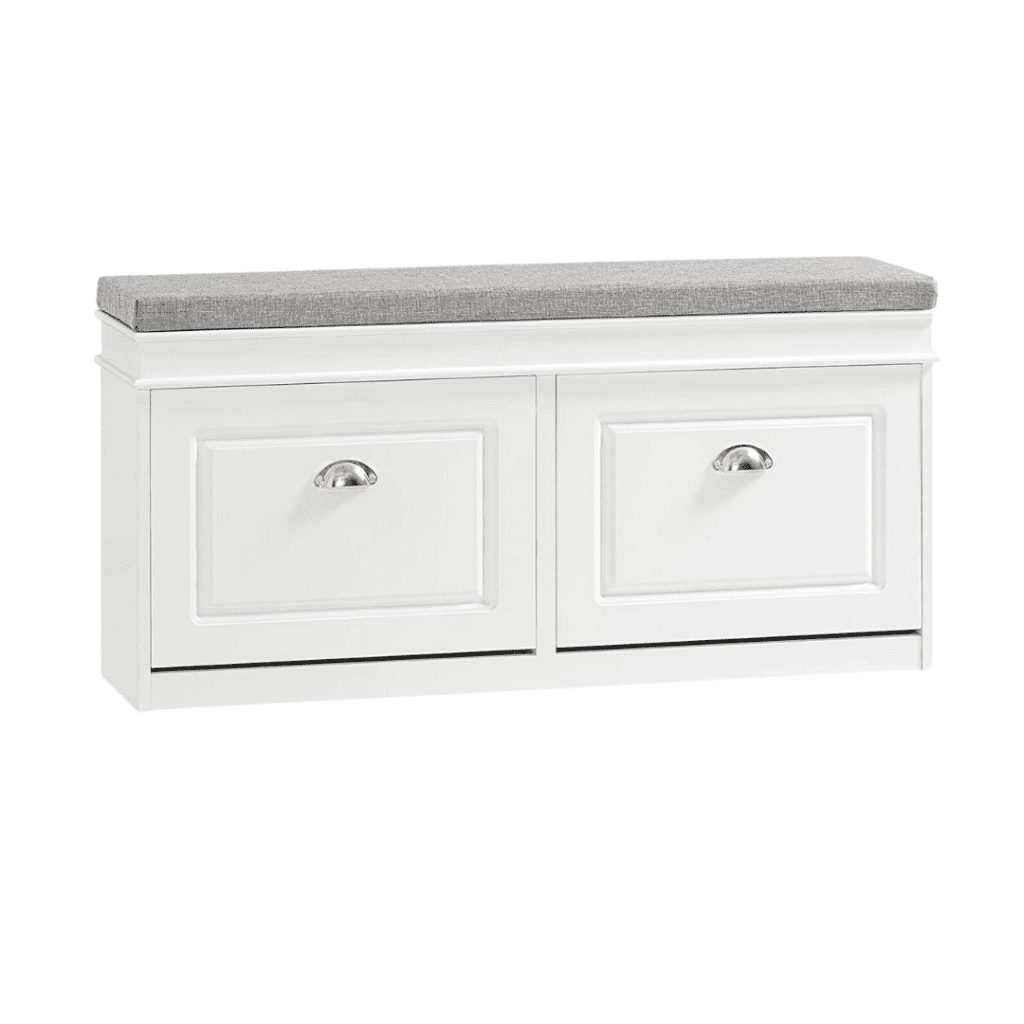
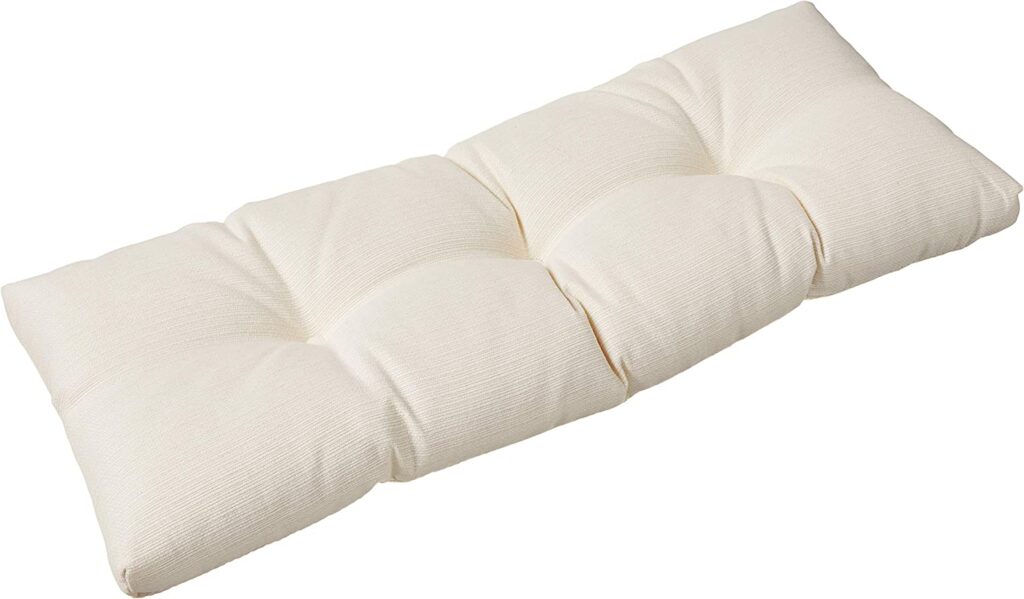
THE CUSHION
I don’t like gray and wanted to add a comfier cushion to the bench, so I replaced the one it came with with this one.
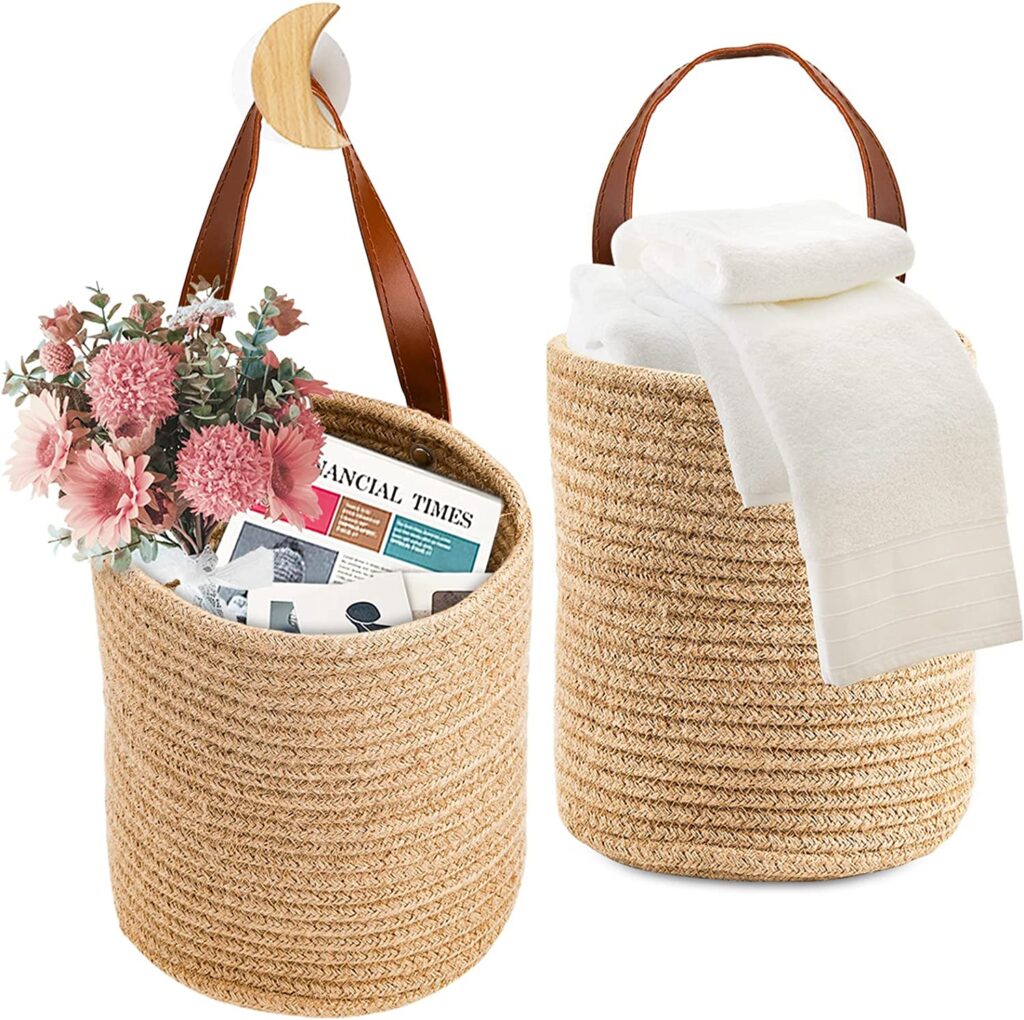
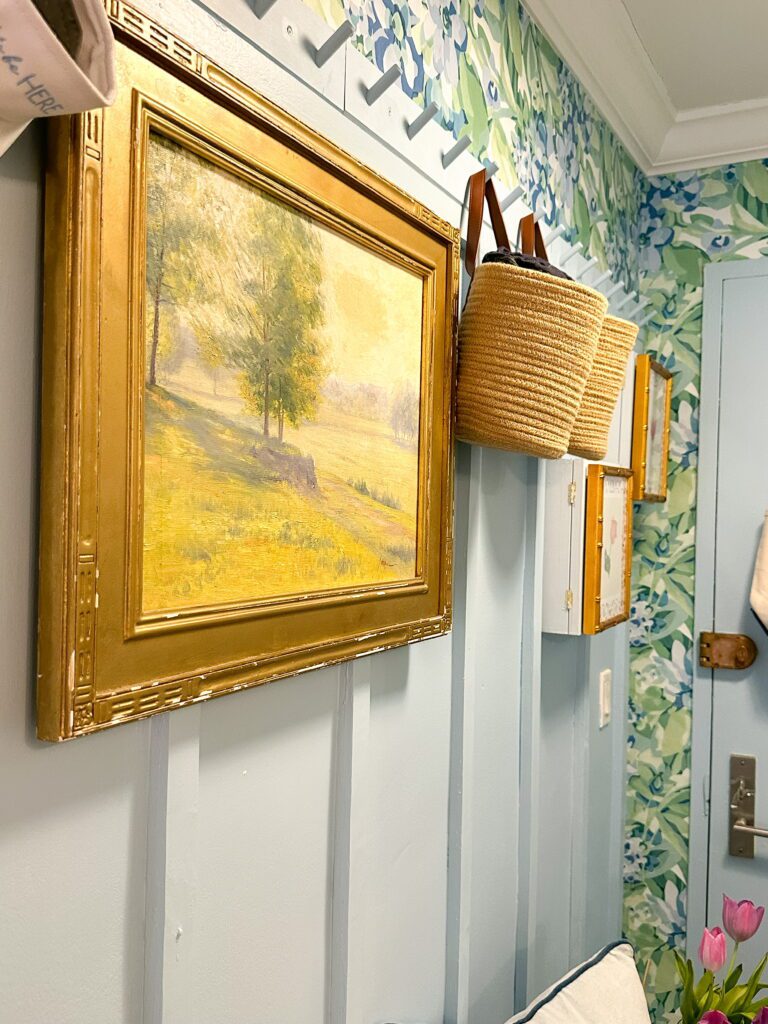
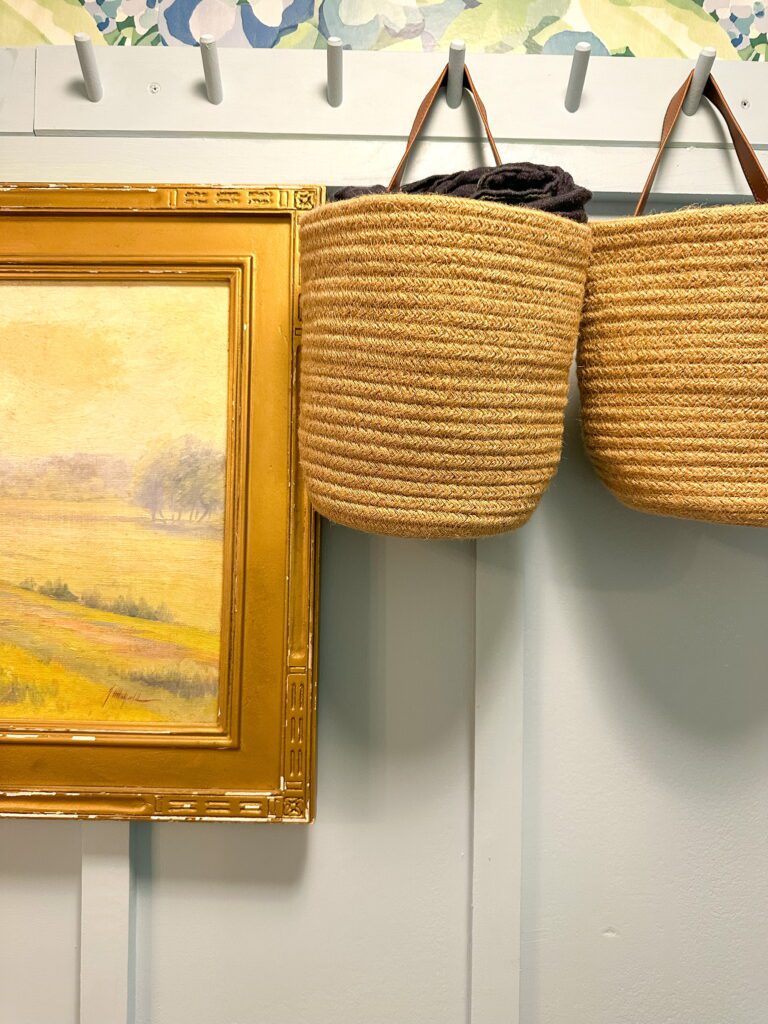
THE BASKETS
I hung a wooden rack with hooks (you can shop that here) that I then painted to match the wall by nailing it into the wall above the wood paneling. I then hung these cute baskets on there!
Here is the final reveal! As always I hope this post inspires you to beautify your home and create a space you love. Happy DIYing!

CATEGORY
POSTED
4/25/2023

