June 20, 2023
Romantic Guest Suite Makeover

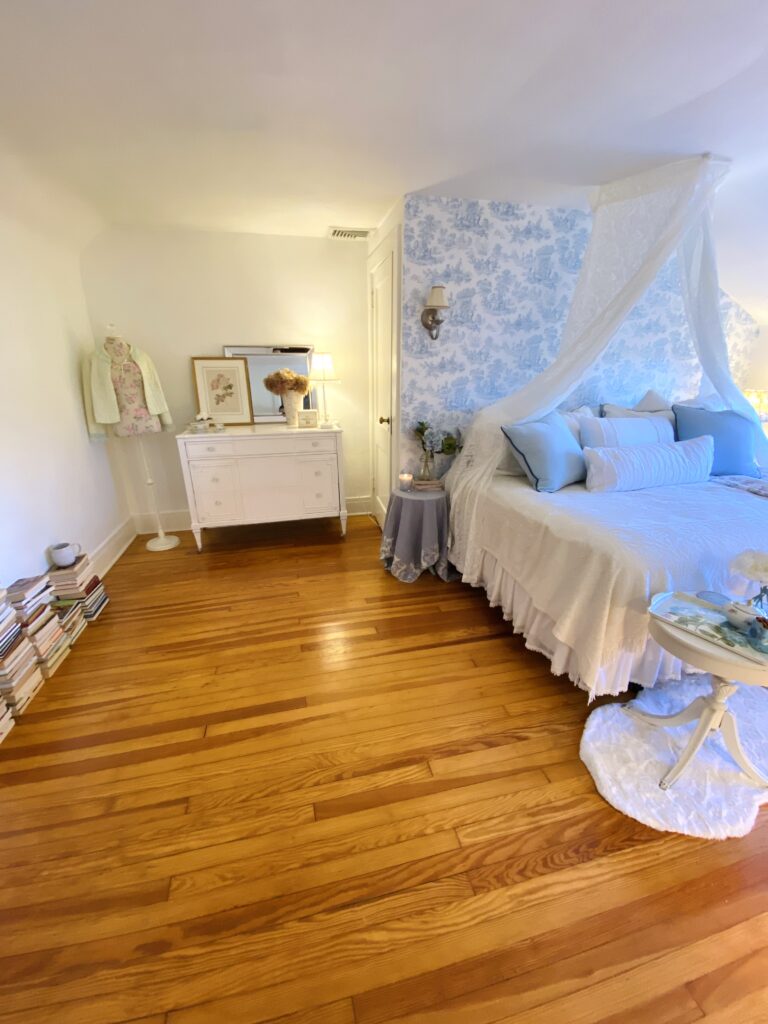
I had the honor of visiting my assistant Hannah’s hometown and meeting her family (it felt like hometown week on the Bachelor and I will admit I was NERVY but they were of course as lovely as she is and made me feel right at home). Hannah’s childhood bedroom was on the cozy third floor, tucked away from the rest of the family’s quarters. The room is large but has a bit of a funny floorplan, as attic rooms tend to have, with a sloping ceiling and a bank of miniature windows. Since Hannah now lives on her own in Manhattan, she’s been slowly clearing out all of her childhood belongings from the room — and now she is finally ready to flip the room to be a guest room. Here’s where I come in: *cue* team Clare to the rescue! After some discussion, our vision became: cottage-core, shabby chic – think bed & breakfast vibes but not *so* grandmotherly, since Hannah personally loves that style and this, after all, was and always will be *her* room. So here’s how we achieved that look, budget luxury style of course.
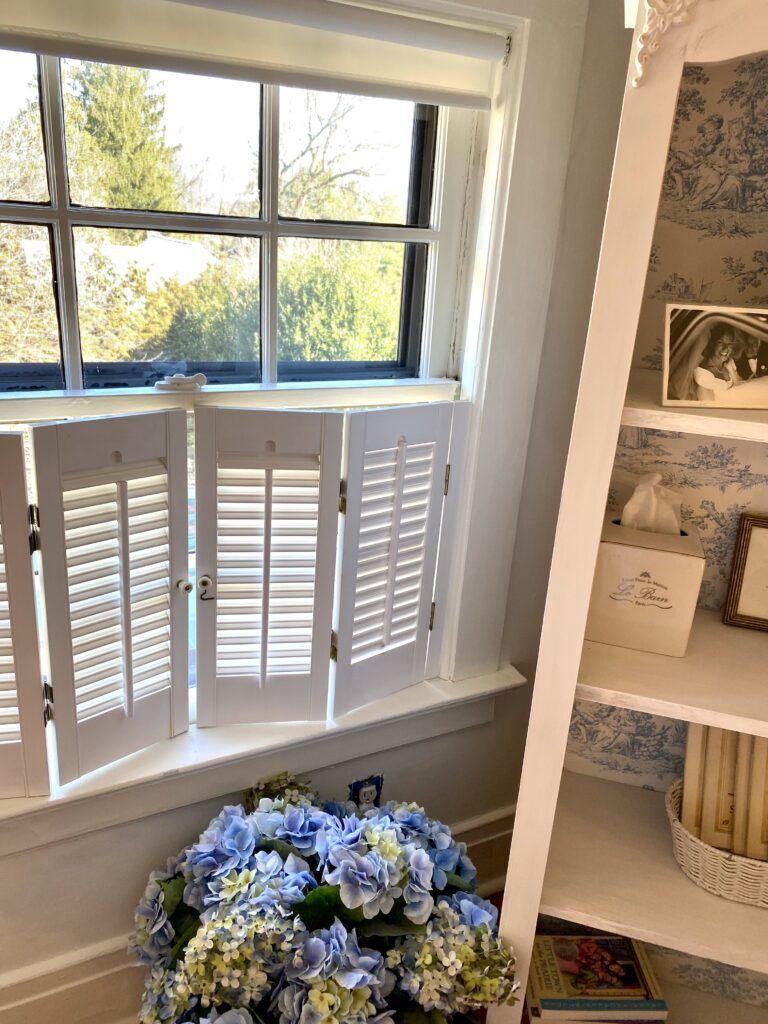
Since the Giordano fam lives in a 100 year old tutor, the ceilings were cracking and there was some maintenance to take care of first. Hannah’s dad swooped in for this part and before we got there he filled in all the cracks and primed the room so that we could start with a totally clean slate. We then got to work painting all the walls and the ceiling Simply White (link) by Benjamin Moore. Since the ceiling slopes down, in classic attic fashion, the walls are uneven and makes the room feel cramped. By painting the ceilings the same bright white color as the walls, we were able to heighten the ceiling, brighten the space and alleviate that cramped attic sensation.
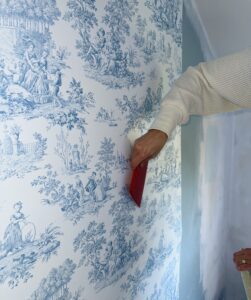
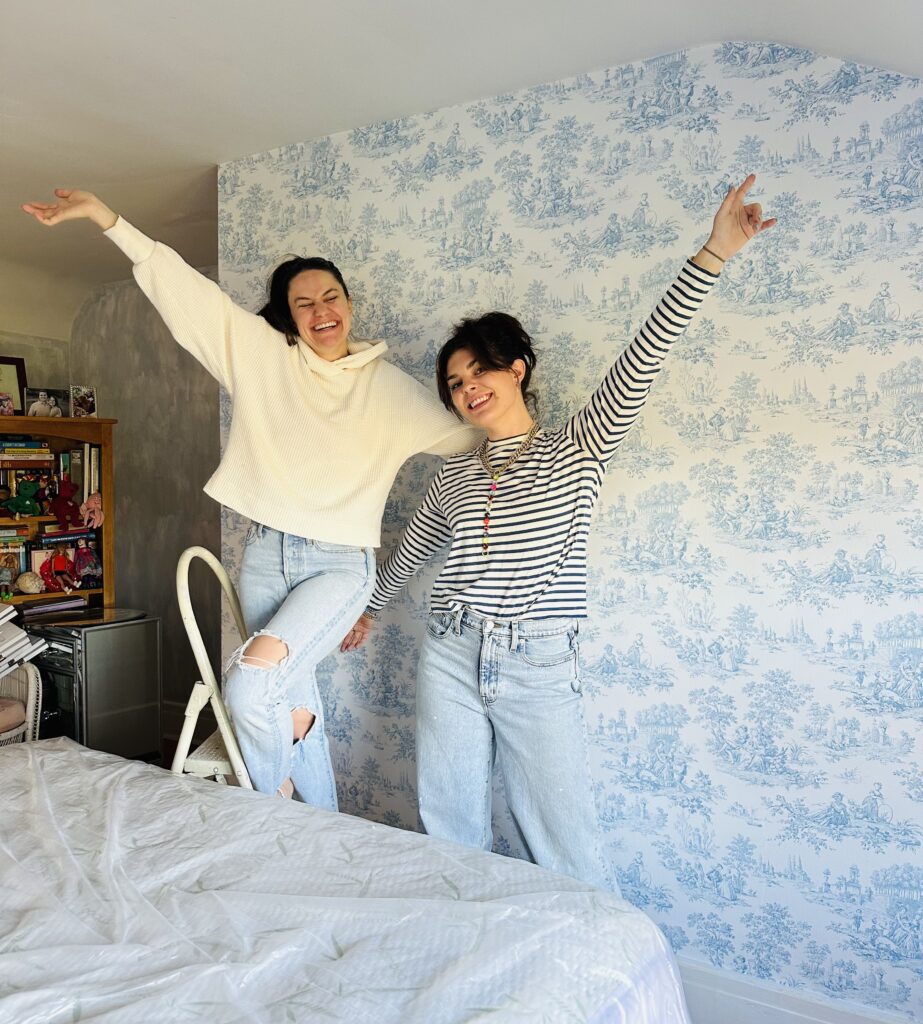
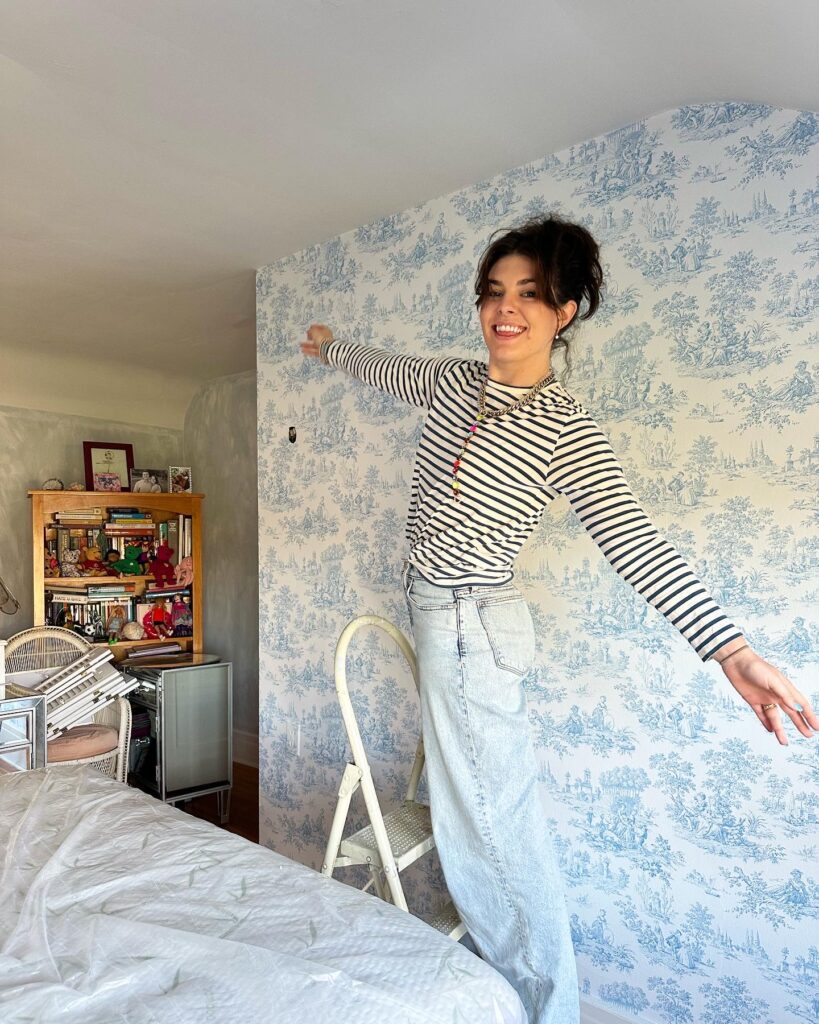
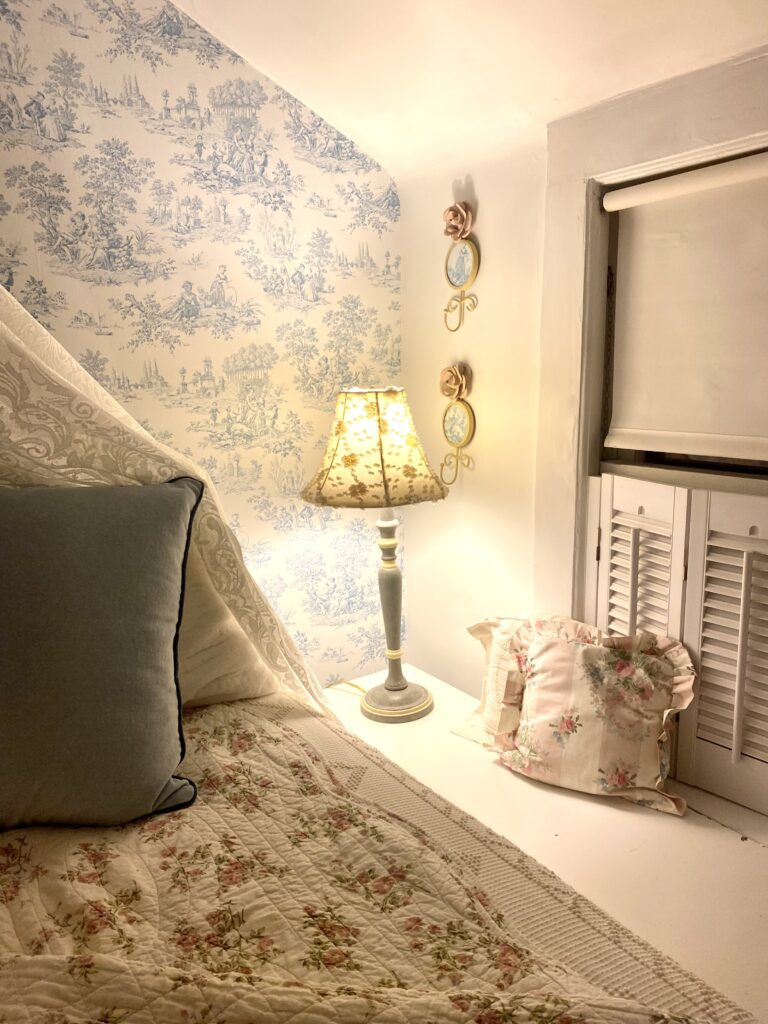
We also chose a very cute, dreamy and inexpensive peel and stick wallpaper to create an accent wall behind the bed. You can buy the wallpaper here on Home Depot or here on Amazon.
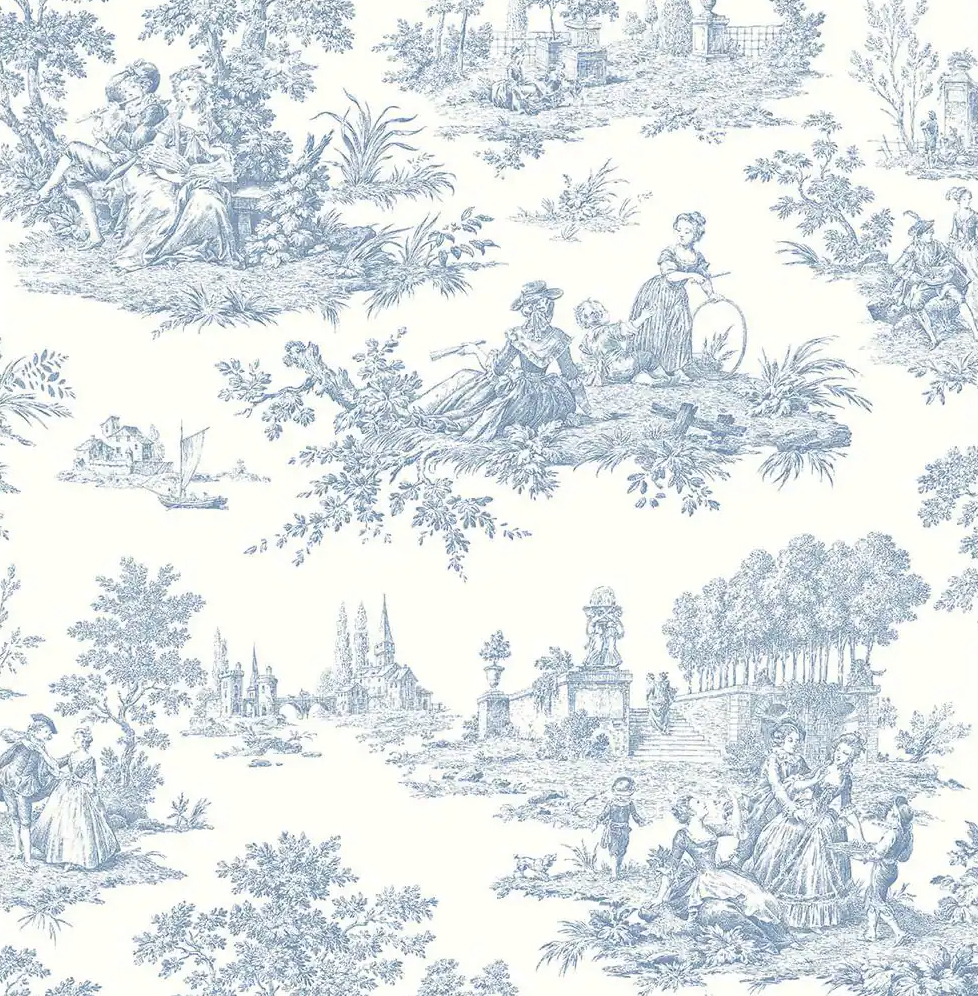
WALLPAPER
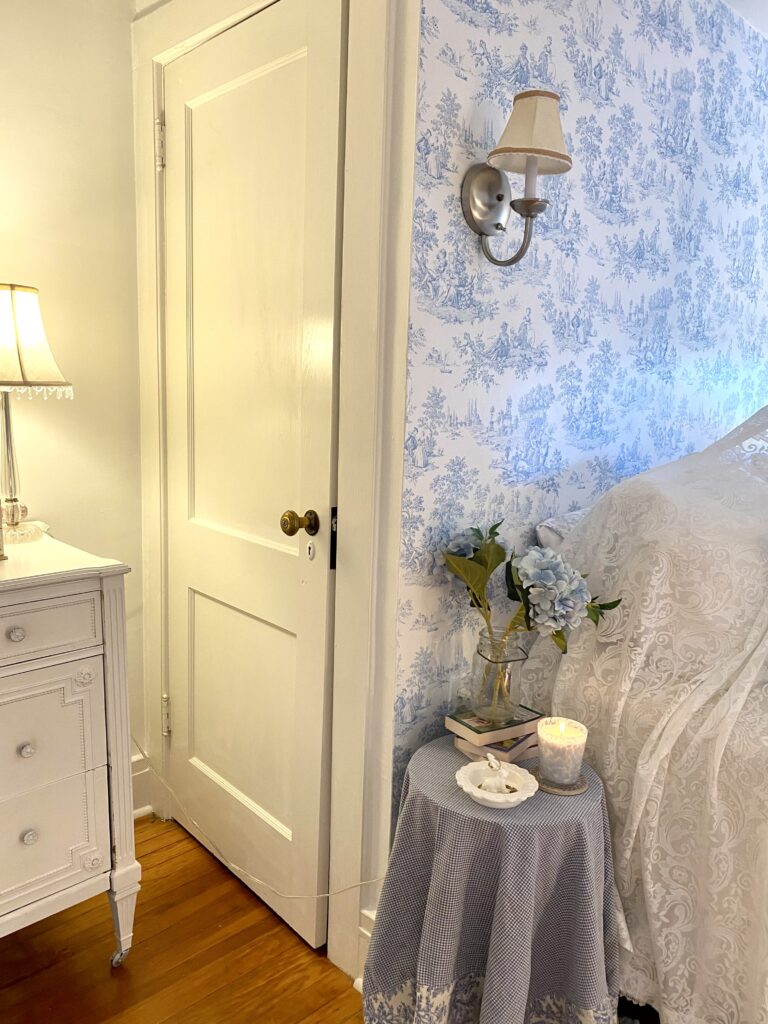
We wanted to create an accent wall behind the bed since it’s a small wall, to create a bit of an illusion of a large, grand headboard without breaking the bank. Once we chose the wallpaper, the design of the rest of the room followed suit.
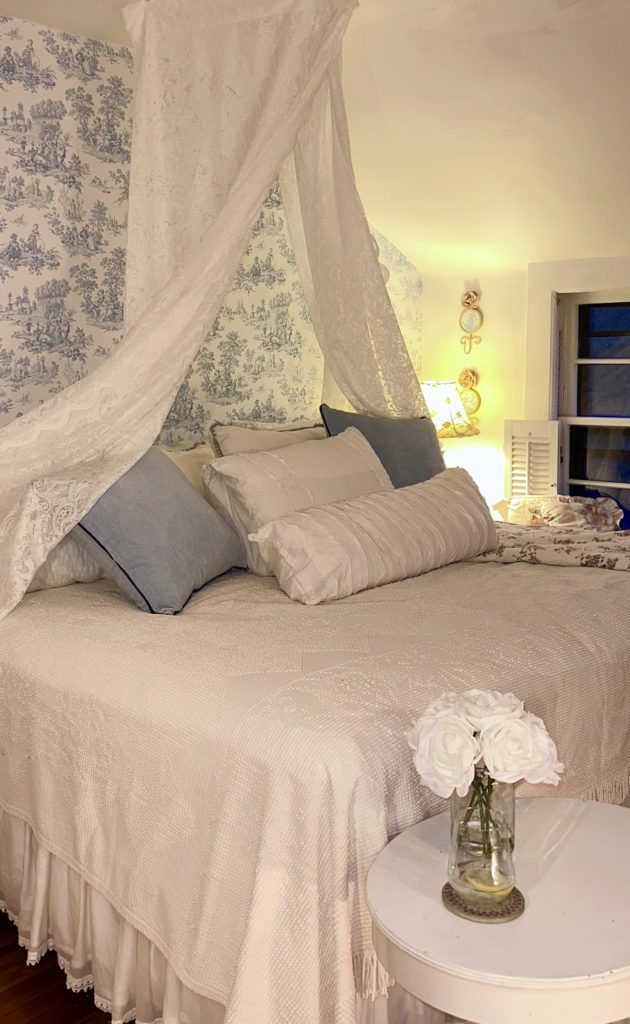
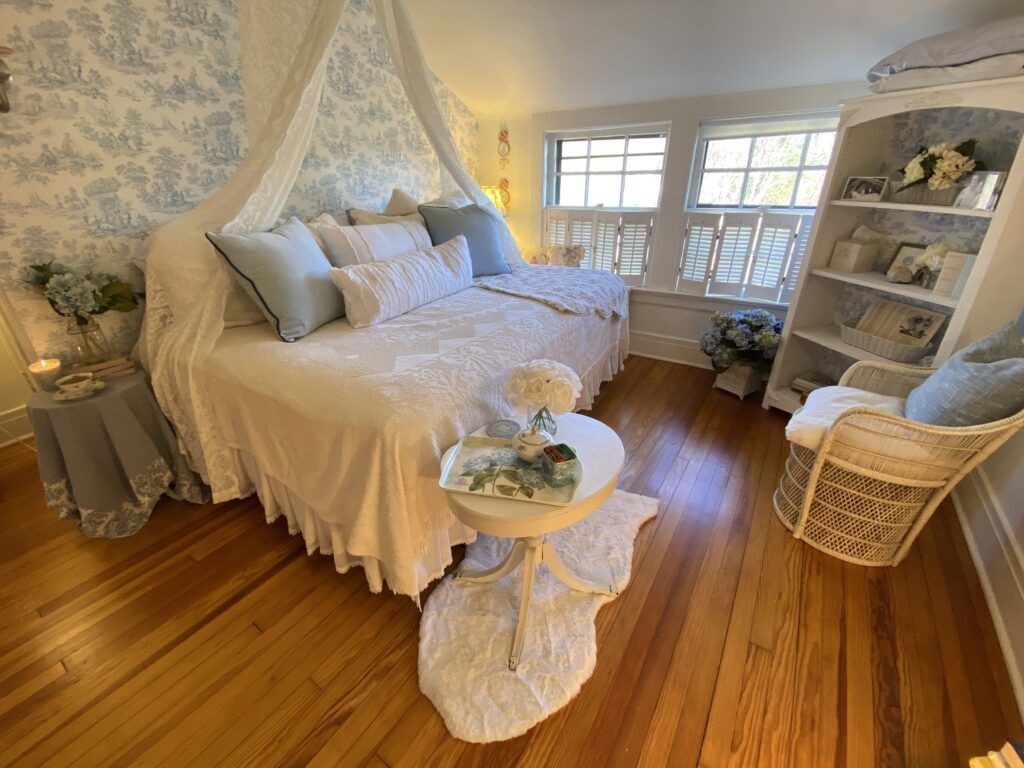
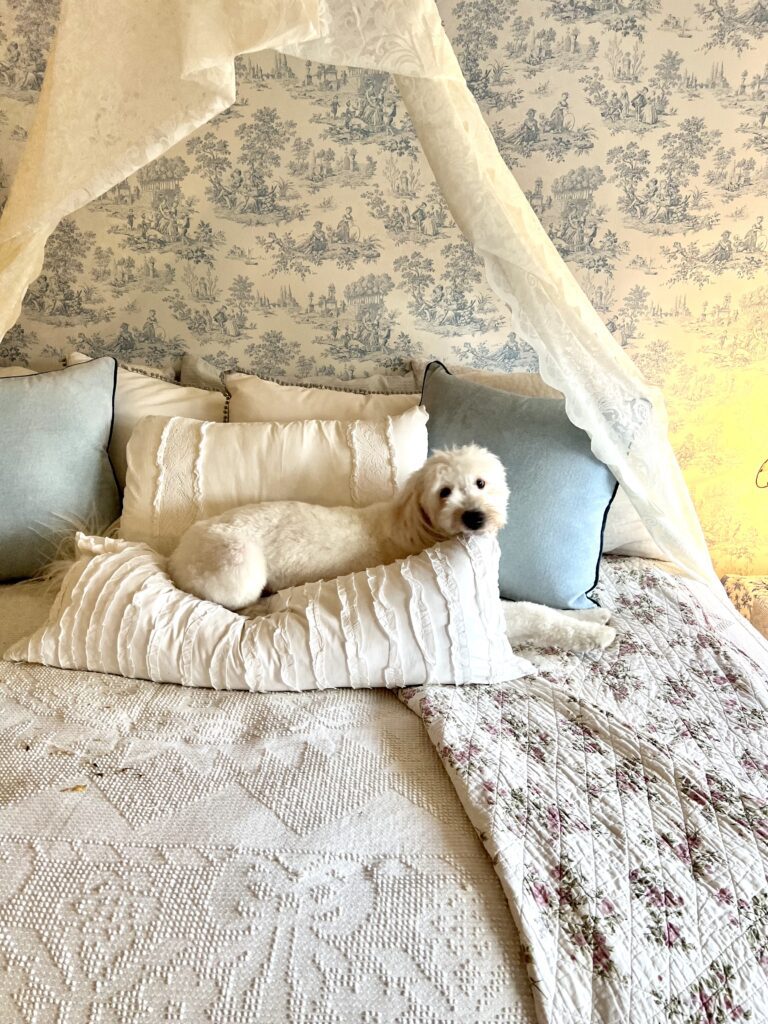
THE EASIEST CANOPY HACK
We wanted a cozy white ruffle-y bed, in the shabby chic style. We saw a bunch of canopy inspo online but didn’t want to spend a bunch of $$$ so came up with this easy idea to create a cheap DIY canopy situation to make it feel as lovely as Hannah is.
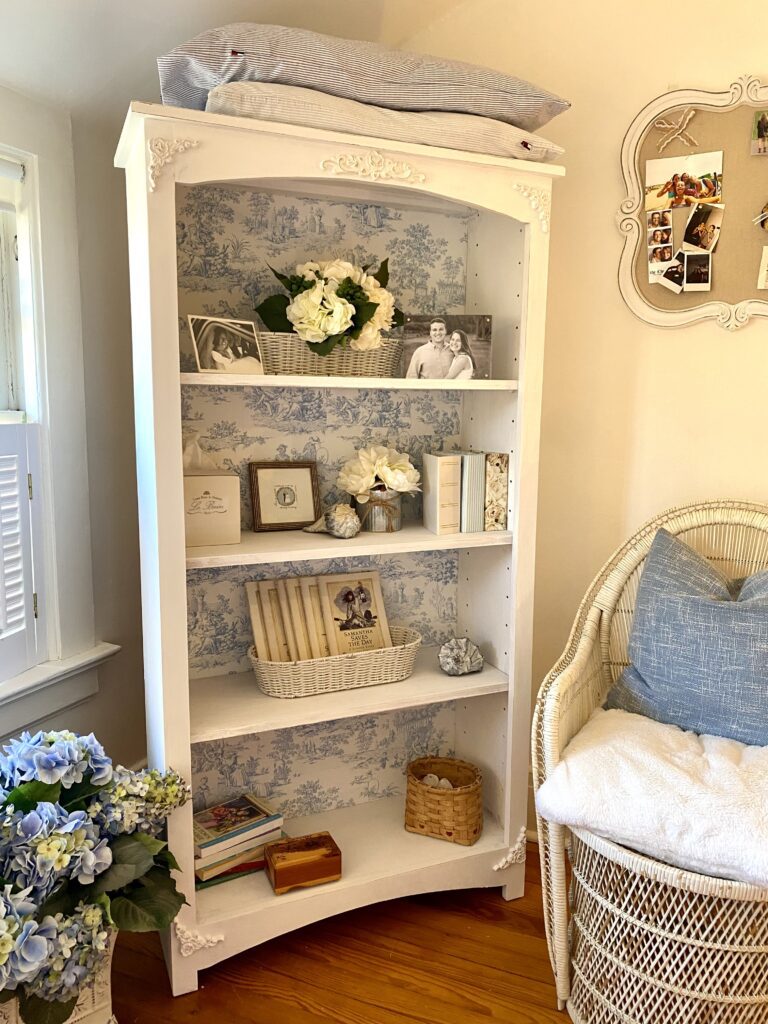
BOOKSHELF FLIP
For this easy upgrade, all we did was sand and chalk paint the wooden bookcase, then we gorilla glued on these adorable appliqués we found on amazon. As a last minute finishing touch, we took the leftover wallpaper scraps and used them to cover the inside backing of the bookcase.
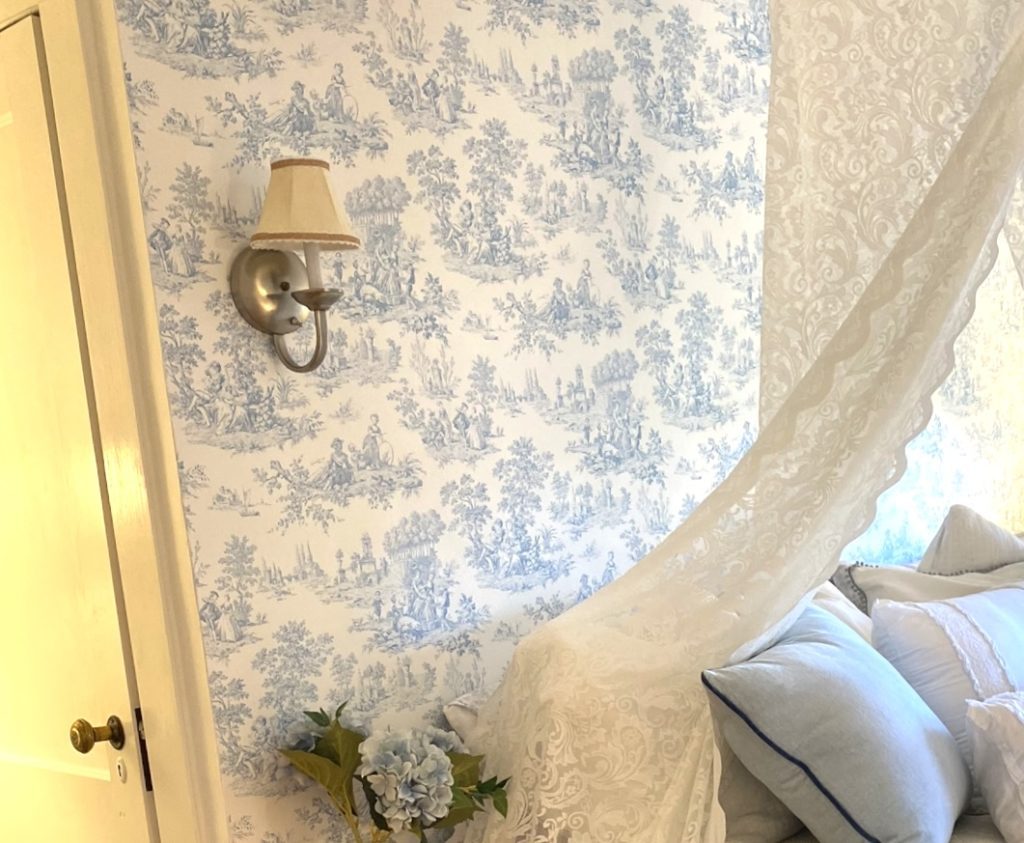
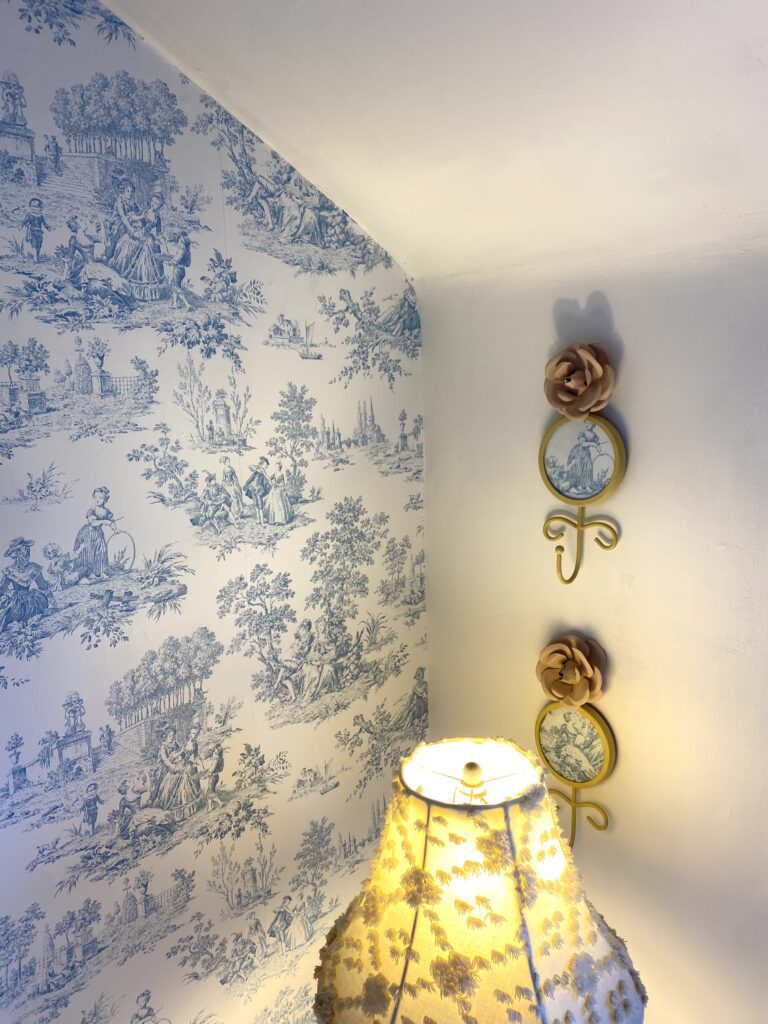
DIY LAMPSHADES
To add a little flare to the sconces, we added a natural jute ribbon with white lace to the top and bottom edges of the existing lampshades. A very shabby chic mini DIY project with no sewing required — just some hot glue!
My supply list:
For the DIY lamps:
- Plain cream colored shades (shop similar)
- Chrome sconces (shop similar)
- Hot glue gun
- Ribbon
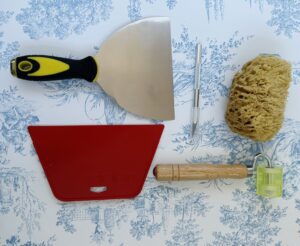
For the wallpaper:
- Wallpaper smoothing tools complete with knife, smoothing tool and roller for smoothing seams
- Sponge for smoothing out bubbles and bumps
- Painters tool for getting straight edges when cutting the top and bottom with X-Acto knife
For the bed:
- Lacey curtains – any lightweight curtains would work, we chose lace to play up the shabby chic theme.
- Heavy duty stick-on ceiling hooks – these work well when you don’t want to drill/hammer holes in the wall, no tools are required since they are stick-on!
- Decorative pillows – of course, we used our own branded pillows in blue velvet
- White ruffly bedding – we used the existing bedding Hannah had, but if we need to buy something, I would have chosen a white ruffly duvet cover and matching shames, like this one or this one.
For the bookshelf flip:
- Chalk paint – a color would be fun here, but we chose to go with a plain white.
- Electric sander – optional, but this made the job a lot easier than using sand paper and roughing it up by hand!
- Appliques – help to achieve that shabby chic, romantic look.
- Brushes – these thick brushes work best for applying the heavy chalk paint.
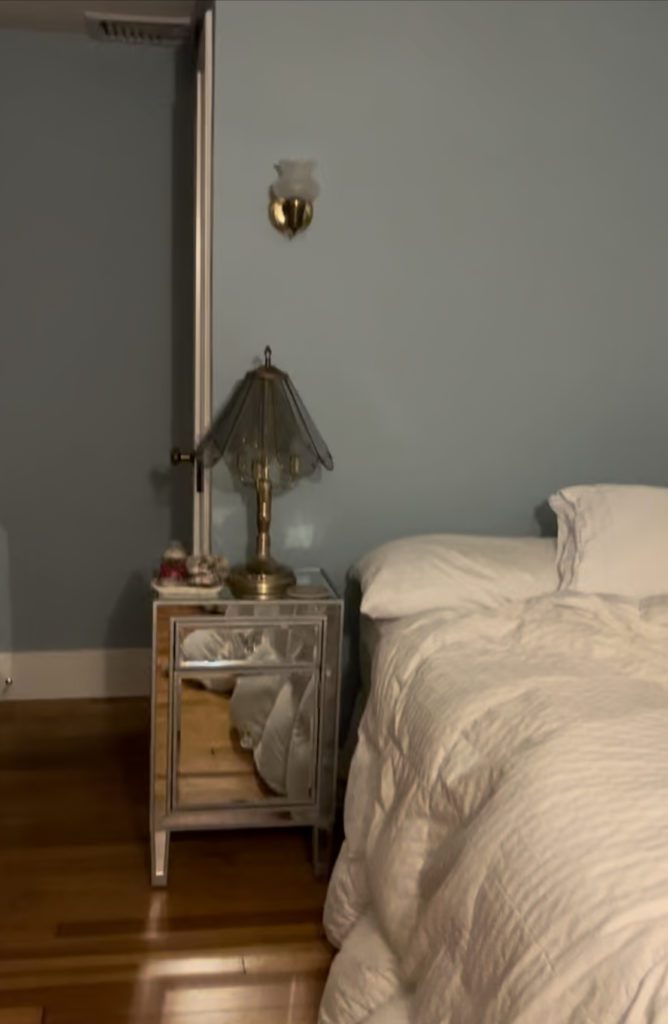
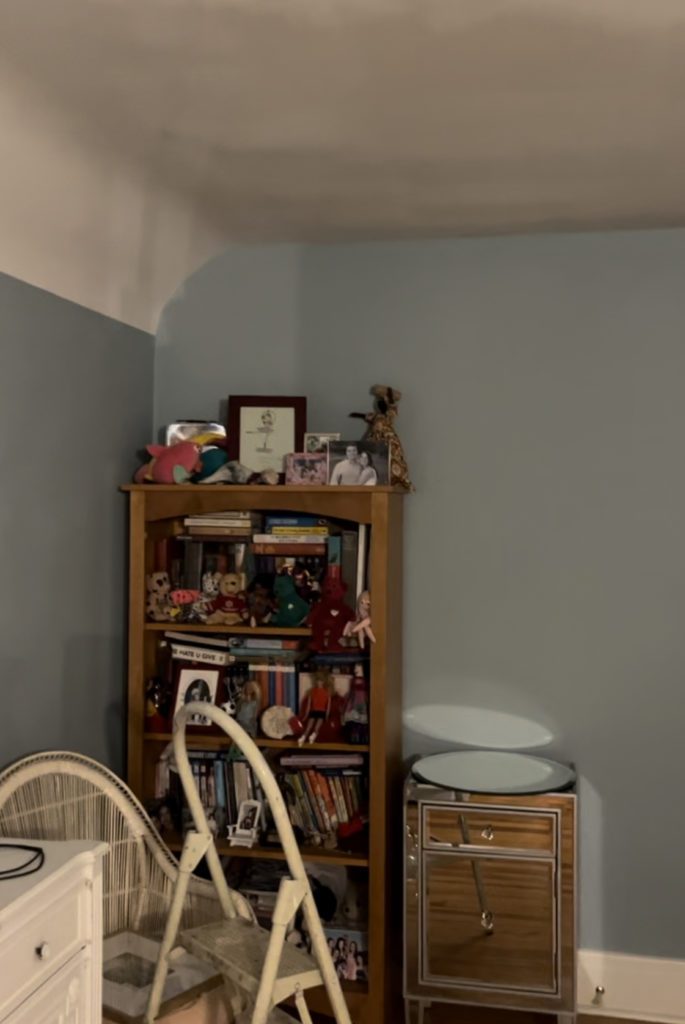
The before:
And the after! Here is how it all came together in just two quick days:
CATEGORY
POSTED
6/20/2023

