June 20, 2023
Shabby chic upholstered moodboards, no sewing & no tools
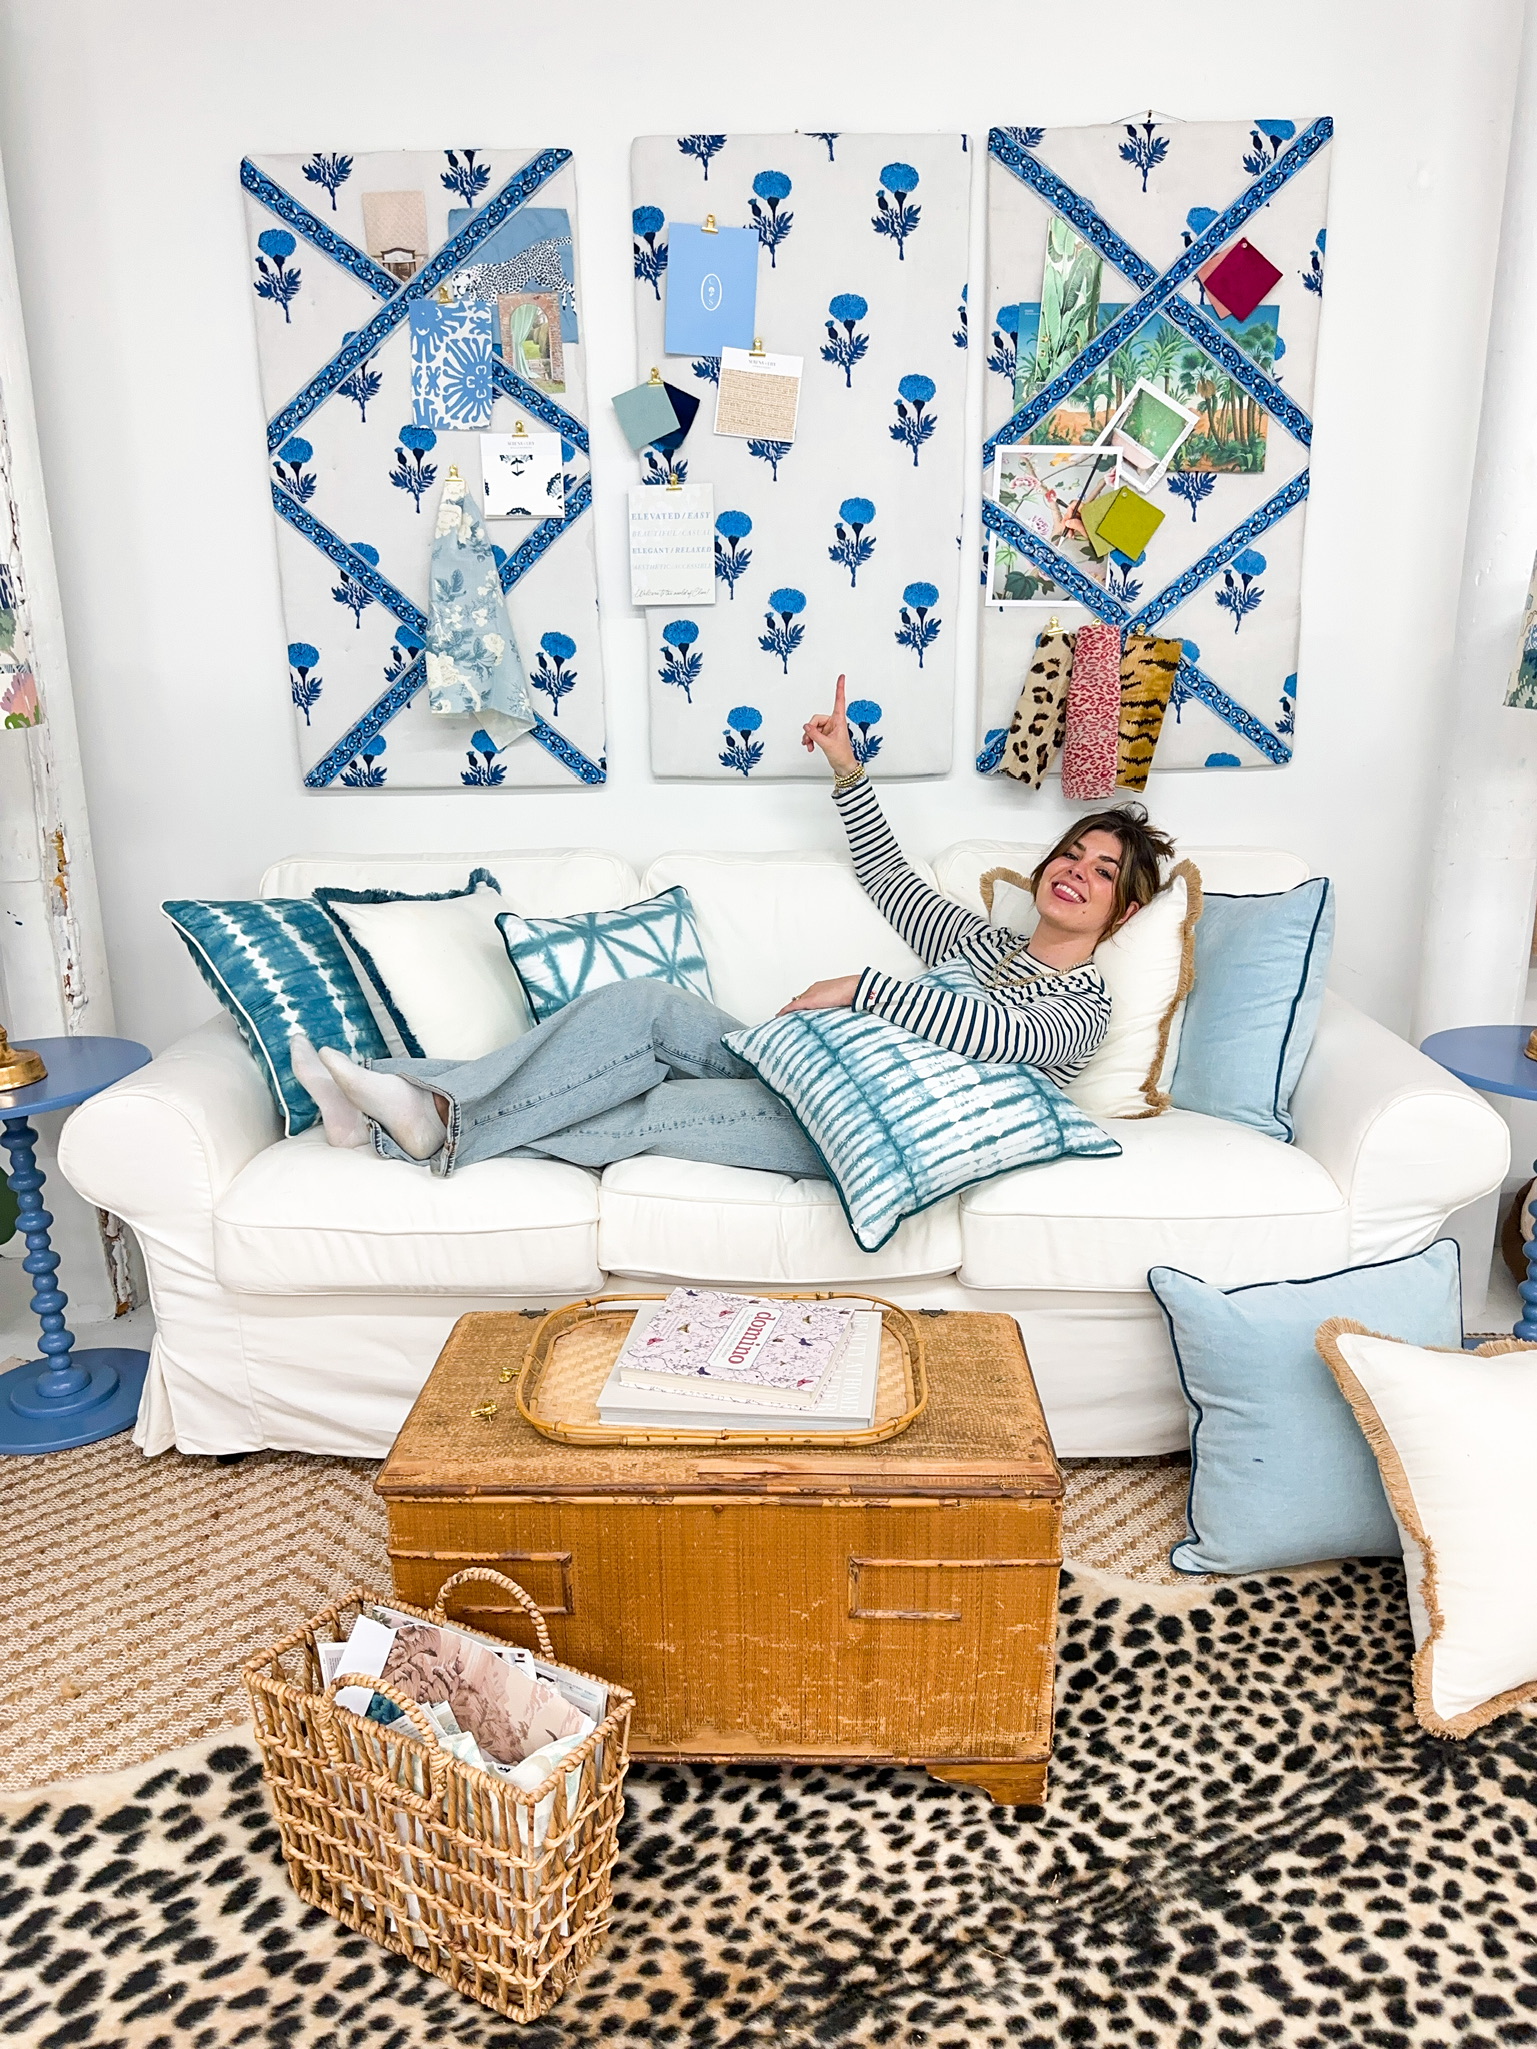
Announcing a new (to me), quick and easy do-it-yourself project for creatives and visionaries: shabby chic, no sew, upholstered moodboards! This idea came to me quickly and effortlessly as it was to create them. I cannot wait to make many more, using all different fabrics for all my future clients who want a cute and girly vision board space in their office designs.
I had some extra fabric laying around from Mary Marshmallow, which is what sparked the inspiration for me to DIY vision boards on the cheap for my office. You can watch the process on my TikTok here and read on for my own step-by-step instructions 🙂
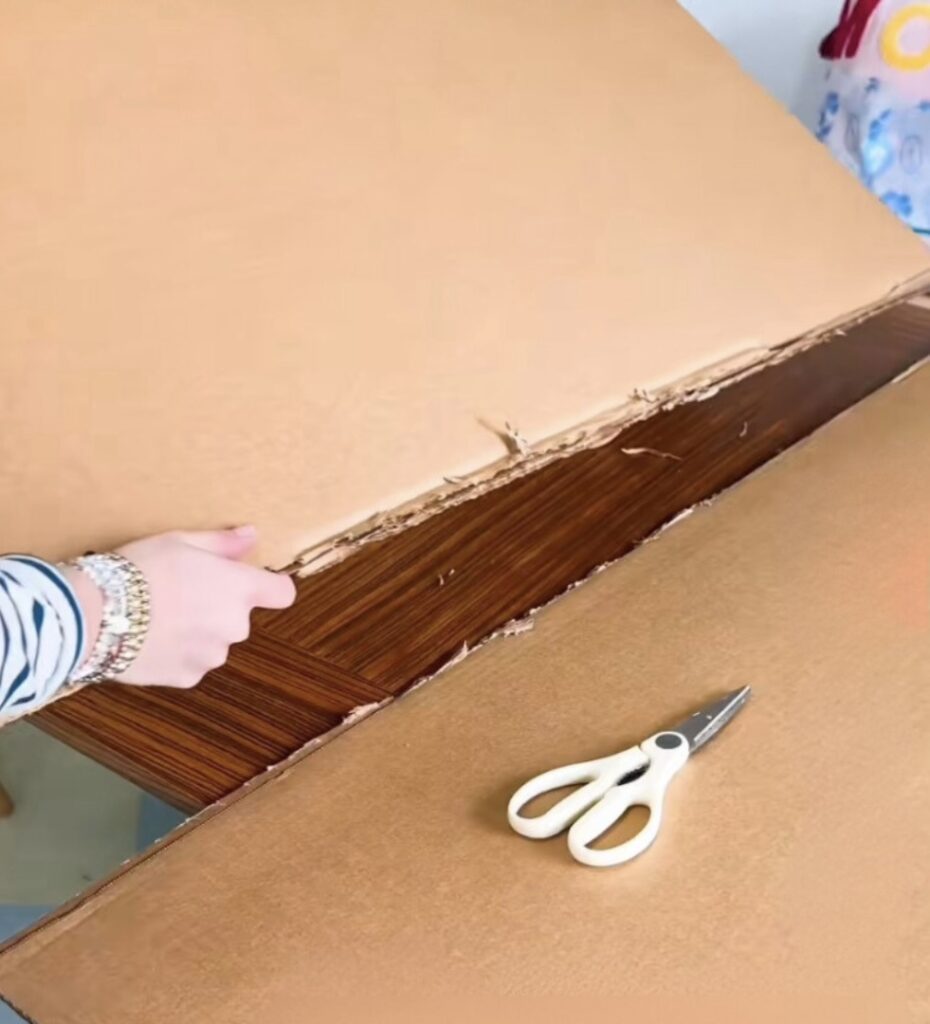
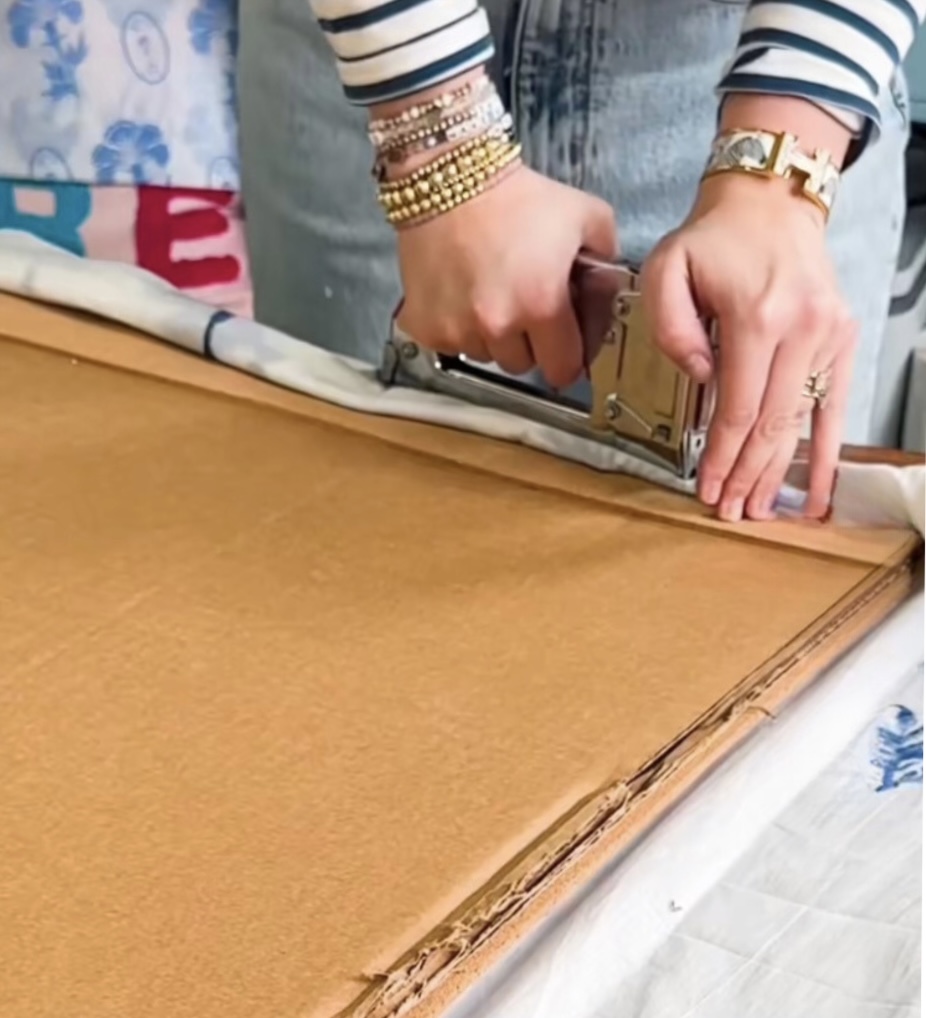
I started with a few large pieces of cardboard, leftover from some oversized deliveries, and cut them to the large, rectangular shape I wanted. I made sure the edges were smooth and even by sanding them with a bit of sand paper, and since I wanted to make three matching boards, I made sure all three pieces of cardboard were the same size.
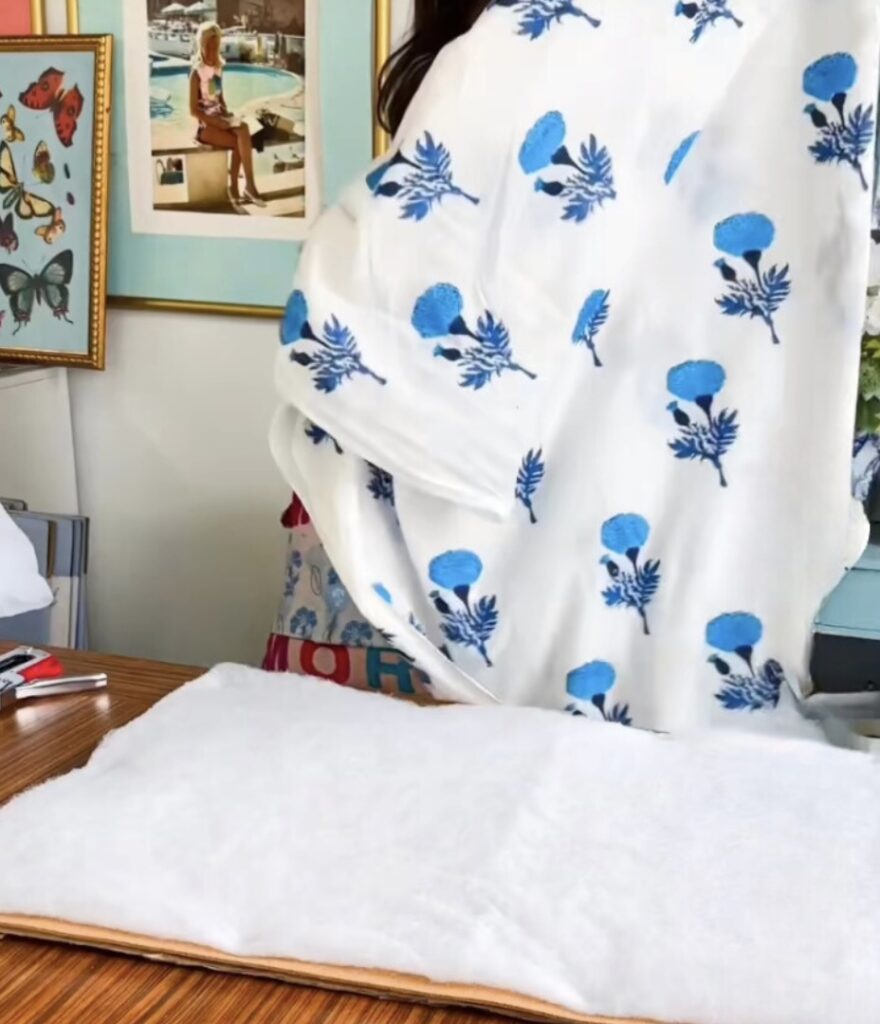
I then used a staple gun to adhere plush, upholstery batting, which is easy to cut to size and available at any craft store. Then I used the fabric I had on hand. This would also be so pretty if you found vintage fabric on Etsy, had leftover fabric from other projects laying around your house, or (as one of you commented on my tiktok) used an old sheet!
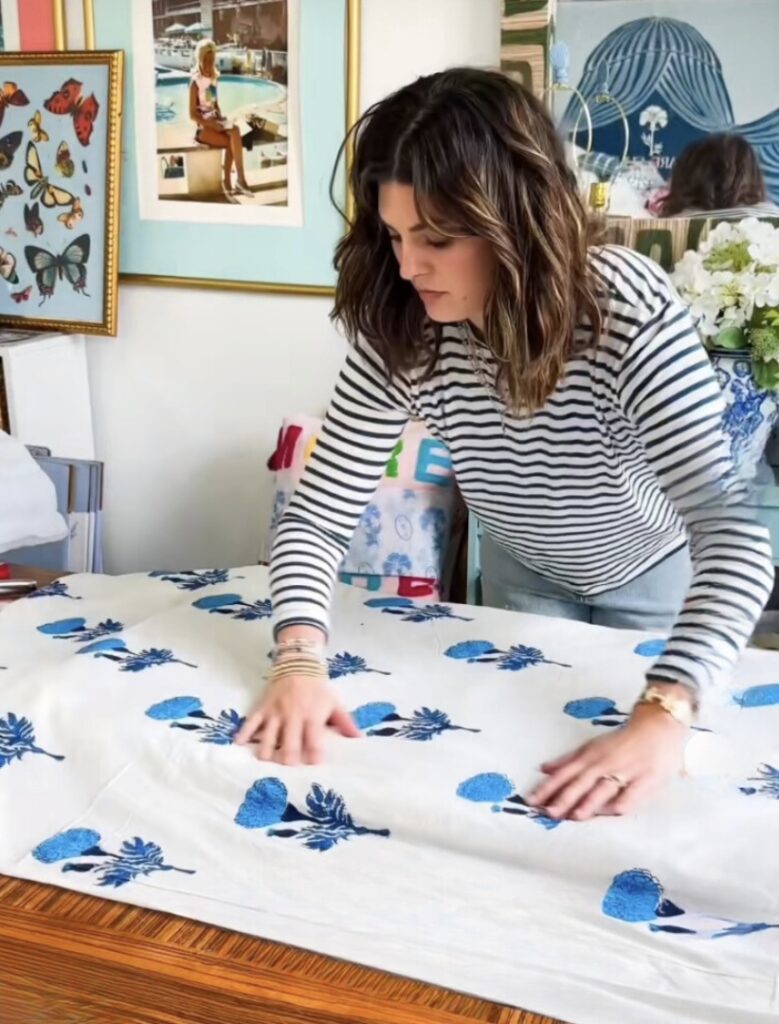
I then used the staple gun again to secure the fabric onto the cardboard. You want to staple in the back so that the space don’t show, made sure the fabric was as tight as possible to make it smooth and wrinkle-free.
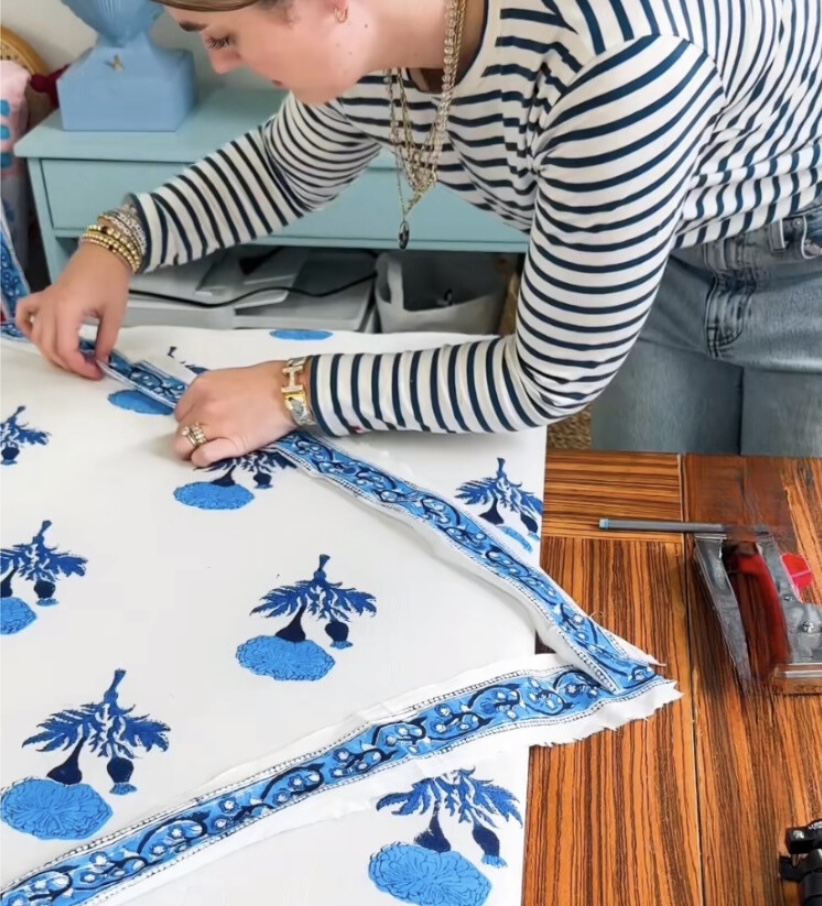
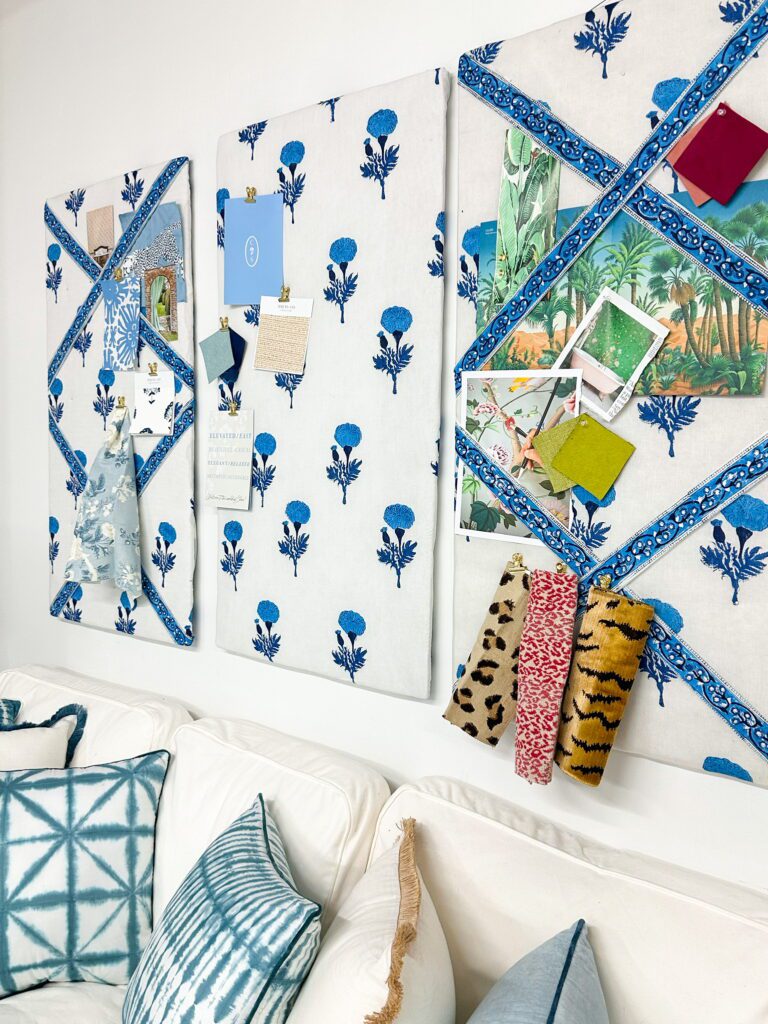
I was going to use elastic to create a crisscross pattern, similar to the shabby chic boards we had in our bedroom as kids in the ‘90s, but I didn’t buy enough elastic ribbon to fit on all three matching boards. Thankfully, sometimes my creativity is sparked brightest when I face limits. I had a lightbulb moment to use the beautiful border from my fabric to create the crisscross effect instead. You can never really know where a project will wind up, one of the many reasons why I love the creative process, and I am (usually) pleasantly surprised with how my projects turn out in the end.
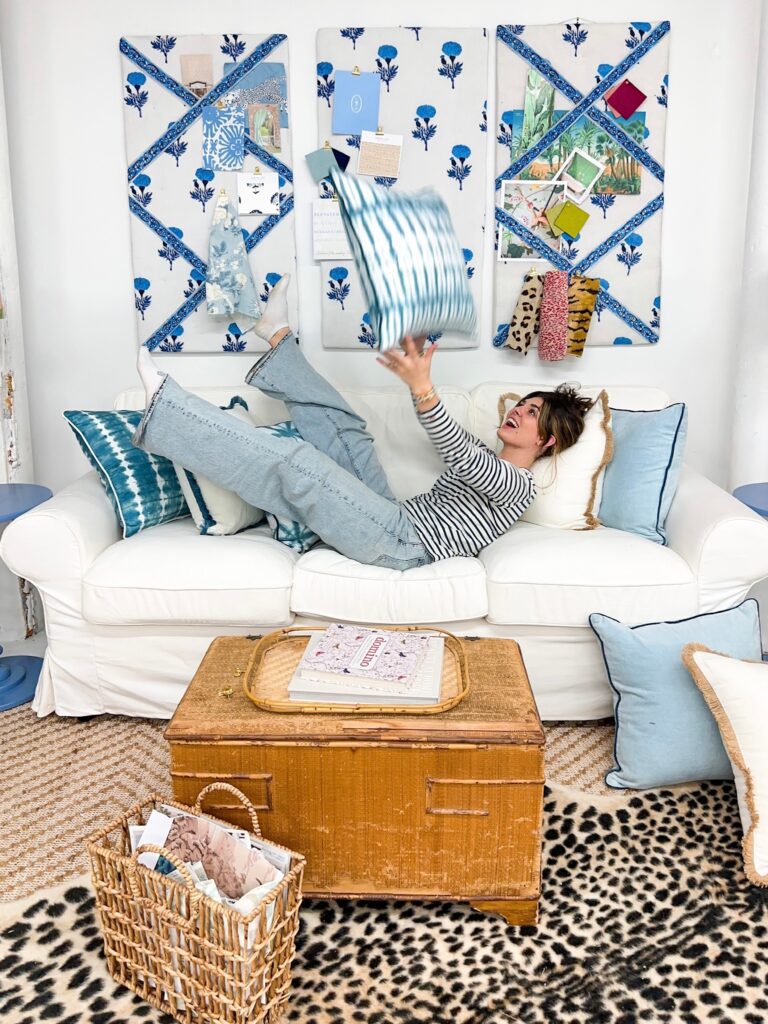
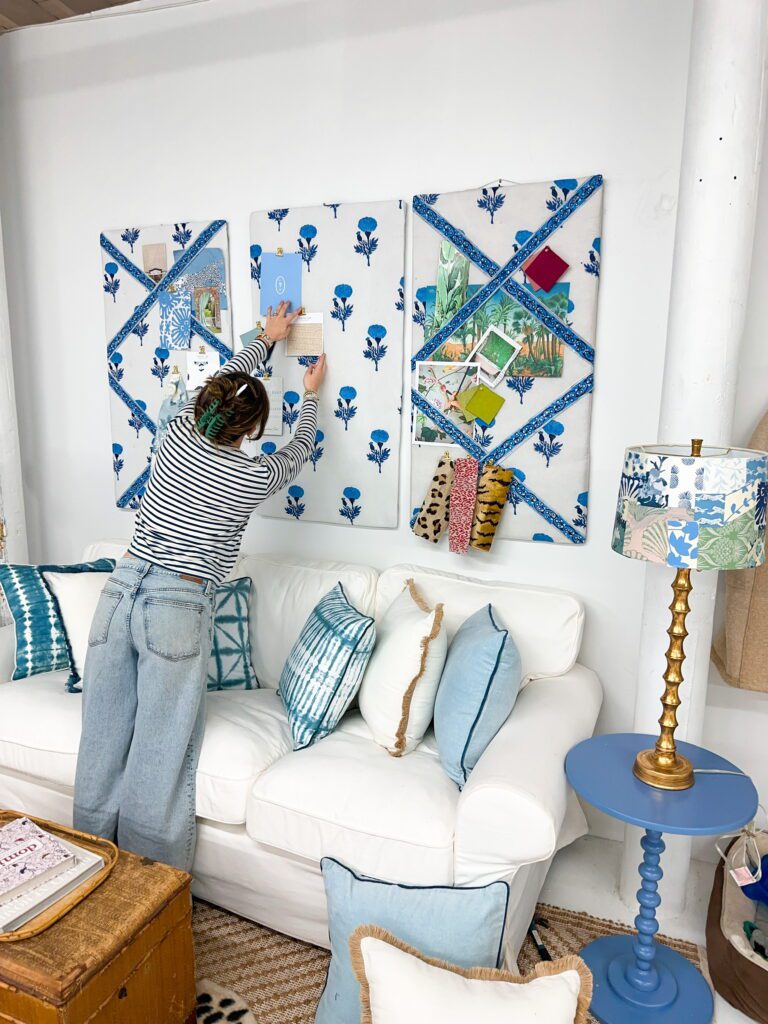
Here’s where it got really fun. I hung all three boards up vertically on the wall with a little wire and a few nails and then got down to business. It was finally time for moodboarding. I can’t wait to see the evolution of the boards as I get inspired and start planning the many projects we have in the works.
Steps 1 & 2: Cut cardboard to size and staple cork layer on top:
Steps 3 & 4: Staple thick layer of batting and then fabric, staple to secure:
Steps 5 & 6: Make sure fabric is tightly adhered and add crisscrossed ribbon or elastic (I used my fabric’s border as a chic added touch!):
Here is the supply list to do this easy project yourself!
My supply list:
- Cardboard
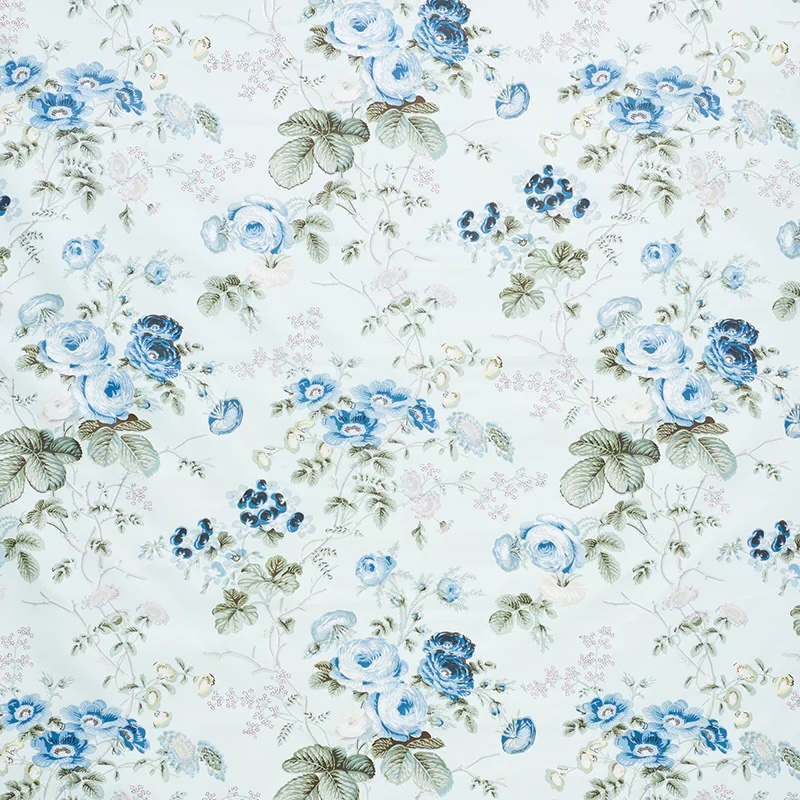
- Fabric – I used a Mary Marshmallow blue and white block print, but you can use anything that suits your fancy!
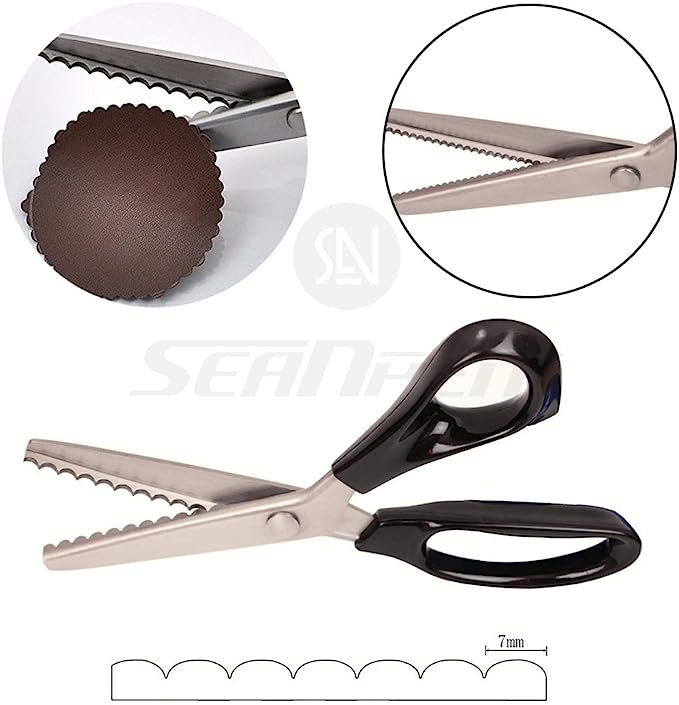
- Pinking shears – great for preventing frayed edges when cutting fabric, without having to sew a hem.
- Staple gun
- Cotton or polyester batting
- Pins
- Elastic or ribbon
FABRIC
I used fabric I had on hand, but if you don’t have extra fabric at home, you can find affordable fabric you like on Etsy or from a craft supply store. I love a good vintage floral or a block print fabric.
PINKING SHEARS
These are great to have on hand. They cut the fabric in this cute little scalloped way that prevents the edges from fraying, without having to hem or sew anything.
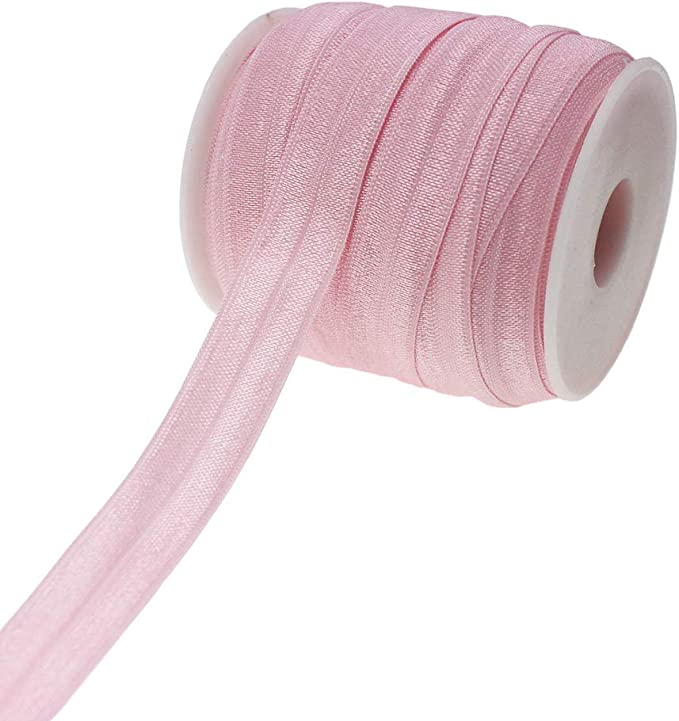
ELASTIC OR RIBBON
After you create your board, you can add this final touch to make it more fun. Simply lay as many elastic or ribbons flat, equidistant apart and then do the same the other direction so they crisscross in a diamond pattern. You can just use your staple gun to secure them to the back of the boards.
As always I hope this post inspires you create something beautiful. Happy DIYing!
CATEGORY
POSTED
6/20/2023

