June 20, 2023
How I flipped a secondhand pine Table into a chic, distressed piece
As some of you may know, Carly, aka the college prepster, is my latest client. We are designing her dream office space and it has been so fun working with her so far! I cannot wait to keep sharing all the little projects we do to make this her own creation haven, and even more so cannot WAIT to share the final reveal of the finished space.
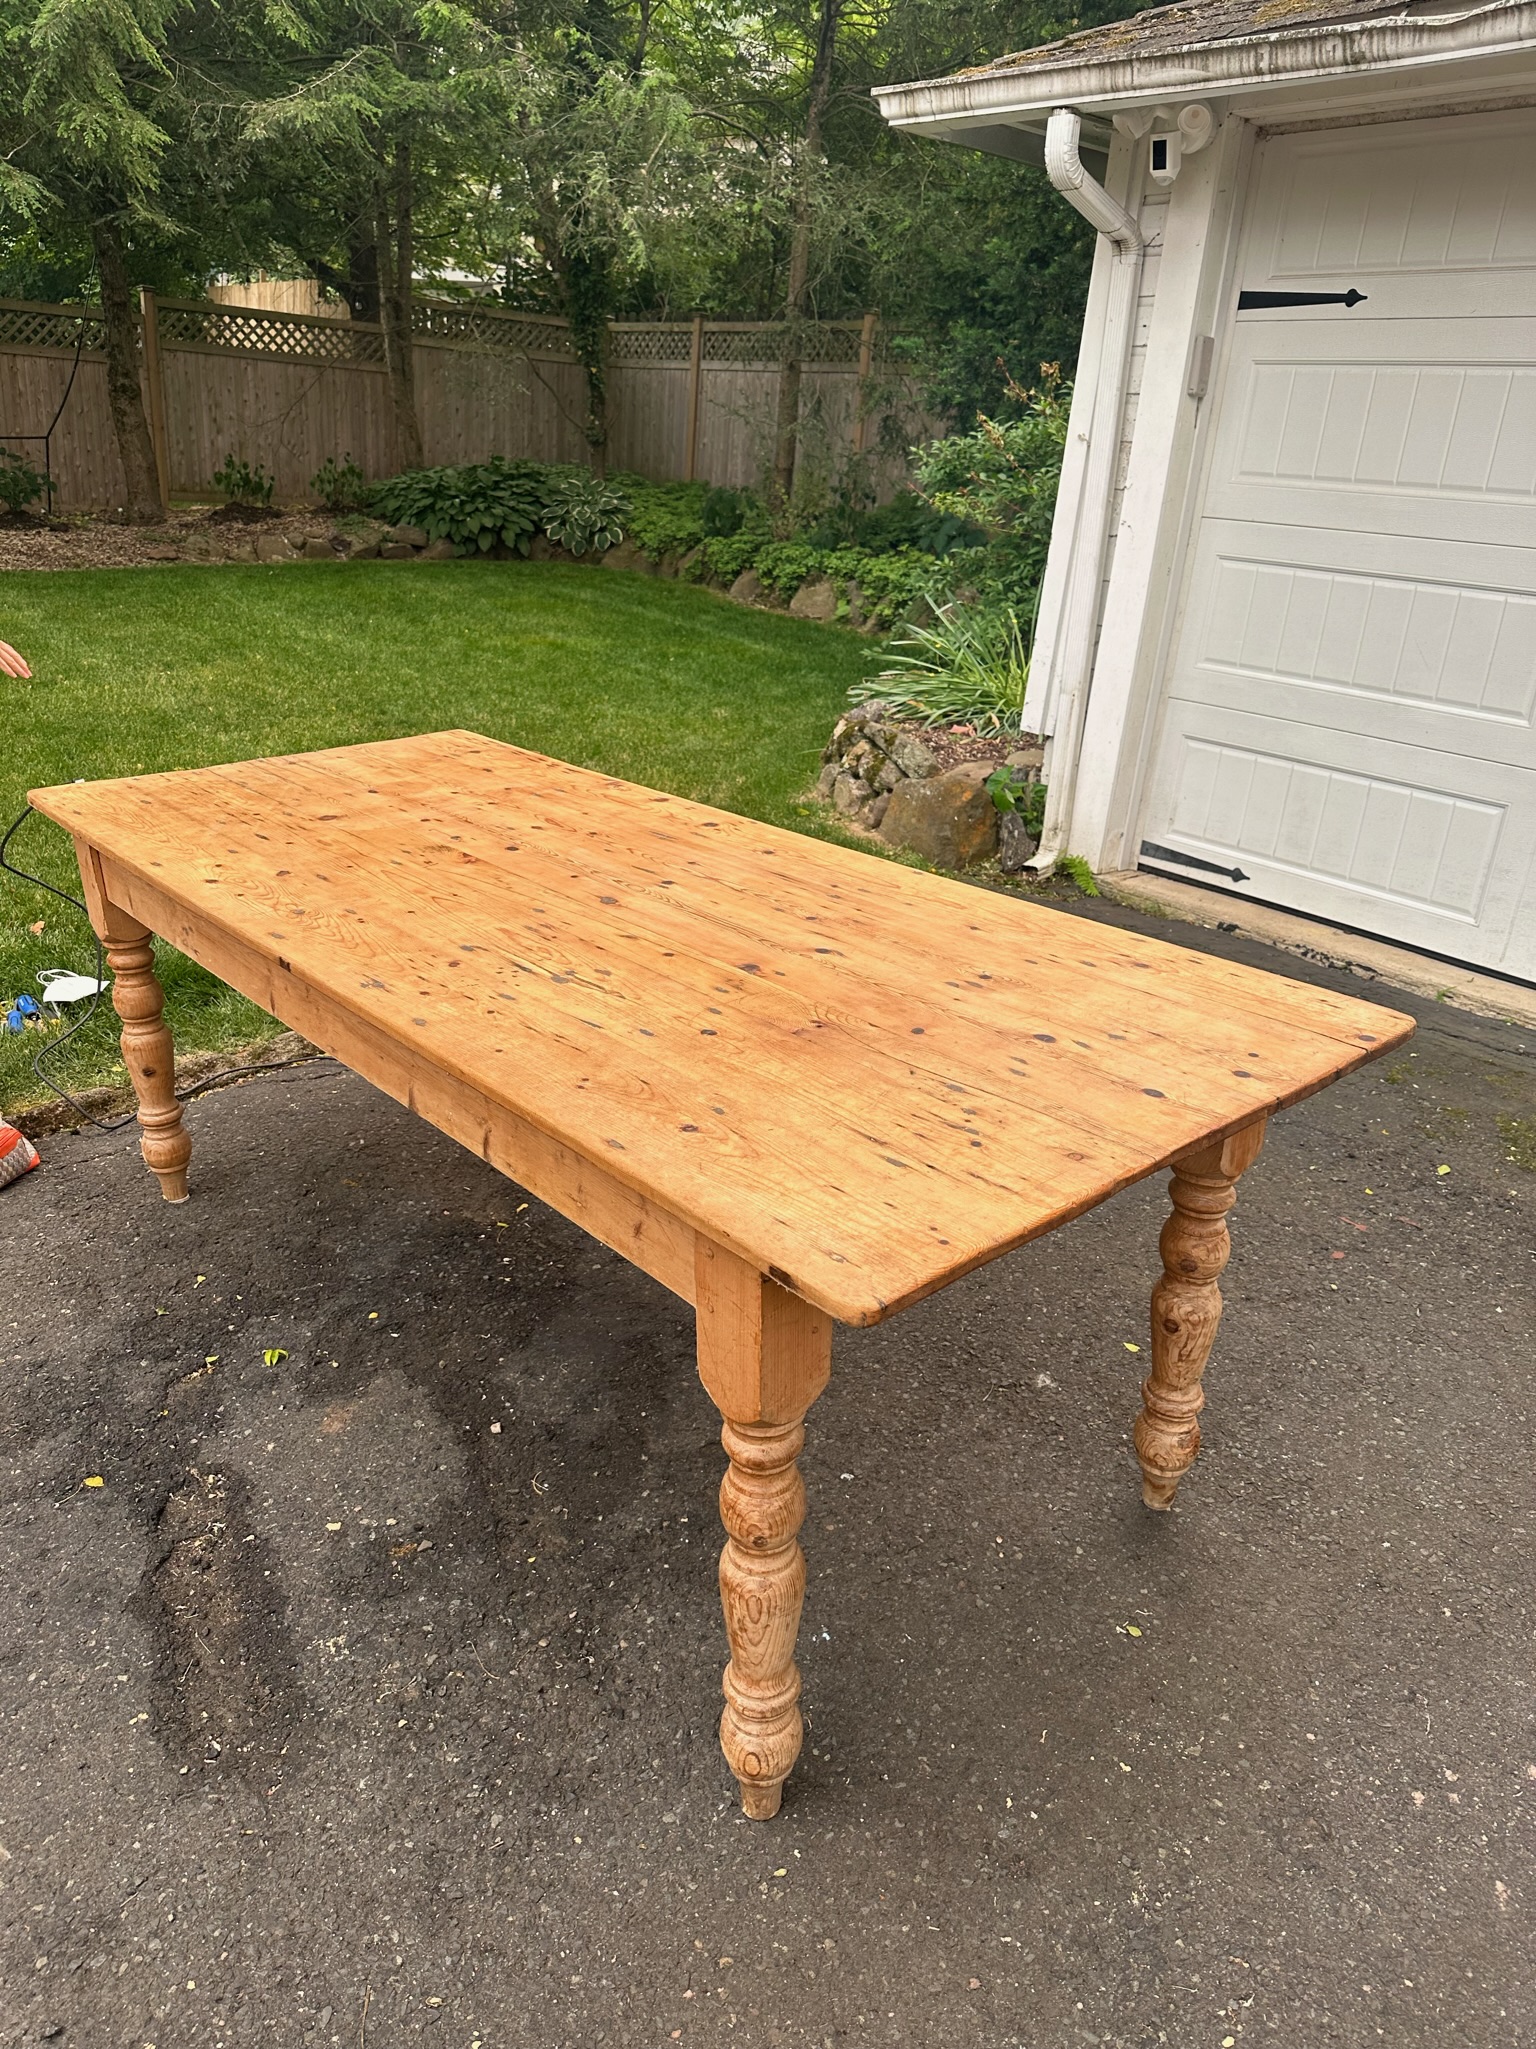
First up on the DIY docket was flipping a pine table that Carly secured secondhand via Facebook Marketplace. What a find (!!!) but it needed a bit of TLC. I personally don’t love the look of stained pine wood, and wanted a more natural tone rather than verging on a warm orange stain. To achieve this more “beachy” natural looking wood, we opted to give the piece a gentle sanding (I used this orbital sander) and then waxed the entire piece down to seal it. This is the wax that I used – it was so easily to apply and honestly my favorite step of the process.

The table was covered in holes and cracks that the previous owner had filled with bright white plaster (see reference pic above). I suppose they wanted to make the piece a smooth surface, but it made the wood table look so strange, like it had big white polka dots all over it. I found tons of different options for wood filler at the hardware store but everything still looked artificial, like filling the holes with putty. BUT THEN I had an epiphany. Knots and marks in the wood are usually darker than the wood, not lighter. I had been trying to match the light tone of the wood with the filler, when really what I needed to do was fill with a very dark color to make it look like there were more naturally occurring knots, marks and cracks.
To achieve this, I mixed dark brown and black wood fillers and putty, then filled the holes and smoothed them down with a putty knife.
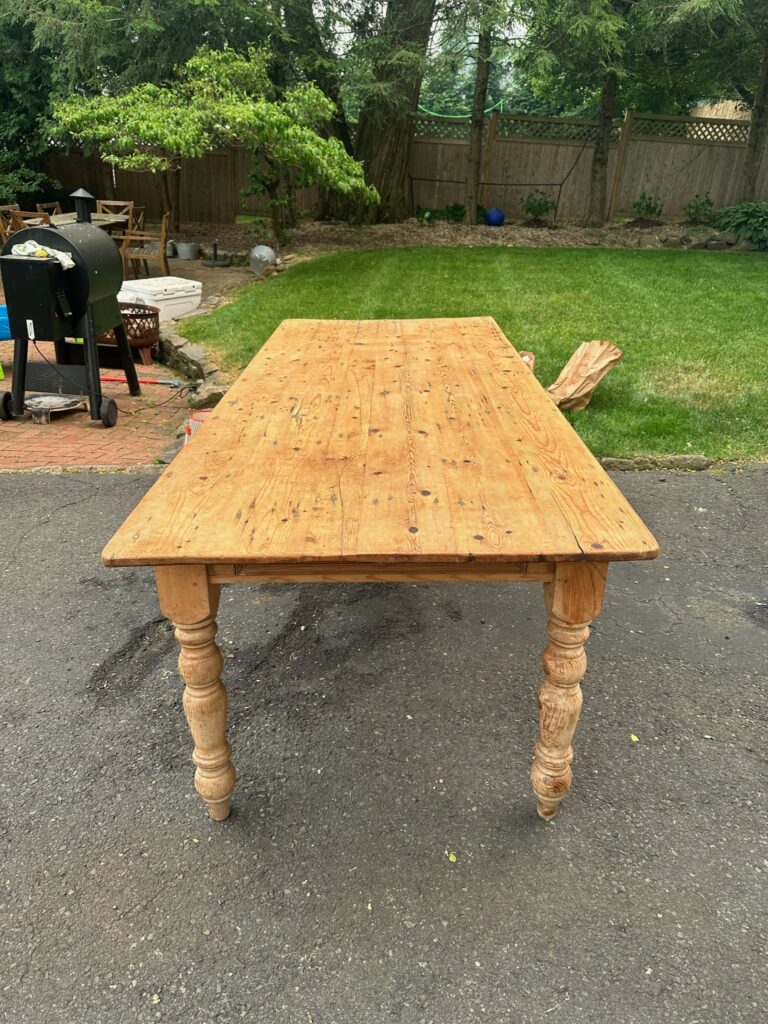
By the end, the table just looked much more *finished* — as if it had been given a bit of a facelift but kept very natural. I love how it came out! Another Facebook marketplace win for the books 🙂
You can watch the process here on my TikTok.
Supply List:
- Wood putty – I used a dark brown color putty.
- Wood filler – I used a dark walnut filler.
- Wood putty – I used ebony, the darkest shade available.
- Putty knife – this is the perfect tool for scraping and making the filler lay flat in the holes.
- Varathane paste finishing wax – I used this in a natural tone and it gave the piece and finished look without any glossy shine.
Here is the final table reveal! Can’t wait to show you how it looks in Carly’s new office.

CATEGORY
POSTED
6/20/2023

