September 22, 2023
Getting the Look of High-End Wallpaper with Stencils

WHY STENCIL YOUR WALL
High-end wallpaper is expensive. Real deal, designer wallpaper can run you $500-1,000 per ROLL (for reference, you would need at least 4 rolls to cover even a small room… that’s a lot of $$$ !) Peel and stick options are a great solution, but often lack the handmade texture that makes expensive wallpaper so beautiful. But, fret not – I promise you there’s an easy & affordable solution: STENCILS!
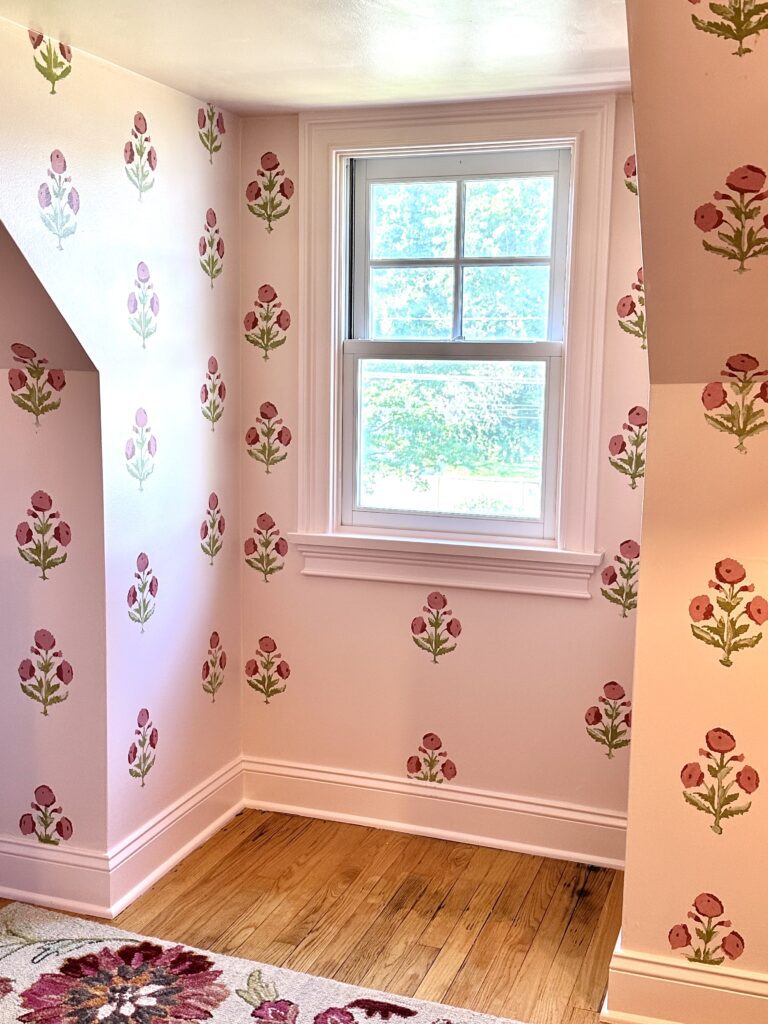
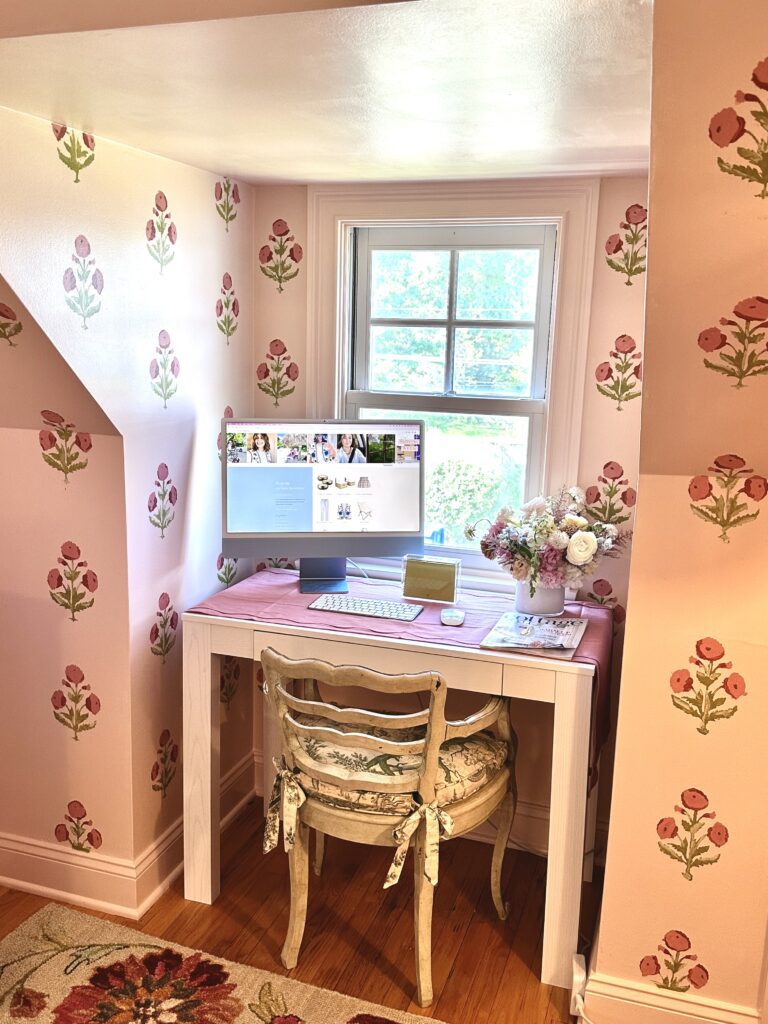
If you’re balling on a budget, a little paint and a homemade stencil can go a long way. I love the look of designer fabrics and beautiful block prints, so when I was creating the Cloffice (closet/office/guest room) I knew I wanted to incorporate that look for less. After creating a Pinterest board, I realized the goal for the room was English cottage inspired – I wanted the room to feel like a jewel box of antiques and treasures, with floral accents and layered textures. So, after realizing that my desired wallpaper was far out of my budget, I decided to find a solution. I pulled out my Cricut and got to DIYing.
HOW I DID IT
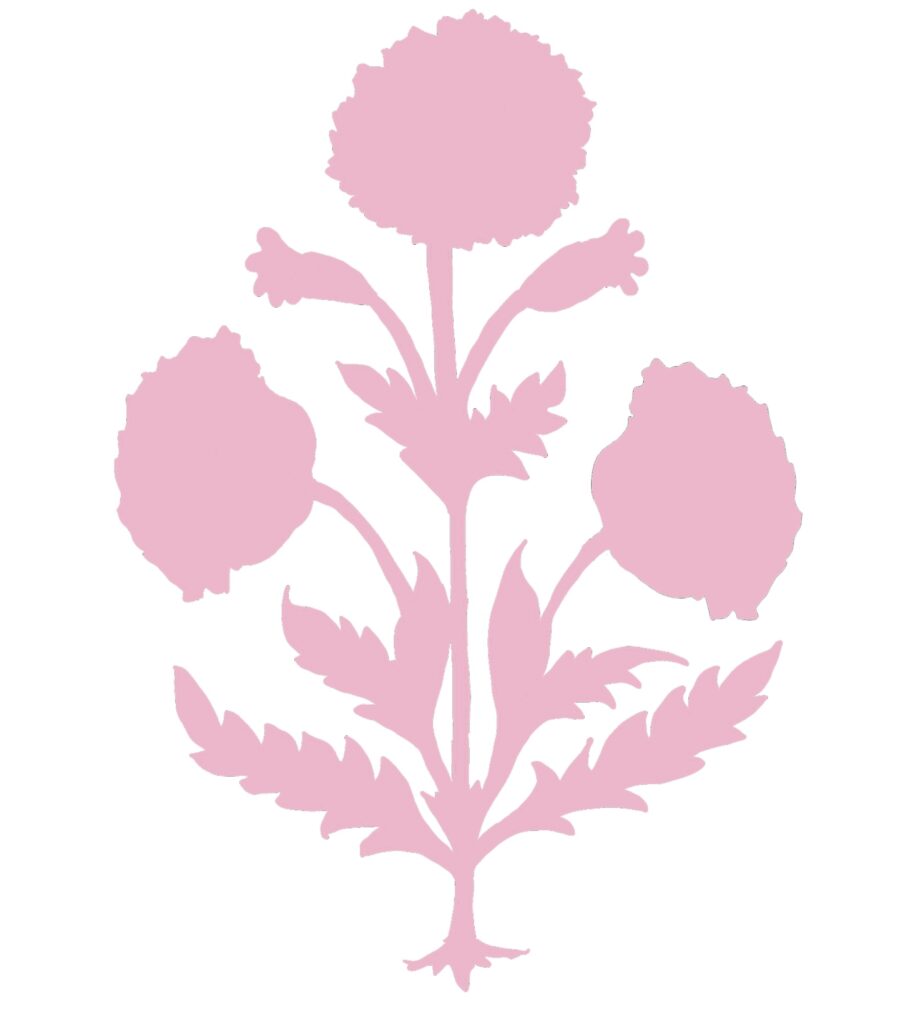
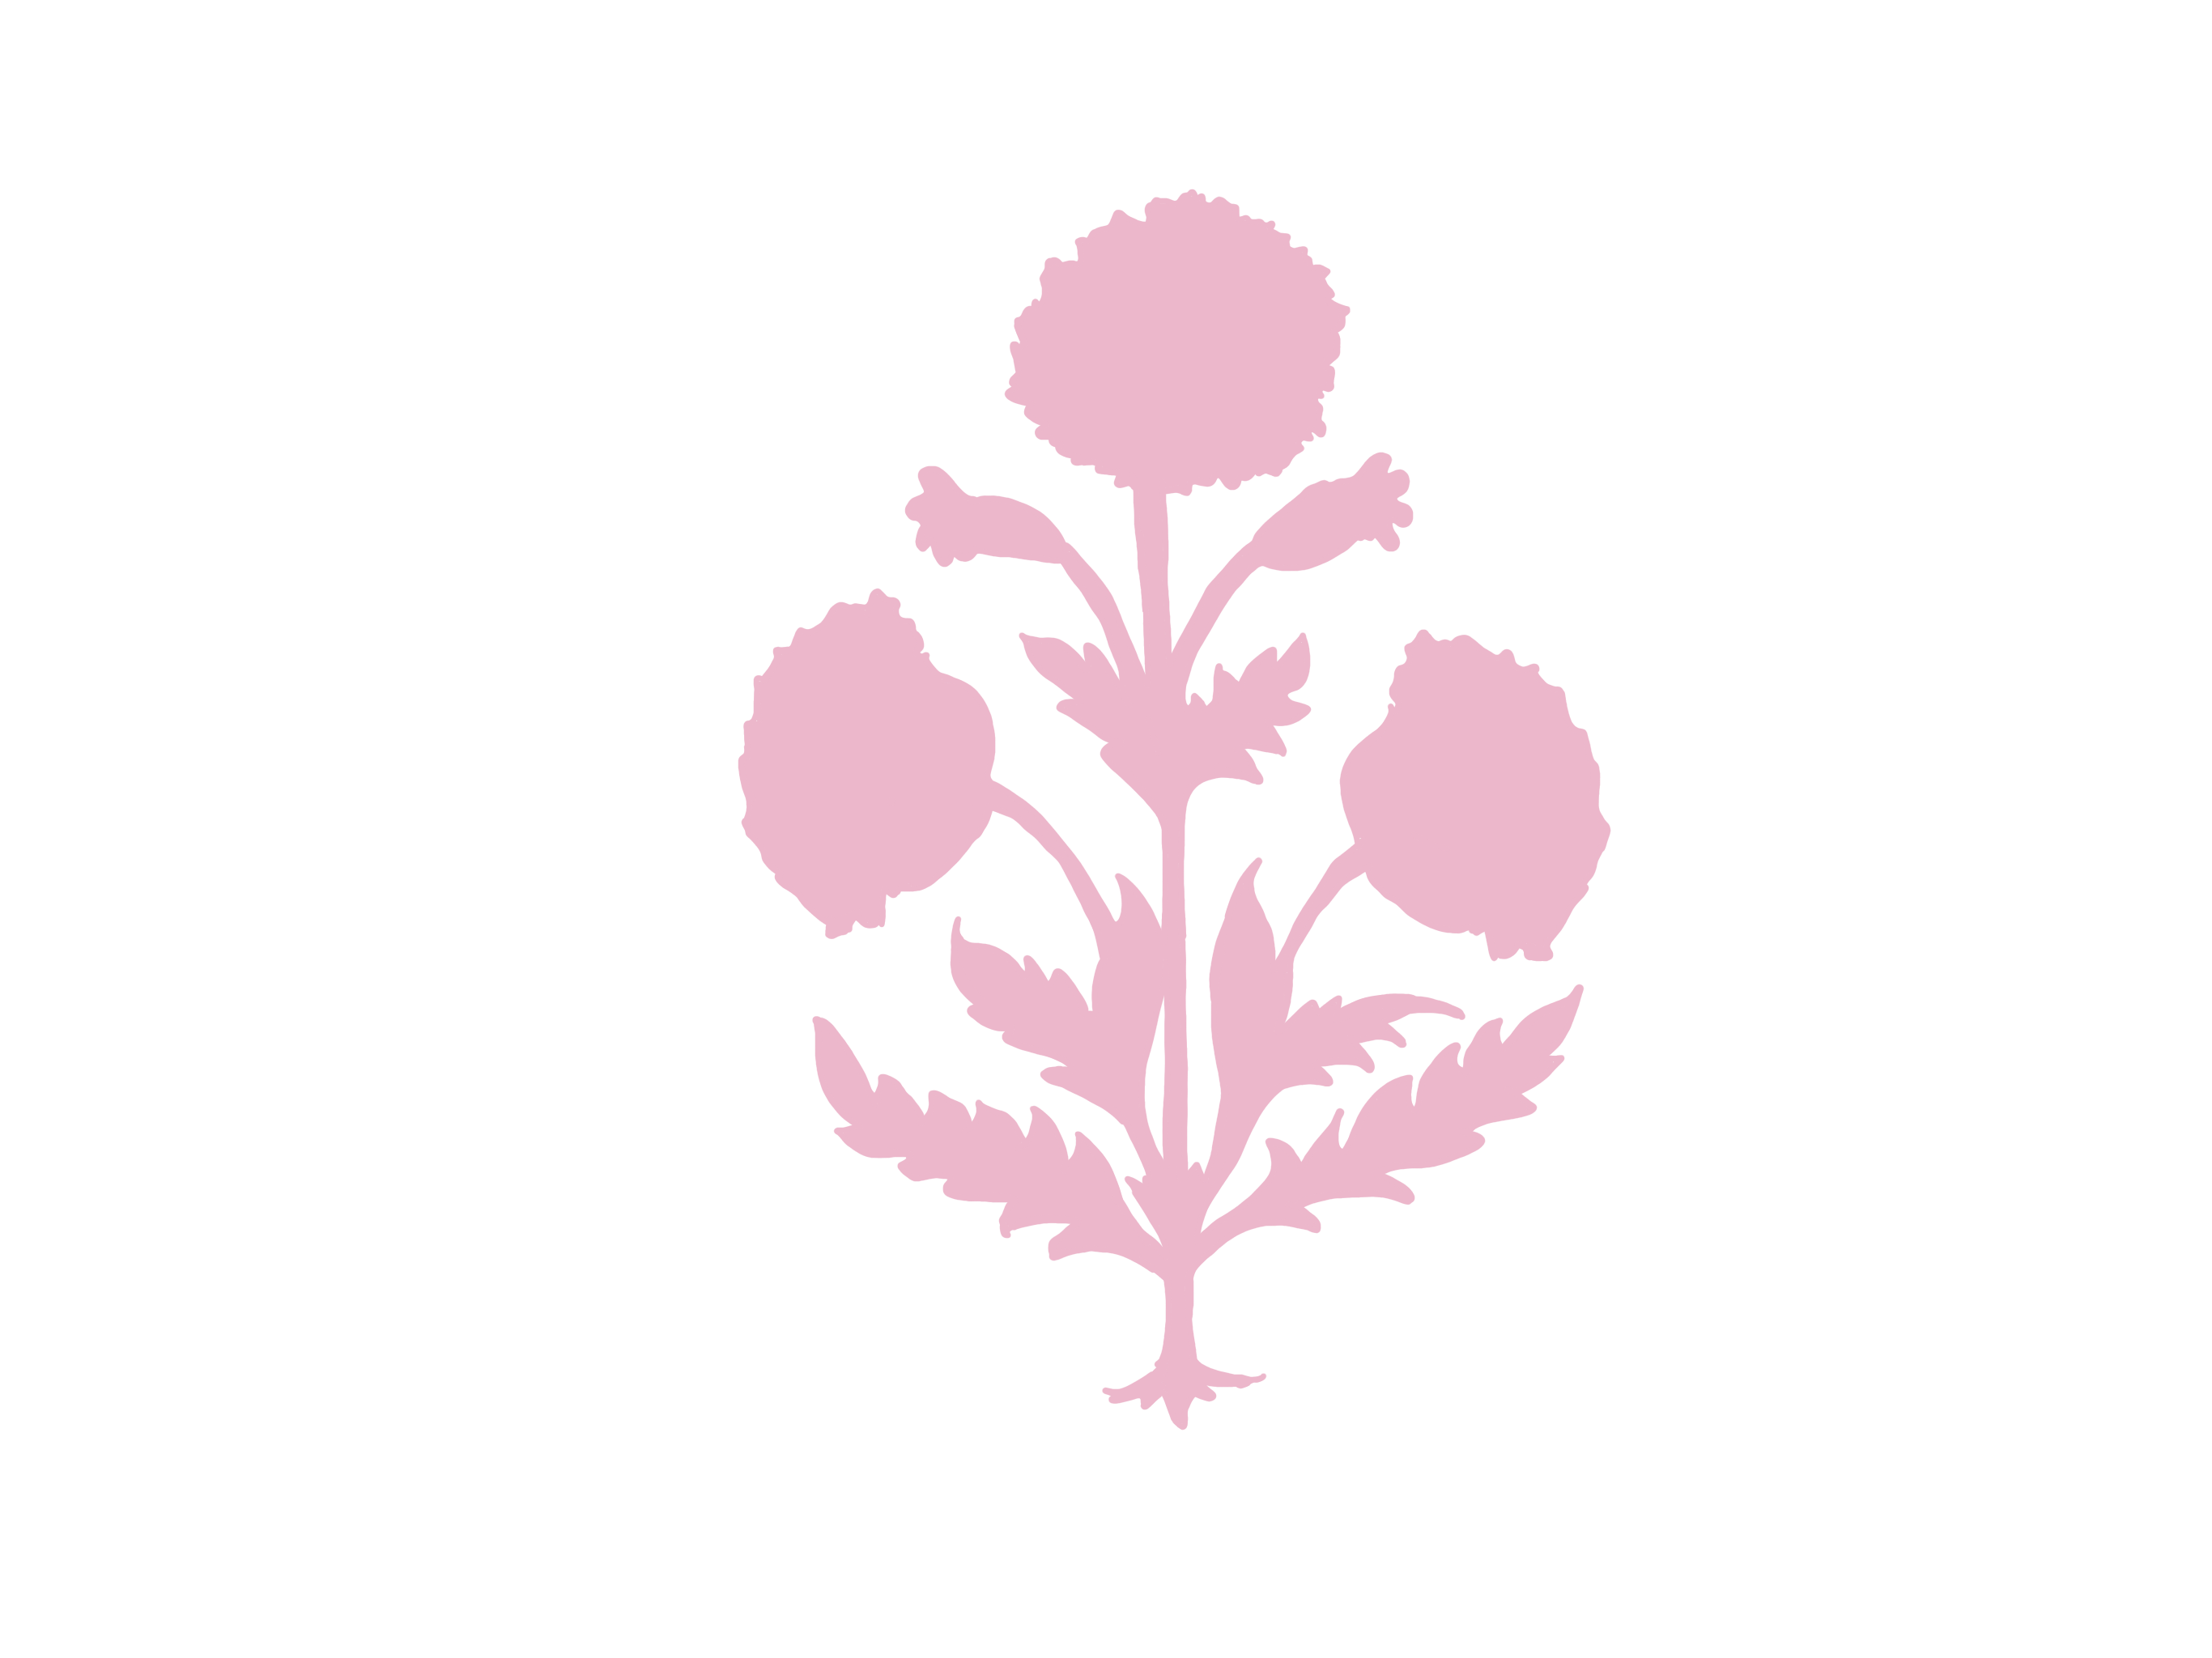
- First, design your motif. I used procreate to design a digital drawing of this flower, then sent it to my cricut app where I selected the “cut” option.
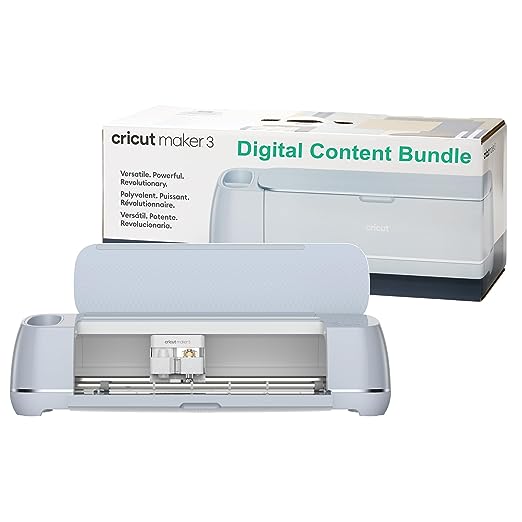
2. Next, use a Cricut to print out your design onto a sheet of plastic. I used a thin sheet of acetate paper. If you don’t have a cricut, scroll down for DIY instructions.
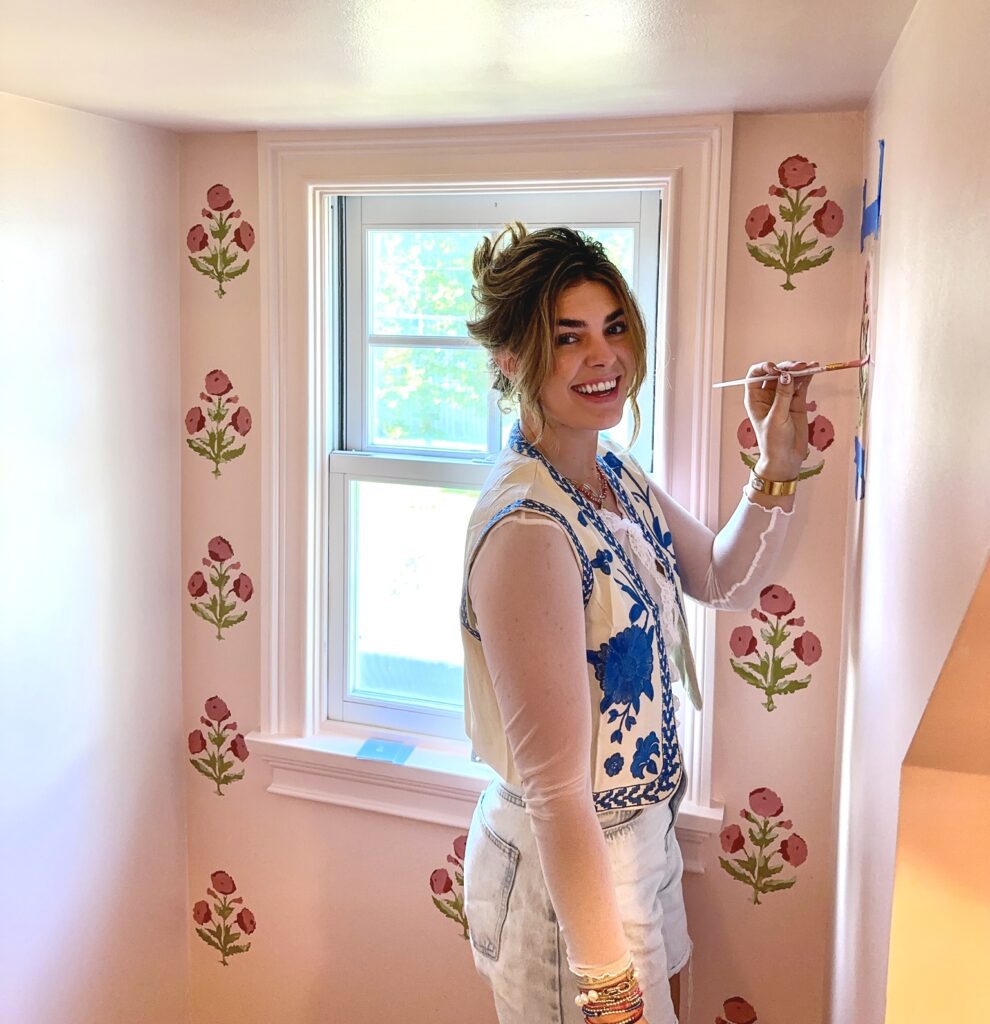
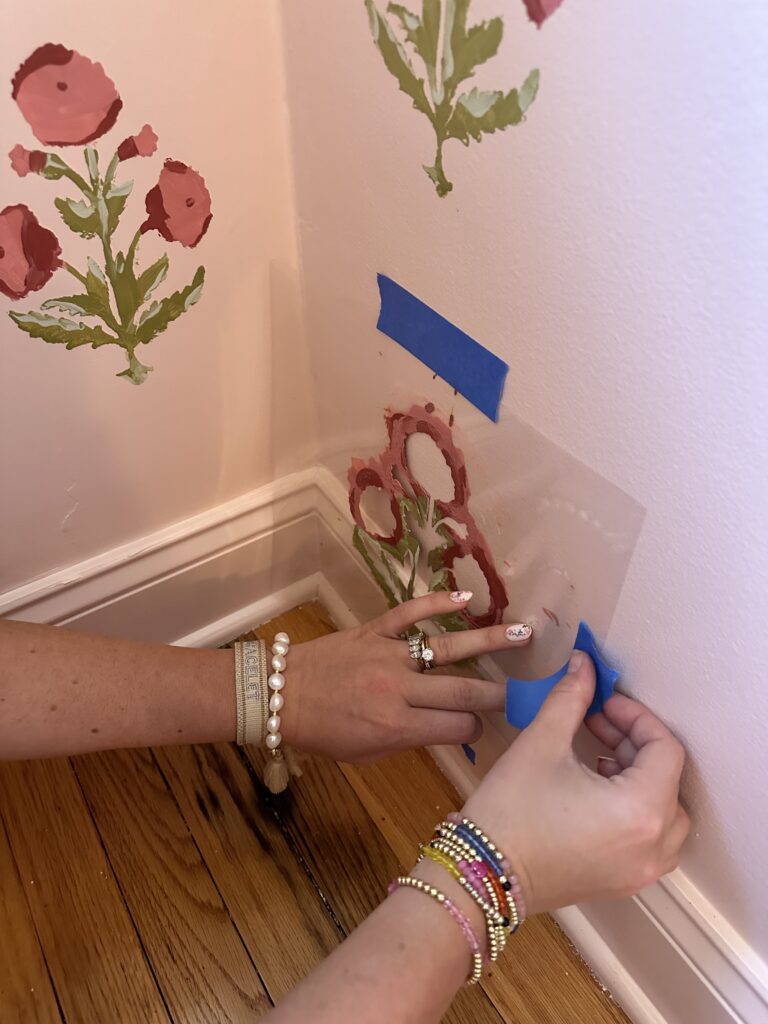
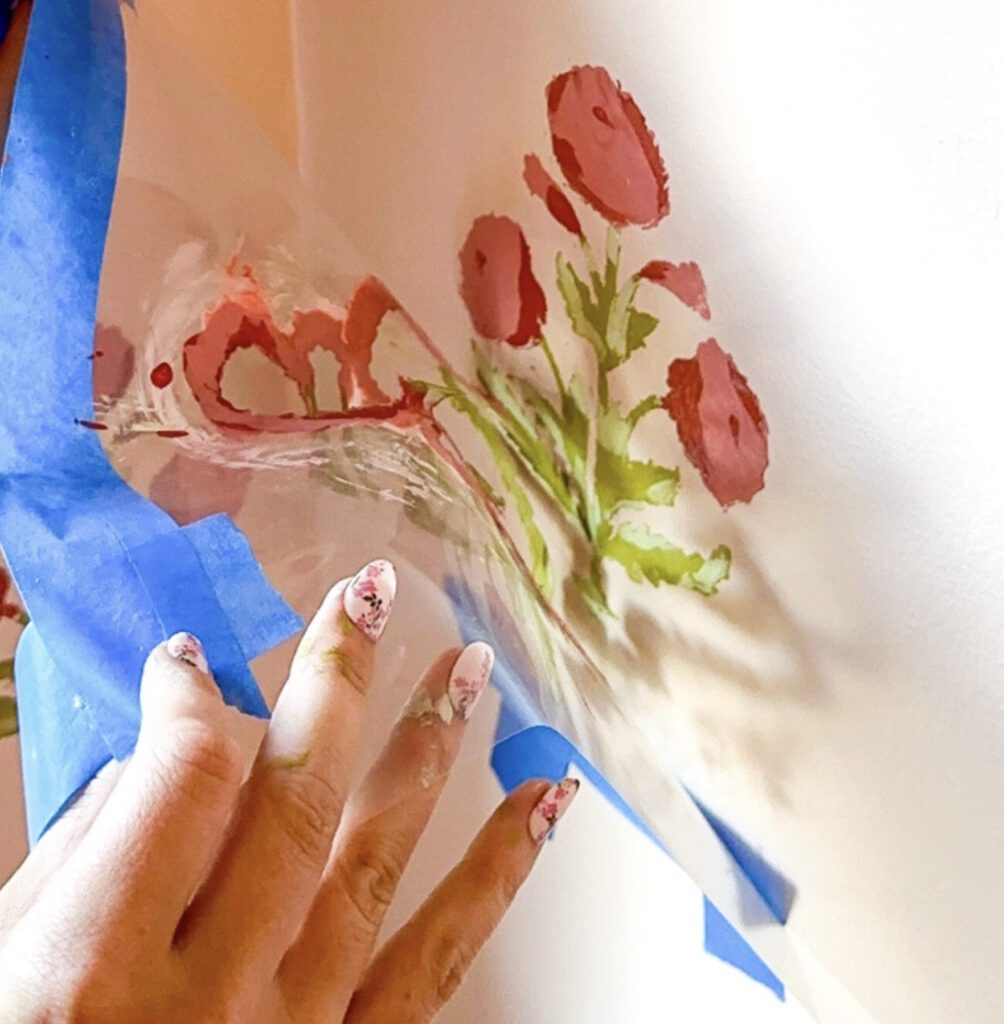
3. Tape your stencil to the wall using painter’s tape.
Tip #1: It can be tricky to tape down the stencil when you get to the top or bottom of the wall and run into the molding. I bent the stencil here and taped off the wall trim with painter’s tape in a straight line.
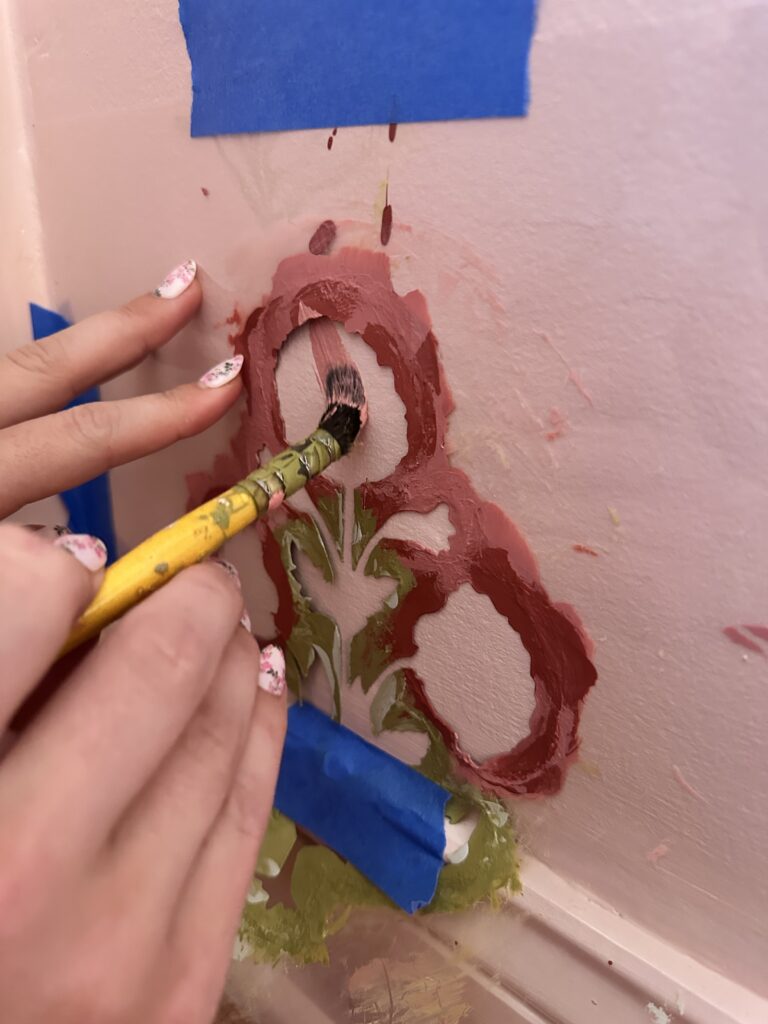
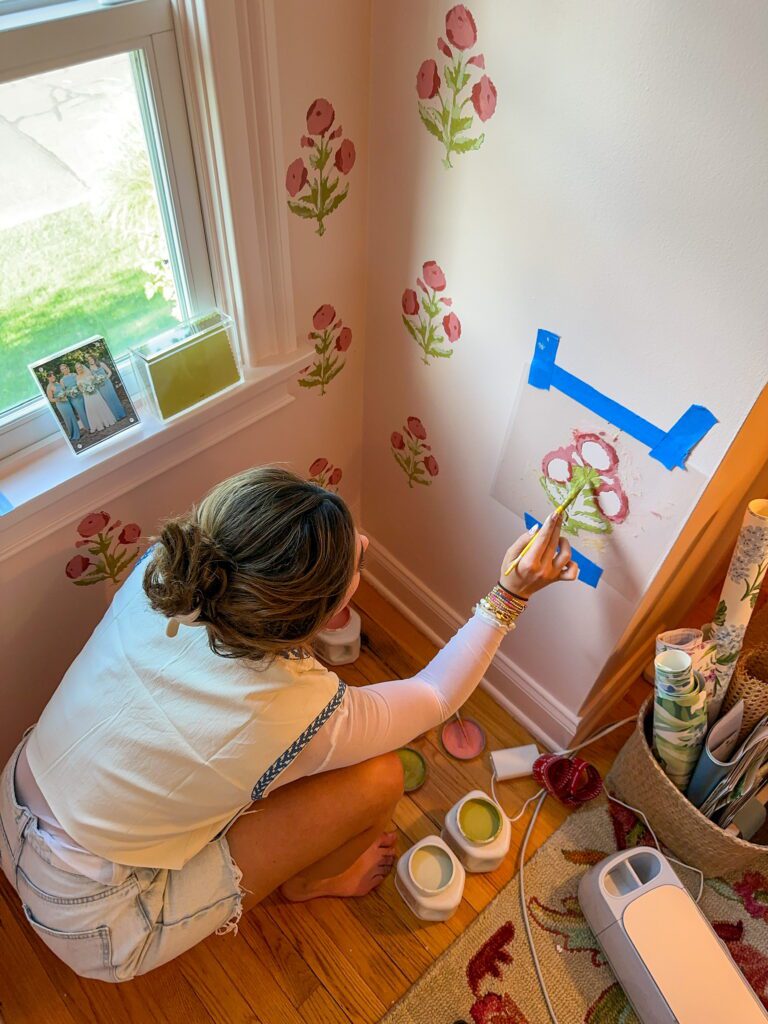
4. After that, fill in the stencil with paint. You can keep it simple and use one solid color to fill in your stencil. Alternatively, you can use multiple colors to add detail like I did. I used sample size paint which is usually about $5-7 per sample depending on the brand.
Tip #2: when painting in the stencil, blot your paint brush, using it almost as a sponge, instead of painting strokes to stay inside the stencil. This will keep your paint inside the shape rather than bleeding out. It also prevents sliding the stencil around with your brush strokes.
5. Finally, wait for the paint inside the stencil to slightly dry (no need to wait until it’s completely dry!) and peel off the stencil! Voila! Continue to repeat the process until you cover your entire wall – or maybe even your whole room – with an equally spaced out flower pattern.
Tip #3: Measure the space between each motif. I went with 6″ vertically between each flower. When I started a new row, I measured 9″ between the horizontal rows. I staggered the flowers then repeated that exact pattern across the wall.
IF YOU DON’T HAVE A CRICUT, THERE ARE OTHER WAYS!
Option One: Order my physical stencil.
- You can order my exact stencil here
- Follow my instructions above, minus any parts involving the cricut (I DID THAT FOR YOU!! Hehe)
Option Two: DIY IT!
- Sketch out a design on paper
- Trace that design with a marker on clear plastic, vinyl, or even scrap packaging! As long as it’s see-through and flat, you’re golden. Get creative if you want to save money and a trip to Michael’s
- Use an X-acto knife to cut out your design. The less complicated your sketch, the easier it will be to cut. I find that cutting with a knife is easier when your design is made up of straight lines instead of curves
- Follow my steps for painting above 🙂
DOWNLOAD MY TEMPLATE
I used an 8 inch (in height) flower. Anything smaller than about 12 inches should look great for a repeated pattern like this one. You can print the below either on a Cricut or print it out, then trace it on acetate paper. Happy crafting! As always, please share if this post inspires you to create something of your own!
CATEGORY
POSTED
9/22/2023


